12 illustrated steps
VELUX deck-mounted skylight
Follow the 12 illustrated steps in this VELUX deck-mounted skylight assembly.
- Step 1
Opening cut and framed
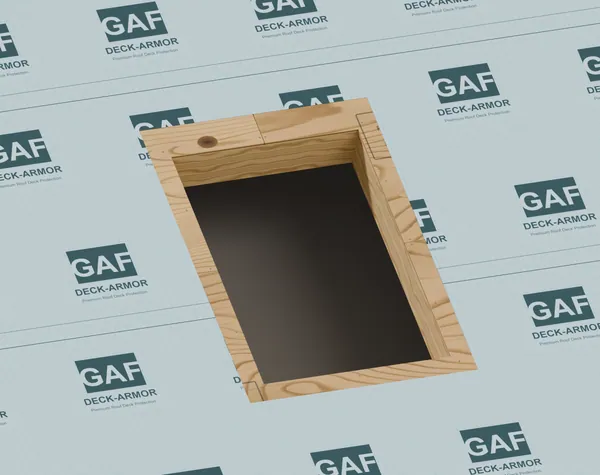
We open the roof and frame the opening with doubled headers, then trim back the underlayment to make room for the skylight's waterproof wrap. 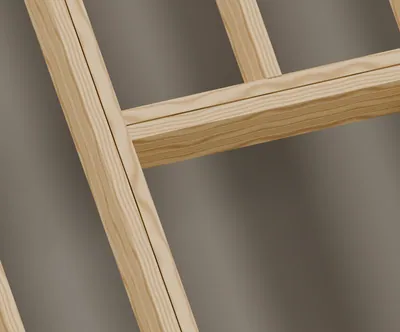
Under the deck: doubled header and side framing (trimmer) 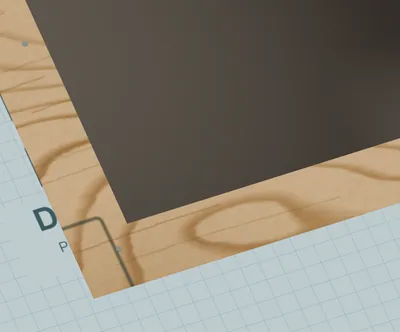
Underlayment cut back 3 in around the opening - Rough opening width
- 30 1/16 in
- Rough opening height
- 45 3/4 in
- Underlayment cutback, sides and bottom
- 3 in
- Underlayment cutback, top
- 5 1/2 in
- Step 2
Skylight set and nailed to the deck

We center the skylight on the opening and nail it through its steel flange, then take off its side and bottom covers for wrapping. 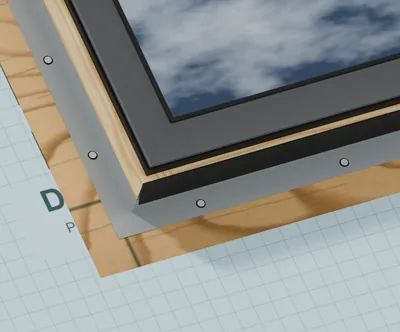
Steel flange nailed to the deck 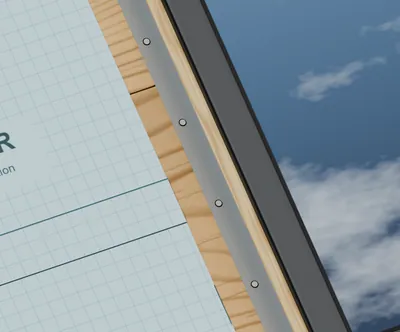
24 nails, one in every hole - Flange nail length
- 1 1/4 in
- Flange nails, M06
- 24
- Step 3
Adhesive underlayment: bottom

We seal the bottom of the skylight first with a self-sticking waterproof strip that runs onto the roof and up the frame. 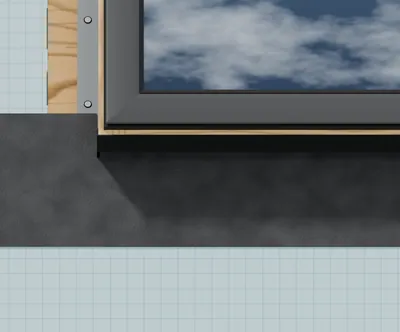
Strip turns up the frame, 6 in on the roof 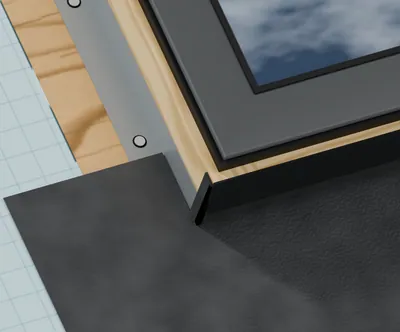
Corner cut and wrapped around - Strip width
- 9 in
- On the roof
- 6 in
- Past each corner
- 6 in
- Corner cut
- 1/2 in
- Step 4
Adhesive underlayment: sides

We run strips up both sides next. Each one overlaps the bottom strip so water always runs over a joint, never into it. 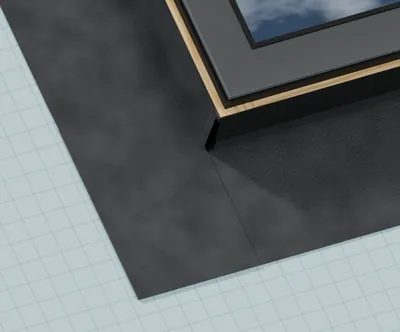
Side strip laps over the bottom strip 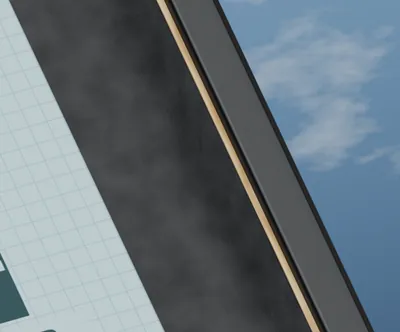
Side strip turns up the frame - On the roof
- 6 in
- Step 5
Adhesive underlayment: top

We add the top strip last, over the side strips, and slip its upper edge under the roof underlayment so water above flows over it. 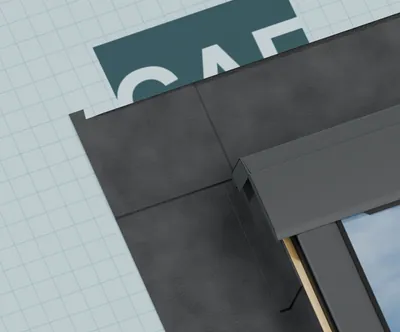
Top strip laps over the side strip 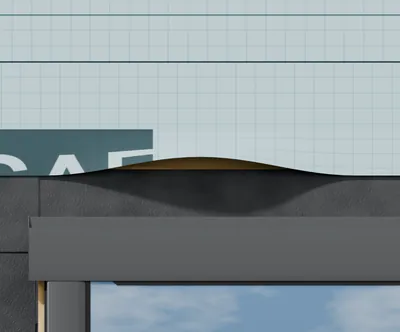
Top edge tucks under the roof underlayment - Step 6
Shingles up to the skylight
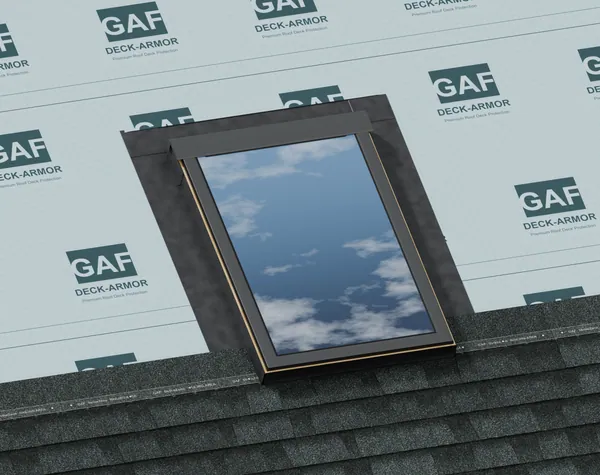
We lay shingles from below up to the bottom of the skylight, covering the lower edge of the waterproof strip. 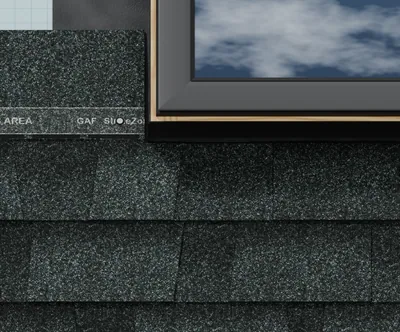
Shingles run up to the bottom of the frame 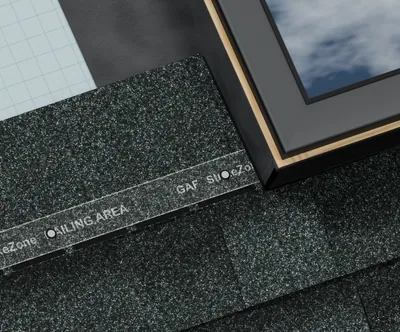
Shingles cut to fit around the corner - Shingle exposure
- 5 5/8 in
- Nail line from shingle bottom
- 6 7/8 in
- Step 7
Sill flashing
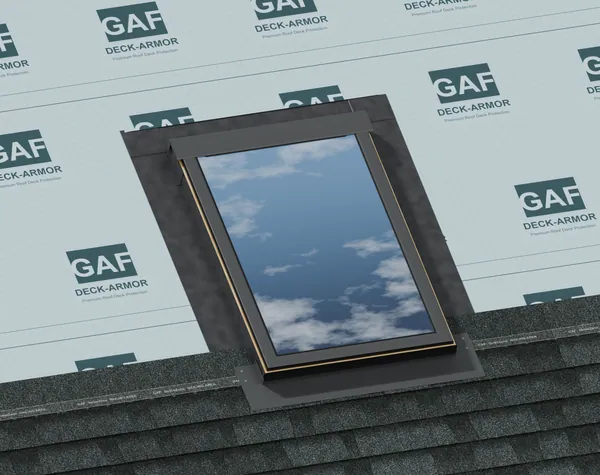
We set a metal apron on the shingles below the skylight and tuck it behind its rubber seal, sending water onto the roof. 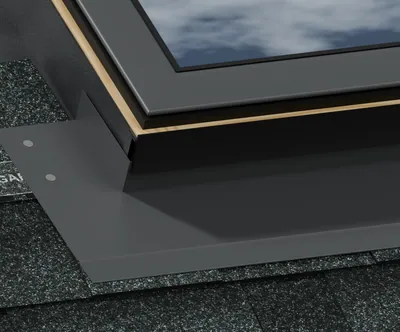
Flashing slides up behind the rubber gasket 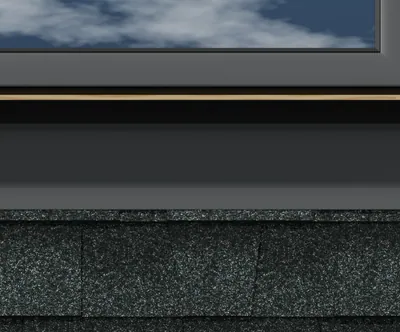
5 in apron with a folded edge, over the shingles - Sill flashing apron
- 5 in
- Step 8
Step flashing, one piece per course
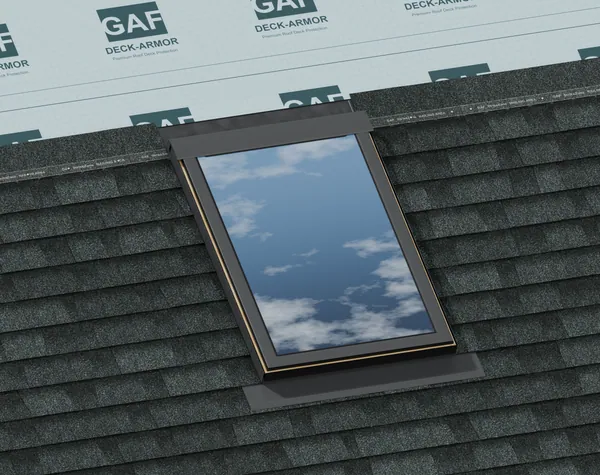
We give each row of shingles its own metal piece along the skylight sides. Each piece overlaps the one below, carrying water down the roof. 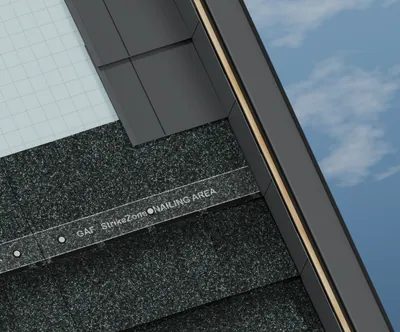
Each piece laps over the one below 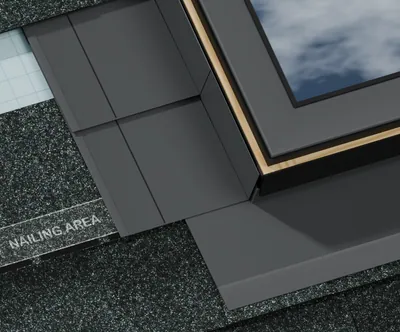
First piece laps over the sill flashing - Step flashing length
- 13 in
- Minimum overlap
- 3 1/2 in
- Overlap at 5 5/8 in exposure
- 7 3/8 in
- Maximum gap, shingle to upstand
- 1/4 in
- Step 9
Covers back on
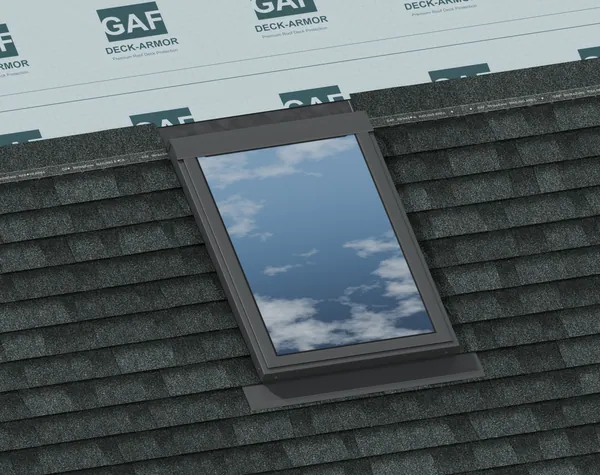
We put the skylight's side and bottom covers back on, overlapping the top edge of the flashing so rain runs over it. 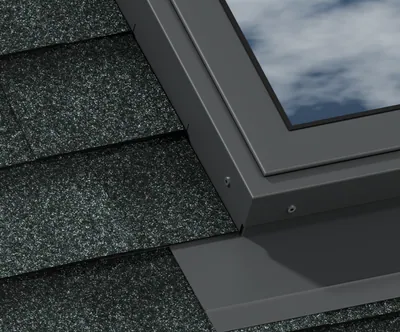
Cover laps over the top of the flashing 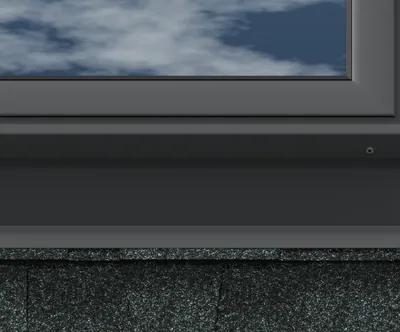
Bottom cover over the sill flashing - Step 10
Top flashing (saddle)
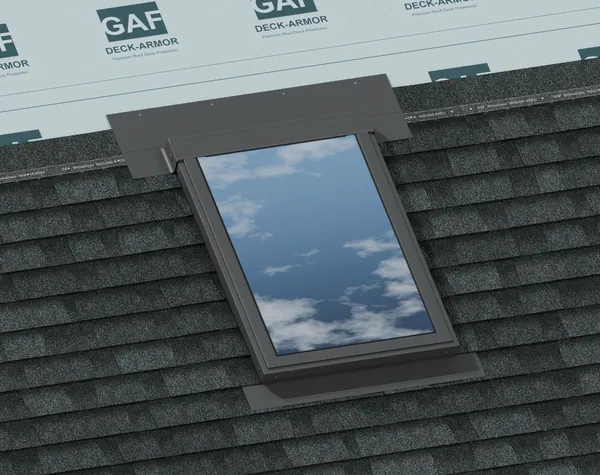
We hook a metal head flashing over the top of the skylight and wrap it around both corners, steering water from above around the skylight. 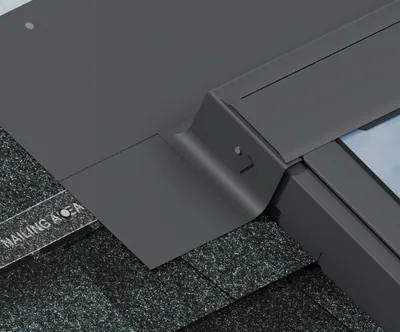
Top flashing (saddle) wraps the corner, a tab fixes it to the frame 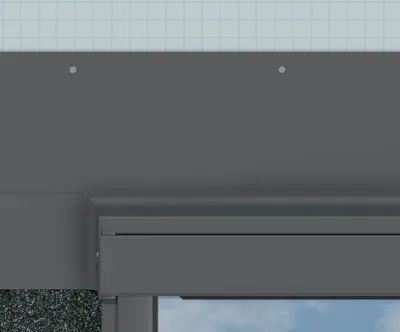
Gutter behind the skylight, flange up the roof - Saddle flange
- 9 1/4 in
- Step 11
Leak barrier over the top flashing
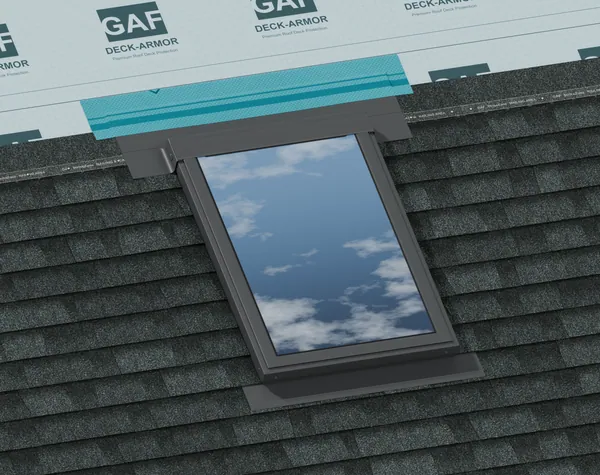
We stick a piece of leak barrier over the top flashing and slide it under the roof underlayment above, so water flows over every seam. 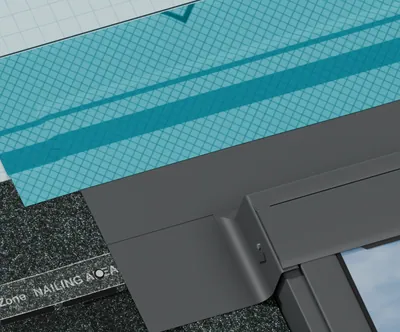
Leak barrier sticks down over the saddle flange 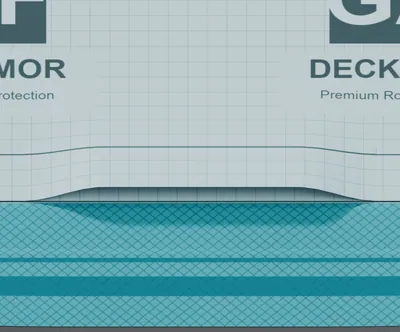
Top edge slides under the underlayment above - Step 12
Shingles finished
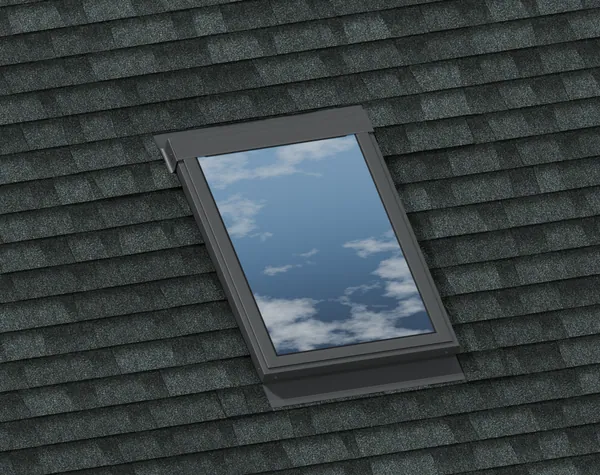
We finish the shingles around the skylight, stopping them 4 in above it so water drains away, and cover the flashing corners with cut shingles. 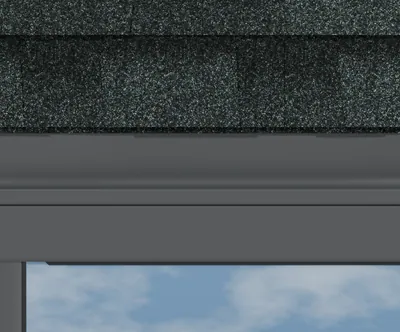
Shingles stop 4 in above the skylight 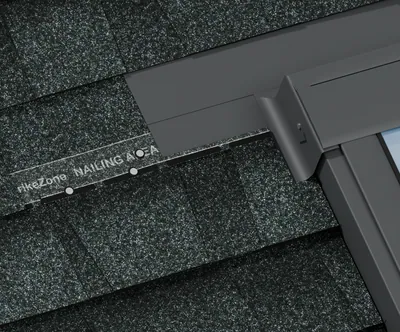
Cut shingle, nailed under the row above - Minimum shingle clearance above the skylight
- 4 in


