12 illustrated steps
Soffit and fascia
Follow the 12 illustrated steps in this soffit and fascia assembly.
- Step 1
Open eave ready
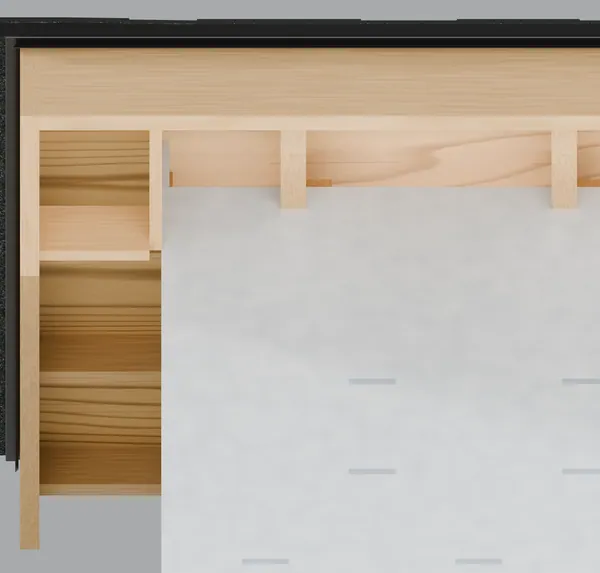
The roof and drip edge are finished. Under the eave we see rafter tails, the wood fascia board and the wrapped wall. 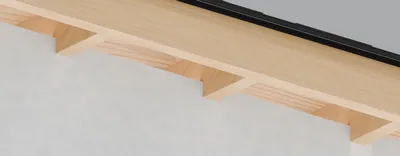
Rafter tails and the bare wood fascia board 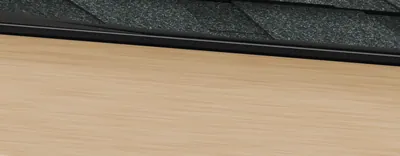
Drip edge over the wood fascia board 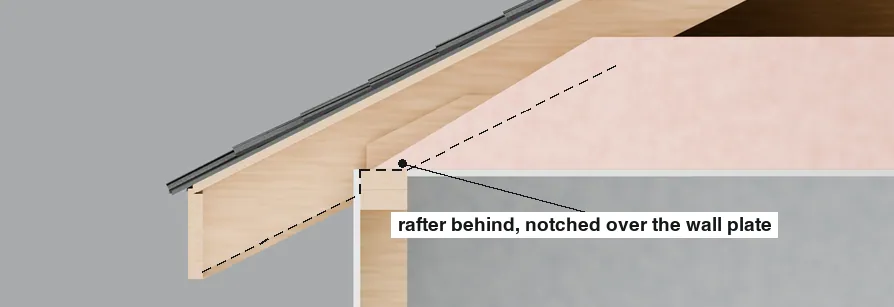
Cut view of insulation pressed against the roof deck - Eave depth in the scene
- 12 in
- Step 2
Add the vent baffles
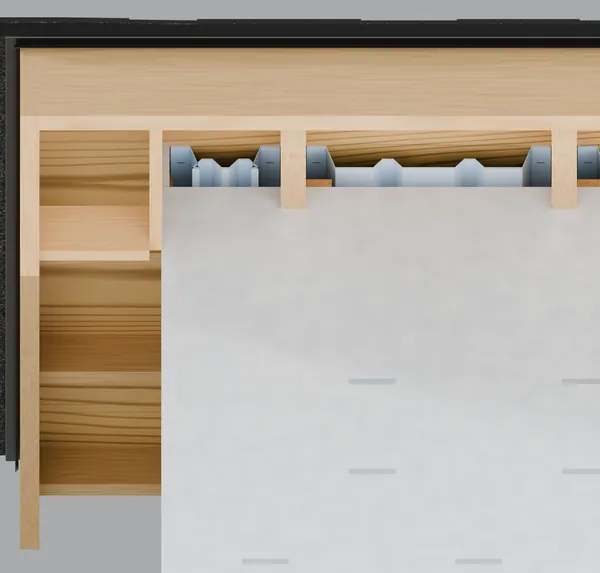
We staple a vent baffle under the roof deck in every rafter bay. It keeps the air path open from soffit vent to attic. 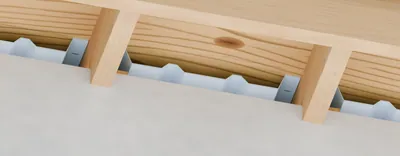
One vent baffle in every rafter bay 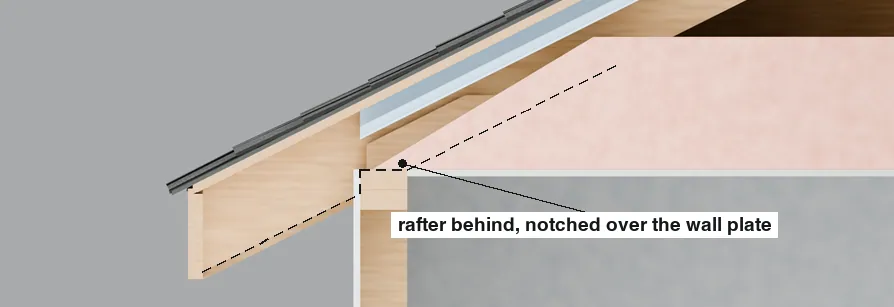
Cut view of the open air path above the baffle, insulation below 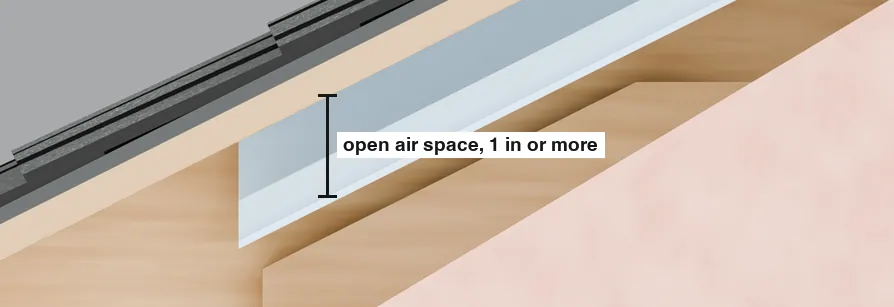
At least 1 in of open air under the roof deck - Minimum air space under the roof deck
- 1 in
- Step 3
Nail up the receiving channels
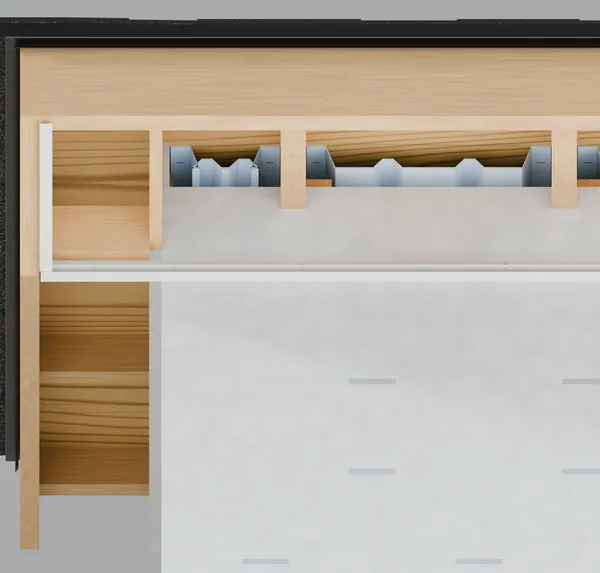
We nail the wall channel level with the bottom of the fascia board, and more channels at the gable end. 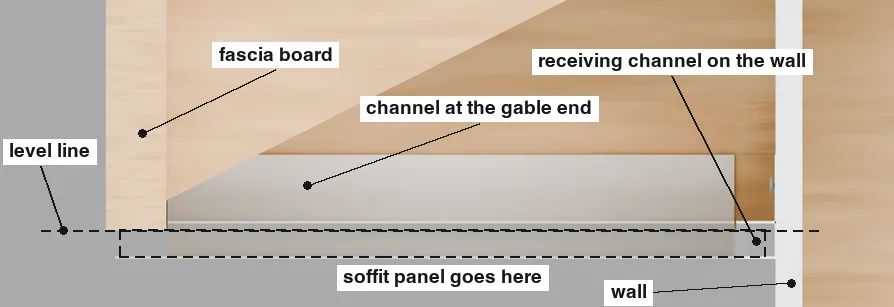
Cut view: wall channel level with the fascia bottom 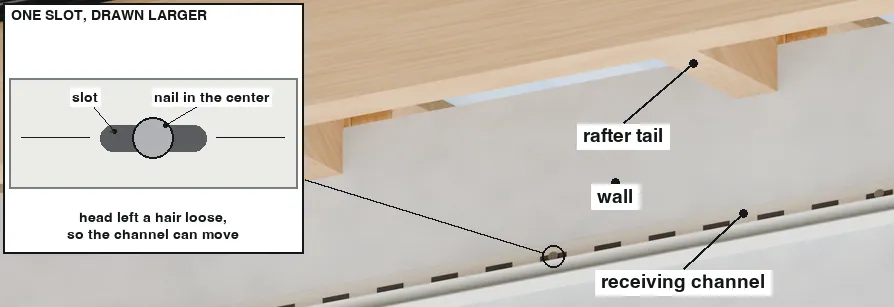
Nail centered in the channel slot, not tight 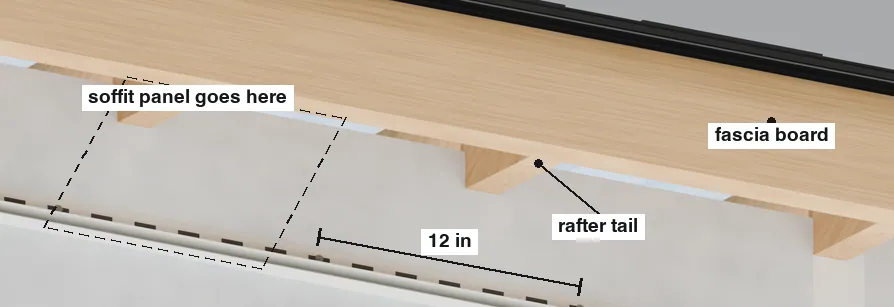
Channel nails centered in the slots - Step 4
Measure and cut the panels
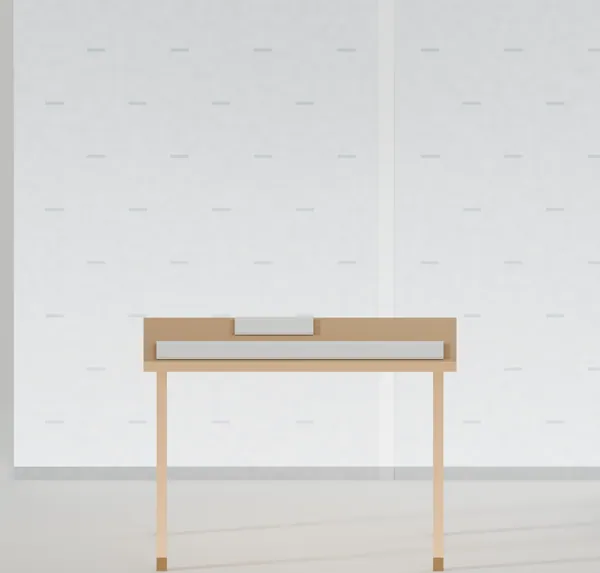
We cut each panel 1/2 in shorter than the space from the wall to the fascia board, so it can move in heat and cold. 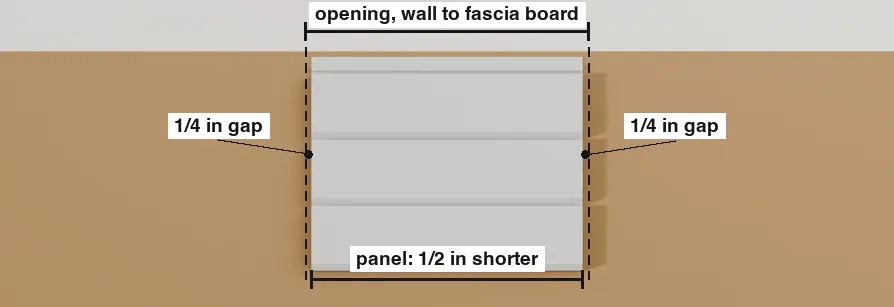
Panel cut 1/2 in shorter than the opening 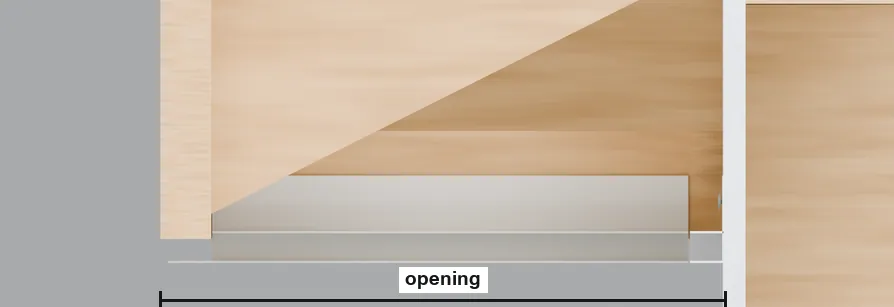
Opening measured from the wall to the fascia board 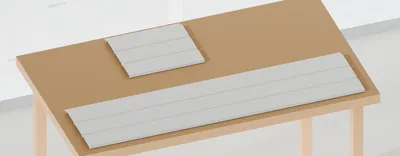
One full stock piece and a short cut panel - Shorter than the wall to fascia opening
- 1/2 in
- Room at each end
- 1/4 in
- Step 5
Slide in the first panel
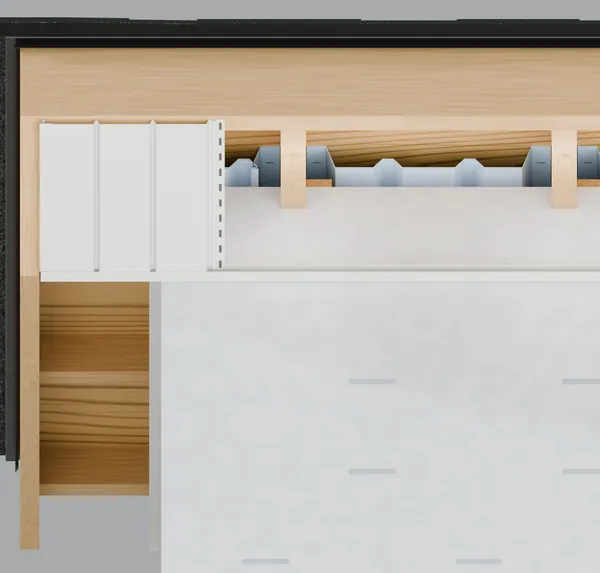
We slide the first panel into the channels at the wall and the gable end, under the fascia board and square to the wall. 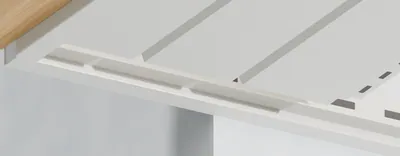
Panel end sliding into the wall channel 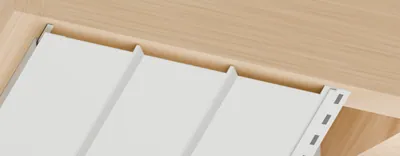
Panel end under the wood fascia board 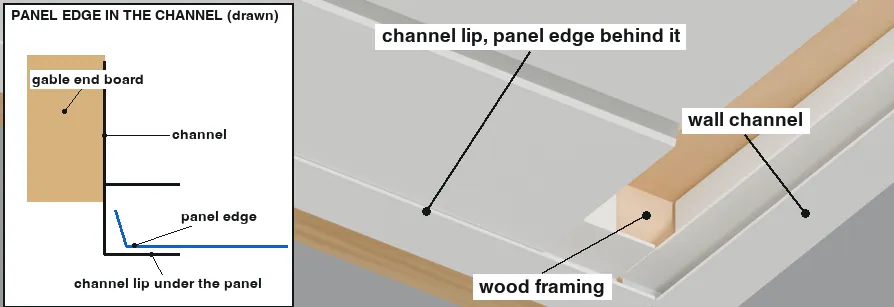
Panel edge seated in the gable end channel - Panel width
- 10 in
- Step 6
Nail the first panel
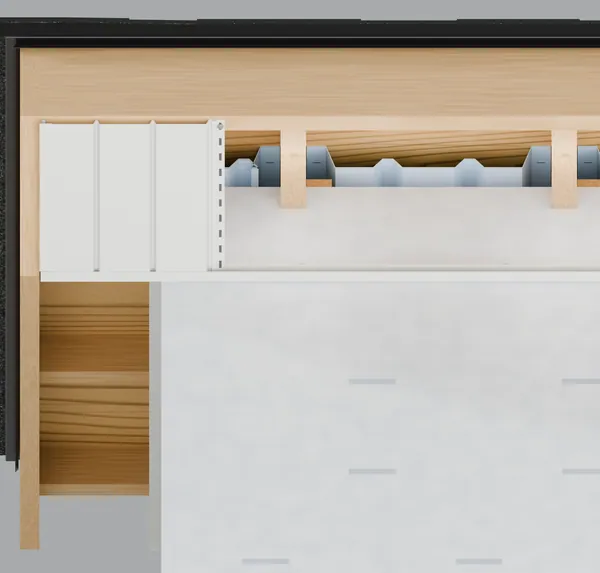
We drive one nail through the slot in the nailing edge into the bottom of the fascia board, leaving the head a hair loose. 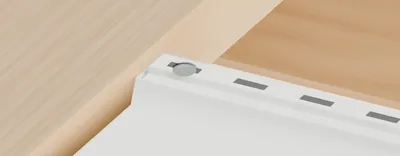
Nail head in the slot under the fascia board 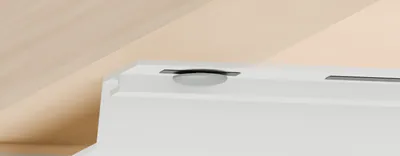
Nail head left slightly loose in the slot 
1/4 in of room at the wall channel - Room at the wall channel
- 1/4 in
- Step 7
Lock the panels along the eave
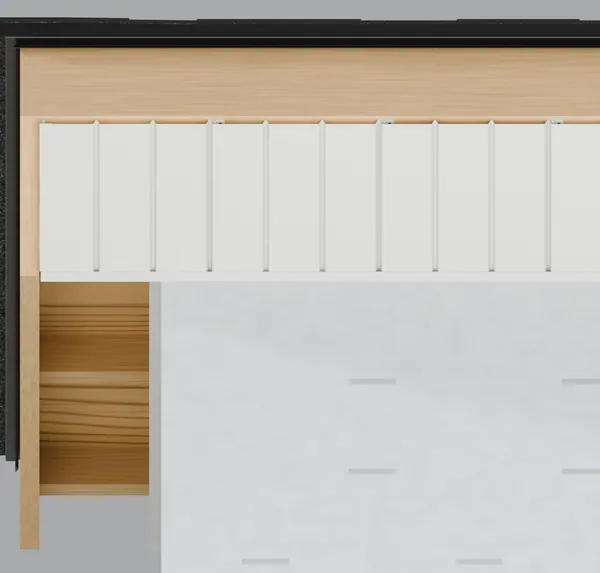
We hook each new panel into the lock of the last one and give it its own nail. The vent openings hide inside the grooves. 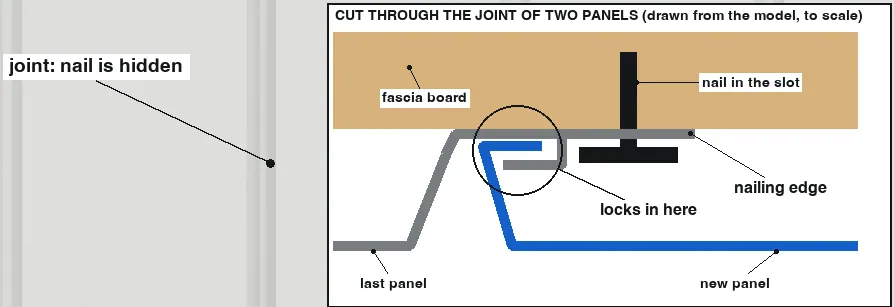
Cut view of the lock joining two panels 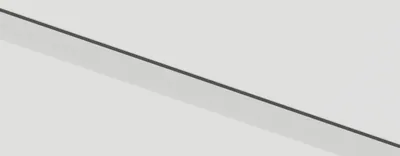
Thin vent slit inside a groove wall 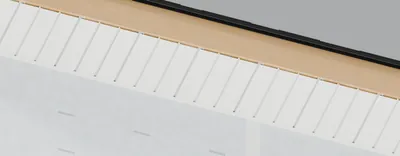
Smooth soffit face with no vent holes - Step 8
Run the soffit up the gable end
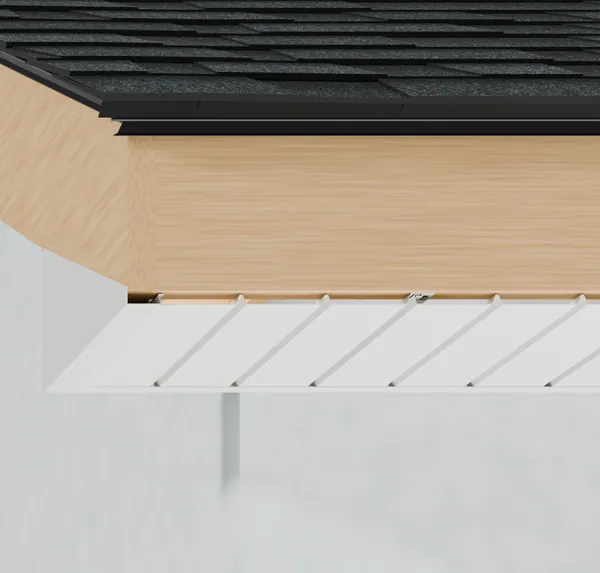
We run the same panels up the gable end. Vinyl soffit runs to the end at the corner, with aluminum on outside faces only. 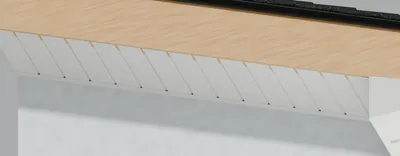
Same panels run up the gable end 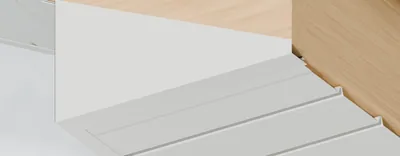
Vinyl soffit runs to the end at the corner 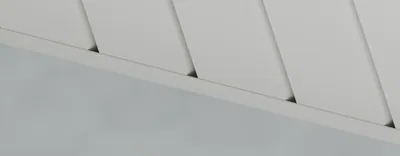
Panel ends in the channel on the gable wall - Step 9
Cover the eave fascia
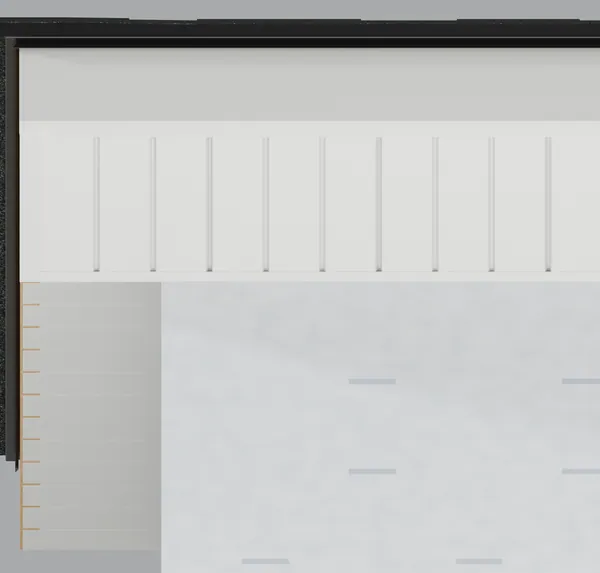
We slide an aluminum cover up behind the drip edge. Its bottom lip covers the panel ends and a tab bends around the corner. 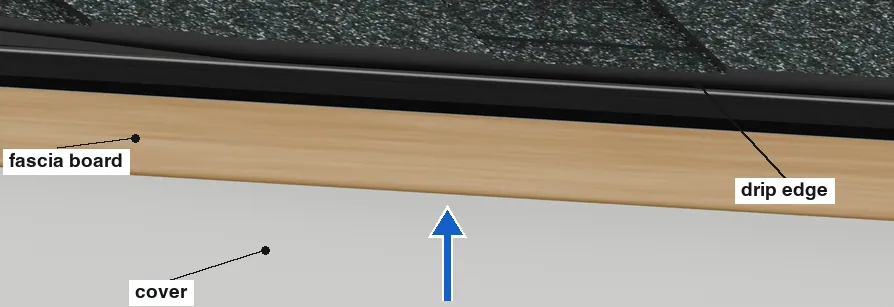
Cover slides up behind the drip edge 
Bottom lip under the soffit panel ends 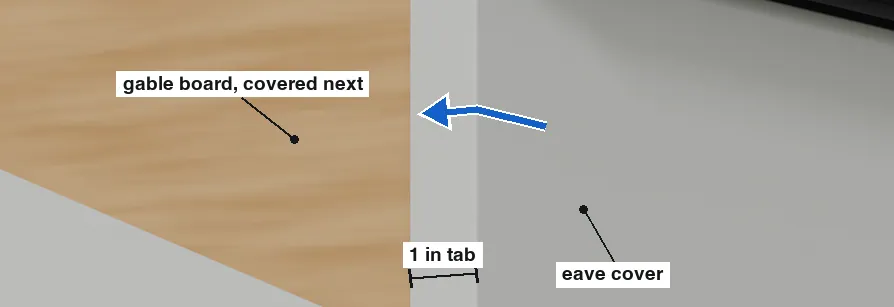
1 in tab bent around the corner - Corner tab
- 1 in
- Bottom lip
- 1 1/4 in
- Step 10
Cover the gable board
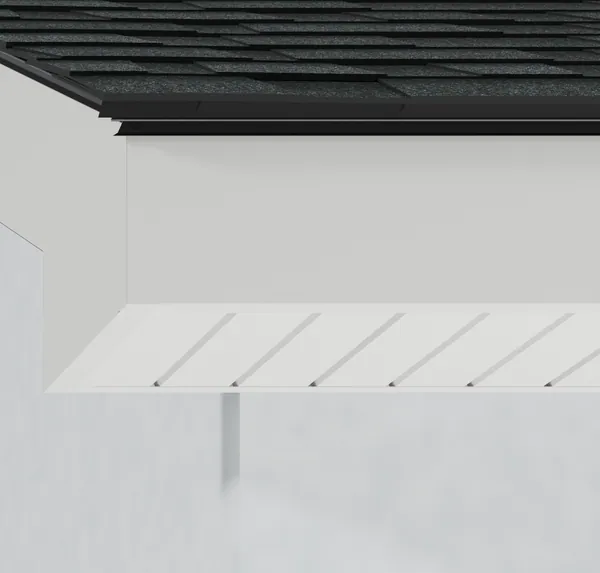
We put the gable cover on next. It laps over the 1 inch tab at the corner so water cannot get behind. 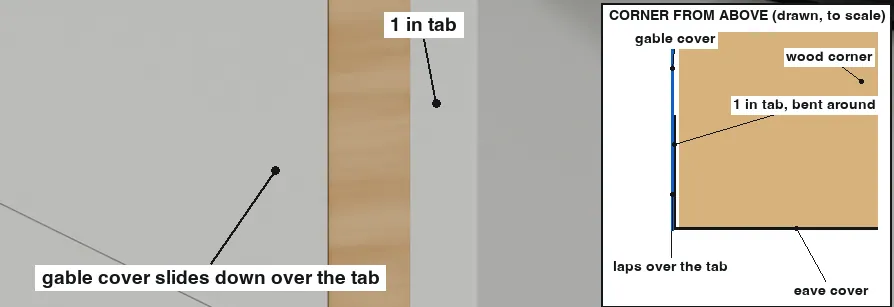
Gable cover laps over the 1 in tab 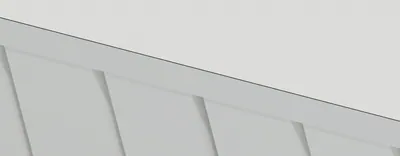
Bottom lip turned under the gable end soffit 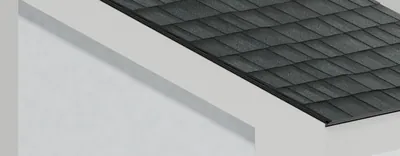
Gable cover runs up behind the drip edge - Step 11
Tack the trim nails
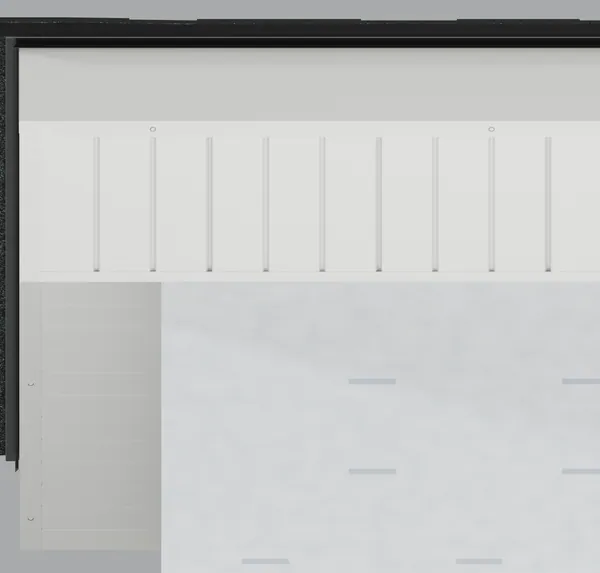
We tack painted trim nails through the bottom lip, snug but not tight. 
Trim nail held below the lip, ready to tack in 
Painted nail head, snug but not tight 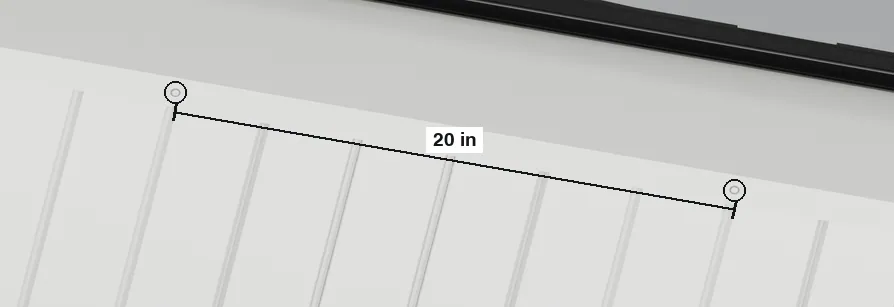
Trim nails snug but not tight - Step 12
Finished soffit and fascia
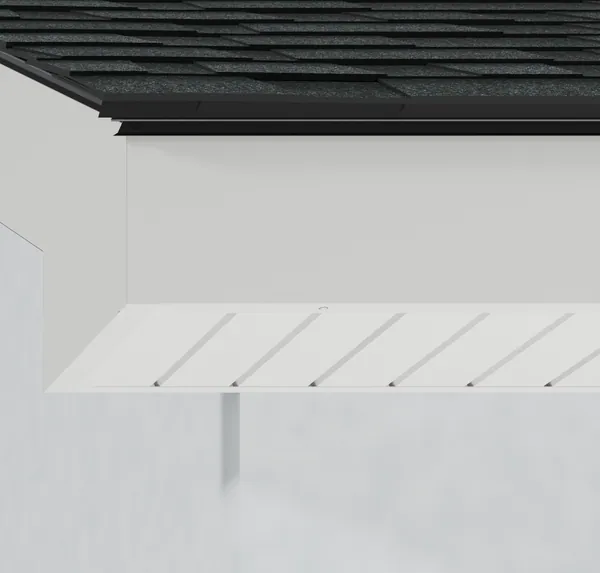
Outside air enters through the hidden vents we installed, passes over the wall above the baffle and leaves at the ridge vent. 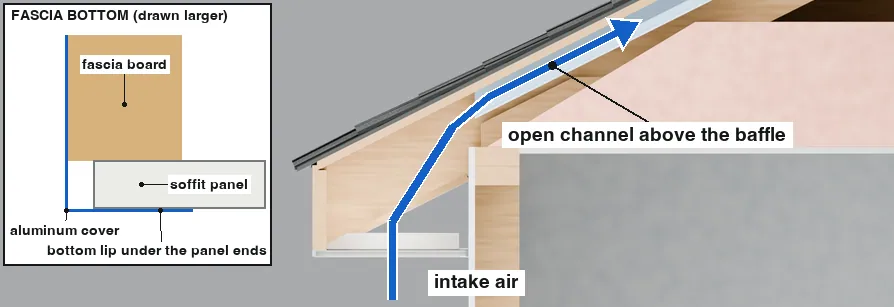
Cut view of intake air above the baffle 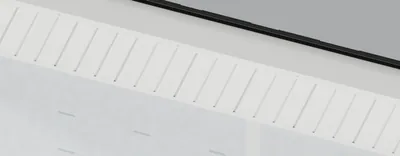
Smooth soffit with the vents out of sight 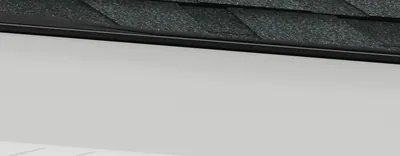
Fascia under the drip edge


