23 illustrated steps
Siding installation
Follow the 23 illustrated steps in this siding installation assembly.
- Step 1
Plywood sheathing
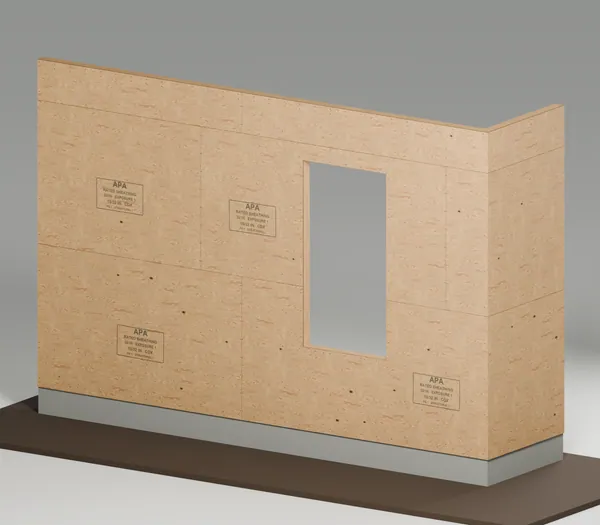
We cover the wall framing with plywood sheathing first. It gives every layer that follows a solid, flat base to fasten to. 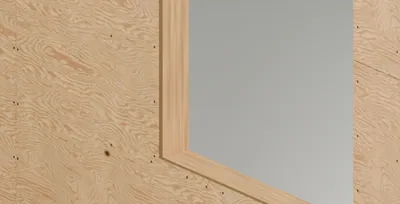
Window opening: plywood edge, side framing and rough sill 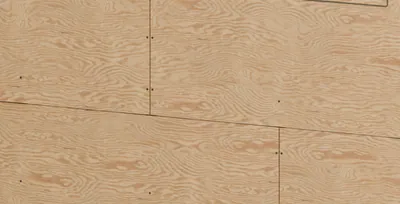
Sheet ends staggered, nailed into the framing 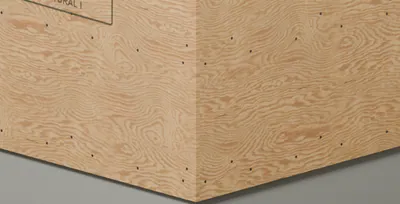
Outside corner with the foundation below - Plywood thickness
- 15/32 in
- Gap between sheets
- 1/8 in
- Step 2
House wrap (HardieWrap)
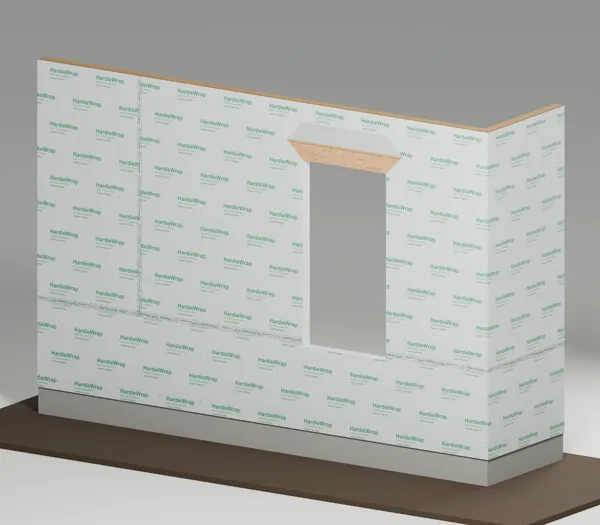
We wrap the sheathing in HardieWrap house wrap and tape every seam. At the window we cut and fold it in, top flap held up. 
Seams taped, stapled into the framing 
Around the corner, 1 in down over the foundation joint 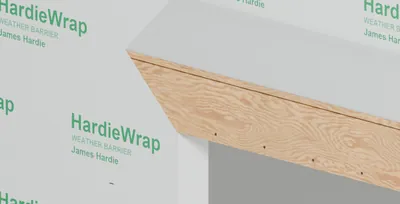
Top flap folded up and taped, bare plywood below it - Sheet lap
- 6 in
- Head cut past corner
- 9 in
- Lap over foundation joint
- 1 in
- Step 3
Sill flashing in the window opening
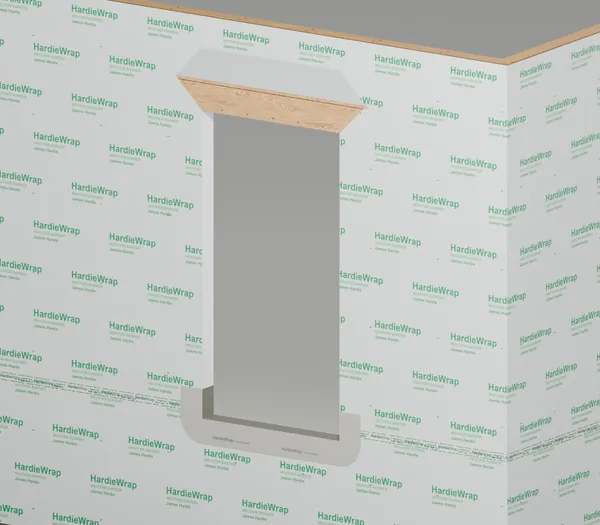
We line the bottom of the window opening with one piece of stretch flashing, so any water that gets past the window drains out. 
One piece across the sill and 6 in up each side 
Stretched around the corner with no cut to leak 
Front edge laps down over the house wrap - Up each side, minimum
- 6 in
- Step 4
Window set and fastened
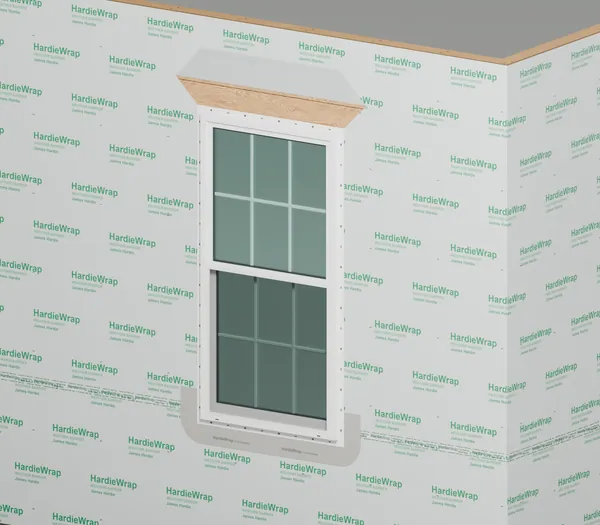
We set the window on the sill flashing, plumb, level and square, and fasten its flange through every other hole on all four sides. 
Flange fastened through every other hole 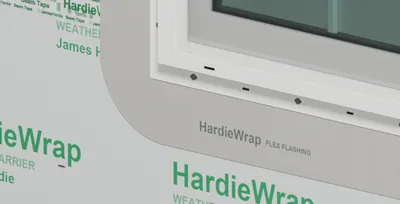
Sill flashing shows below the bottom flange 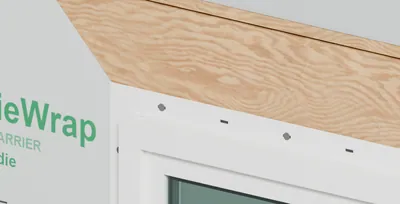
Top flange on the bare wall, no tape yet - Step 5
Side flashing tape
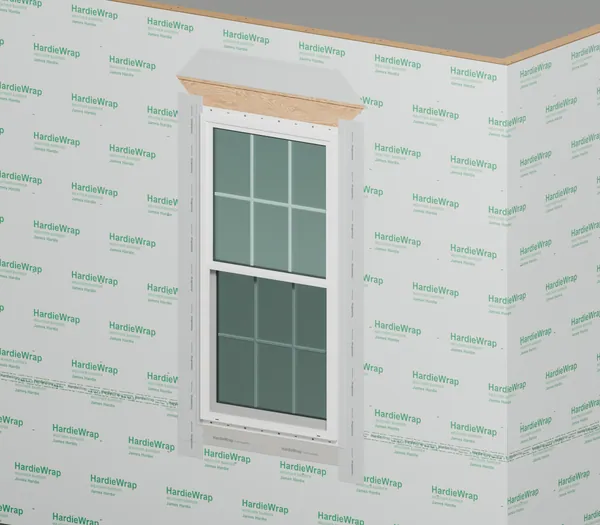
We cover the window's side flanges with flashing tape that runs 3 in below the sill flashing and 3 in above the opening. 
Tape covers the flange and its fasteners 
Runs 3 in past the bottom of the sill flashing 
Runs 3 in above the opening, top flange still bare - Side tape past sill flashing
- 3 in
- Side tape above opening
- 3 in
- Side tape width
- 6 in
- Step 6
Top flashing tape, house wrap flap still up
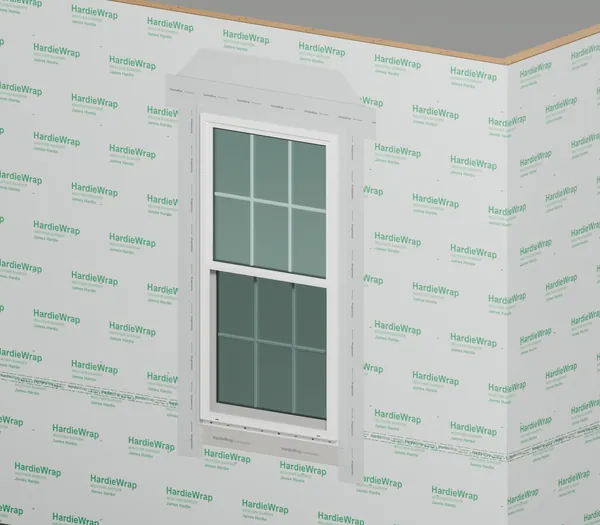
We tape the top flange last, over the side tapes, and never tape the bottom so water can drain. The wrap flap stays up. 
Top tape laps over the side tape 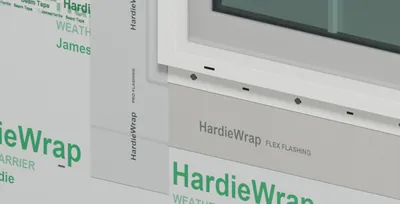
Sill flashing below the flange, no tape across the bottom 
Top flap cut at 45 degrees, taped up for now - Head tape past side tape
- 3 in
- Head tape width
- 9 in
- Step 7
Corner and window trim
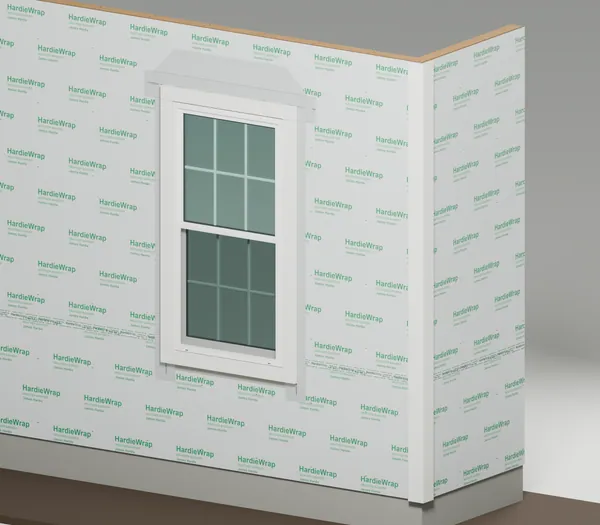
We install trim boards at the corner and around the window before any siding, so the siding fits neatly against them. 
Corner: one board ripped 1 in so both faces show 4 1/2 in 
Top board spans the side board 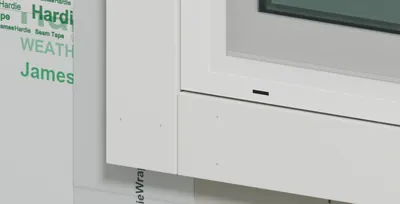
Bottom board fits between the side boards - Window trim face
- 3 1/2 in
- Corner board face
- 4 1/2 in
- Step 8
Metal flashing over the window trim
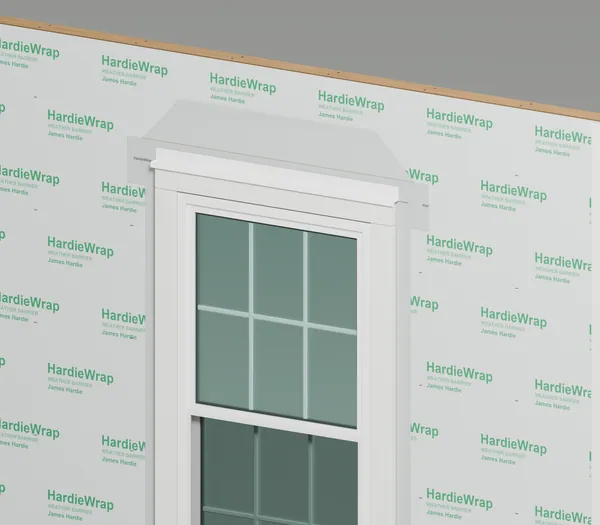
We cap the top window trim board with aluminum flashing. Its turned-down lip throws water clear of the trim. 
End dam: end of the flat top bent up 1/4 in 
Flashing ends 1/2 in past the end of the top board 
From the end: drip lip kicked out, hem folded flat - Wall leg
- 2 in
- Drip lip off trim face
- 1/4 in
- Past each board end
- 1/2 in
- End dam
- 1/4 in
- Step 9
House wrap flap down and taped
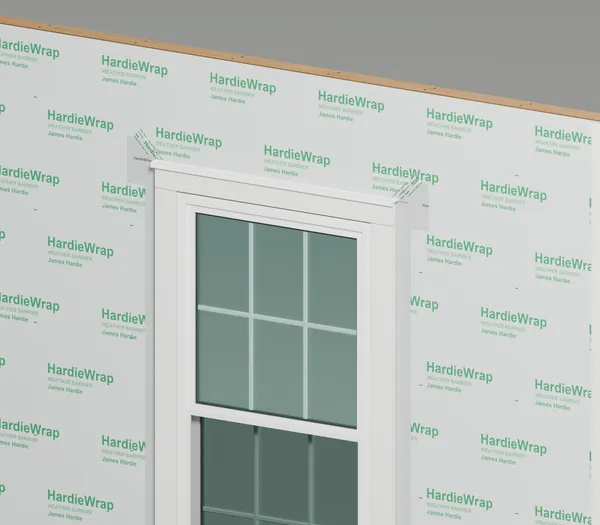
We fold the house wrap flap down over the metal flashing and tape its cuts, so water on the wrap runs onto the metal. 
Flap down over the flashing leg 
Clear seam tape over the cut, down to the flashing 
Same at the other cut - Seam tape width
- 1 7/8 in
- Step 10
Starter strip
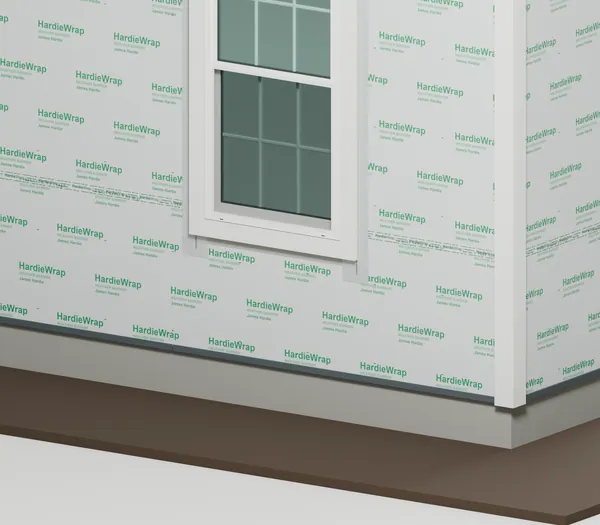
We run a thin starter strip along the bottom to angle the first siding row correctly, with small gaps left so water drains. 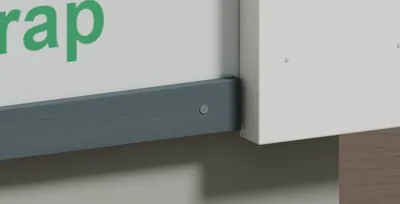
Starter stops 1/8 in from the corner board 
Drain gap between starter pieces 
Level with the bottom of the wrap and sheathing, nailed - Starter strip width
- 1 1/4 in
- Gap to corner board
- 1/8 in
- Step 11
First row: first plank
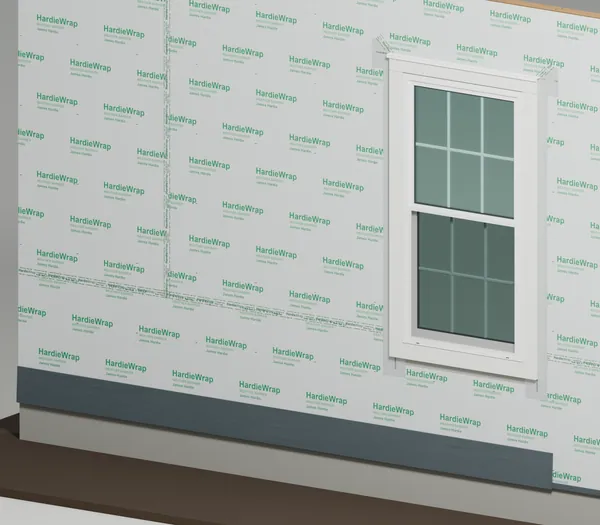
We start the first row with a plank nailed near its top edge, so the next row hides the nails. 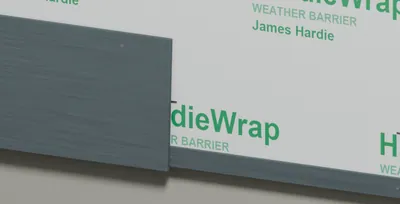
Open end, where the joint flashing goes next 
Nails on the line near the top edge 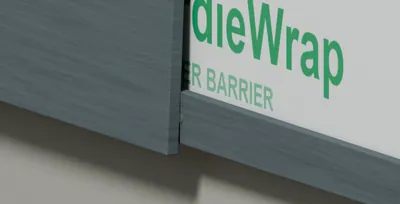
Bottom edge 1/4 in below the starter strip - Plank width
- 8 1/4 in
- Exposure
- 7 in
- Nail line from top, minimum
- 3/4 in
- Nail line from top, maximum
- 1 in
- Nail from plank end
- 3/8 in
- First course below starter
- 1/4 in
- Siding above ground, minimum
- 6 in
- Step 12
First row: joint flashing
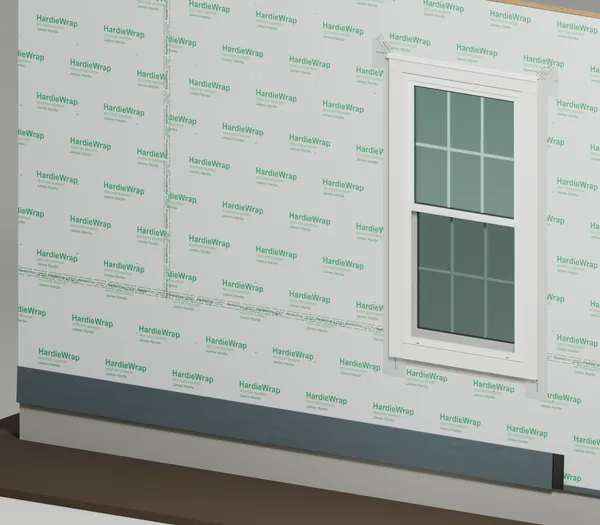
We slip joint flashing behind the plank end, half showing, so any water that finds the joint runs back out. 
Joint flashing runs down over the starter strip 
End nail goes through the flashing and holds it 
From the end: flashing between the wall and the plank - Joint flashing width
- 6 in
- Joint flashing lap onto course below
- 1 in
- Step 13
First row: next plank and around the corner
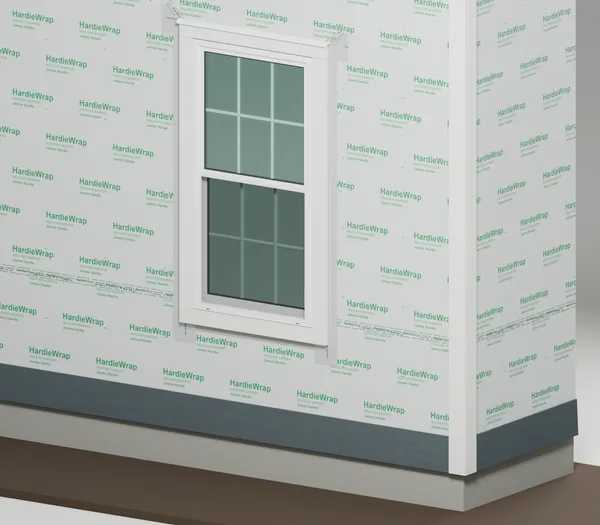
We butt the next plank over the flashing to finish the first row, then carry the row around the corner at the same height. 
Plank ends meet over the flashing, no caulk 
1/8 in gap at the corner board, left open for now 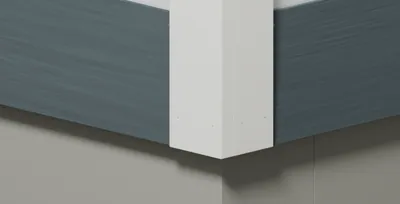
First row even with the bottom of the corner board - Gap at corner board
- 1/8 in
- Step 14
Second row: first plank
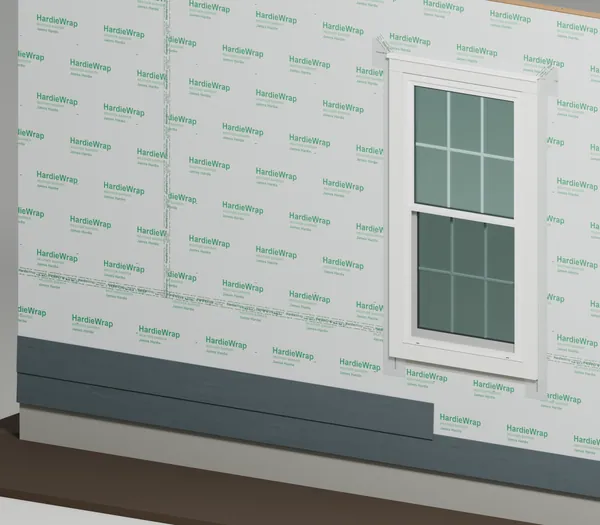
We start the second row with a shorter plank, so its end lands at least 32 in from the joint below, as James Hardie requires. 
Plank end at least 32 in from the joint below 
Nails on the line near the top edge 
Laps 1 1/4 in over the row below - Joint stagger, minimum
- 32 in
- Minimum lap
- 1 1/4 in
- Step 15
Second row: joint flashing
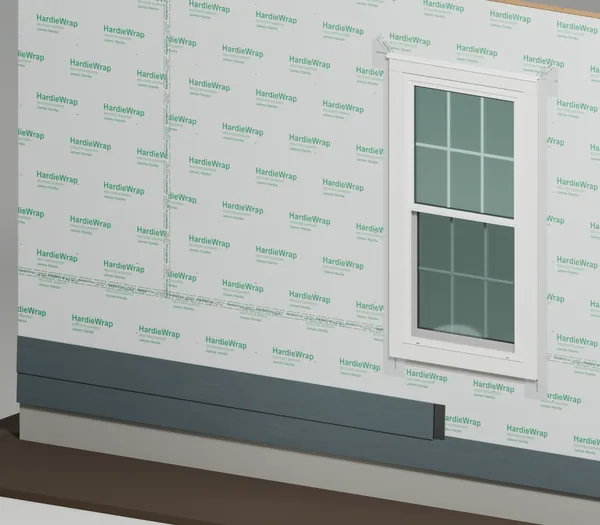
We put joint flashing behind every plank end. This one laps 1 in onto the row below so water drains out over the siding. 
Joint flashing laps 1 in over the top of the row below 
End nail goes through the flashing and holds it 
From the end: flashing between the wall and the plank - Joint flashing width
- 6 in
- Joint flashing lap onto course below
- 1 in
- Step 16
Second row: next plank and around the corner
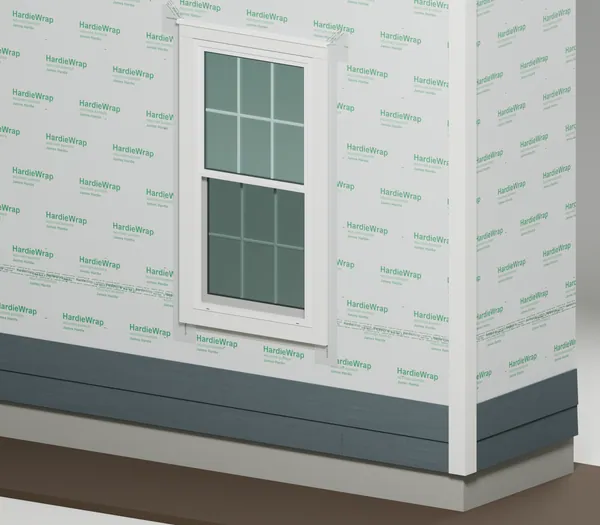
We finish the second row over the flashing and around the corner. Its joint sits at least 32 in from the one below. 
Plank ends meet over the flashing, no caulk 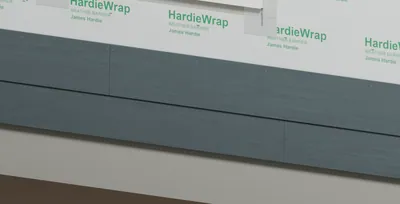
Joints at least 32 in apart, row to row 
Side wall plank at the same height - Joint stagger, minimum
- 32 in
- Gap at corner board
- 1/8 in
- Step 17
Third row: first plank
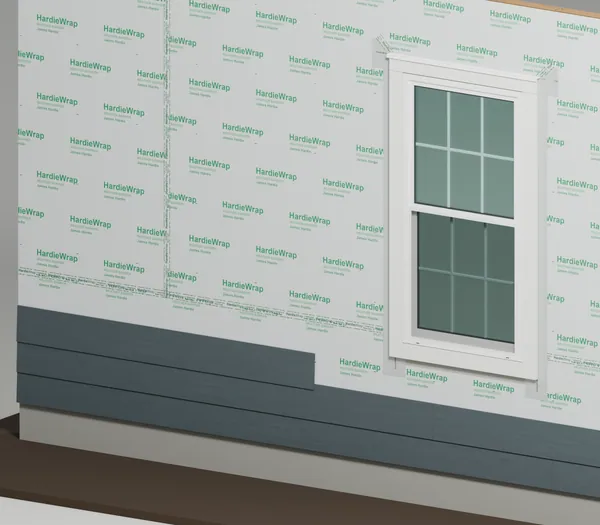
We start the third row with a different plank length again, so no two plank ends line up from one row to the next. 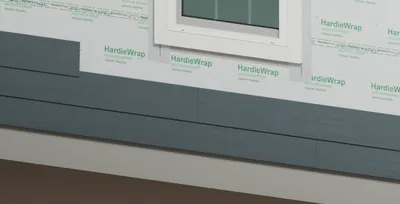
Plank end at least 32 in from the joint below 
Nails on the line near the top edge 
Laps 1 1/4 in over the row below - Joint stagger, minimum
- 32 in
- Minimum lap
- 1 1/4 in
- Step 18
Third row: joint flashing
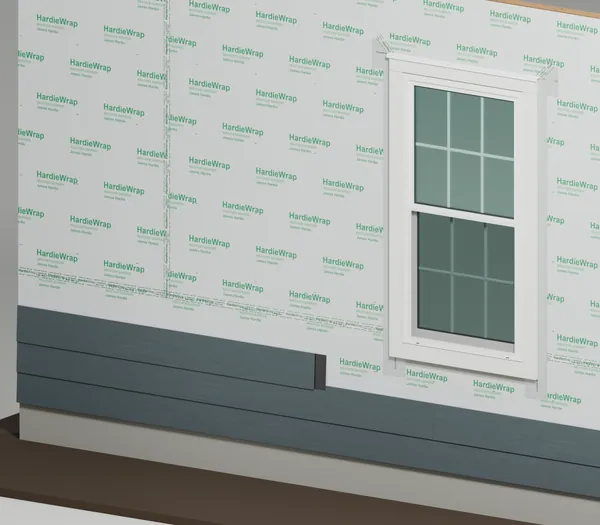
We add flashing behind the open end of the third row. The flashing helps water drain out at the joint. 
Flashing laps 1 in over the top of the row below 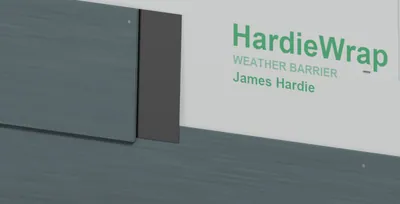
Joint flashing behind the siding 
From the end: half behind this plank, half waiting - Joint flashing width
- 6 in
- Joint flashing lap onto course below
- 1 in
- Step 19
Third row: next plank and around the corner
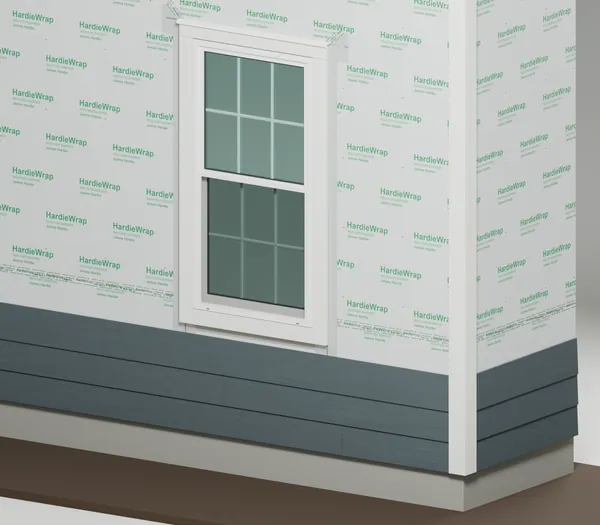
We finish the third row. Three rows, three joints, none above another, and each joint has its own flashing behind it. 
A fine closed joint with the flashing behind it 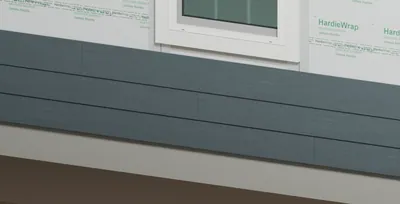
Three joints, none above another 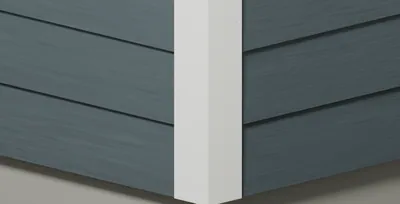
Three rows line up around the corner - Joint stagger, minimum
- 32 in
- Gap at corner board
- 1/8 in
- Step 20
Rows continue up the wall
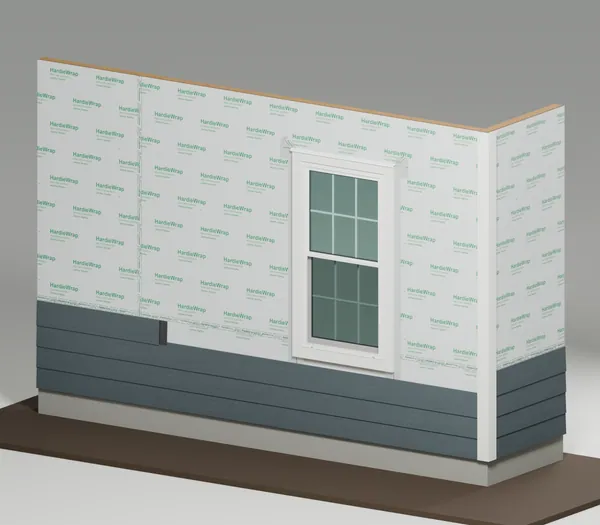
We keep going up the same wall, row by row, at a quicker pace. Every joint is staggered and gets its own flashing. 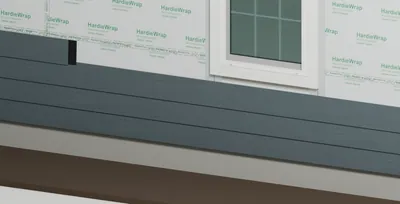
Every joint at least 32 in from the one below 
Joint flashing behind every plank end 
Rows line up around the corner - Joint stagger, minimum
- 32 in
- Joint flashing width
- 6 in
- Joint flashing lap onto course below
- 1 in
- Gap at corner board
- 1/8 in
- Step 21
Courses up the window sides
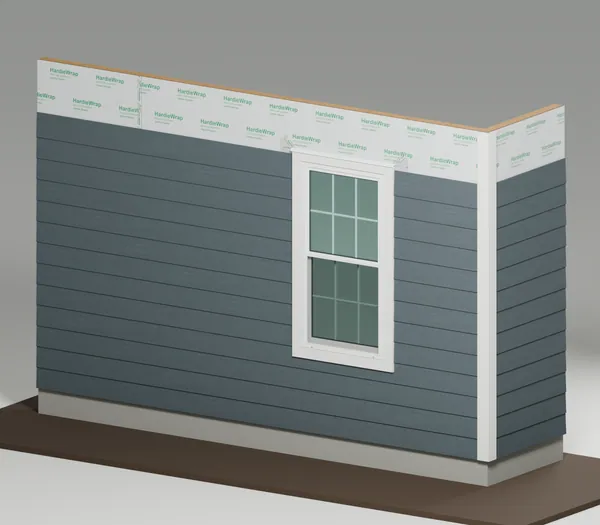
We continue up both sides of the window, cutting planks to fit around the trim and stopping the plank ends just short of it. 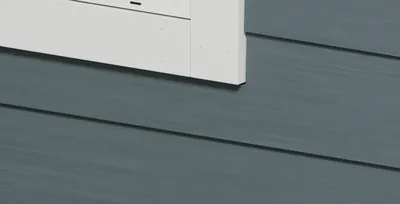
Plank cut to fit around the bottom of the trim 
1/8 in gap at the trim, left open for now 
Top row stops at the top trim line - Gap at trim
- 1/8 in
- Joint flashing width
- 6 in
- Step 22
Courses over the window
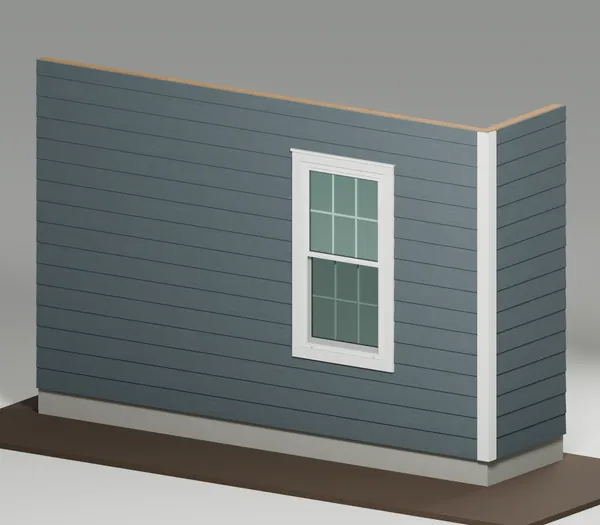
We side the wall above the window and leave a small gap open above the metal flashing so water can drain out. 
1/4 in open gap above the flashing 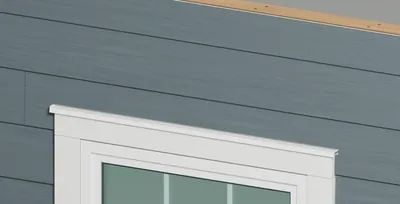
One notched plank across the top 
Rows line up around the corner - Open gap above flashing
- 1/4 in
- Gap at trim
- 1/8 in
- Step 23
Seal where siding meets trim
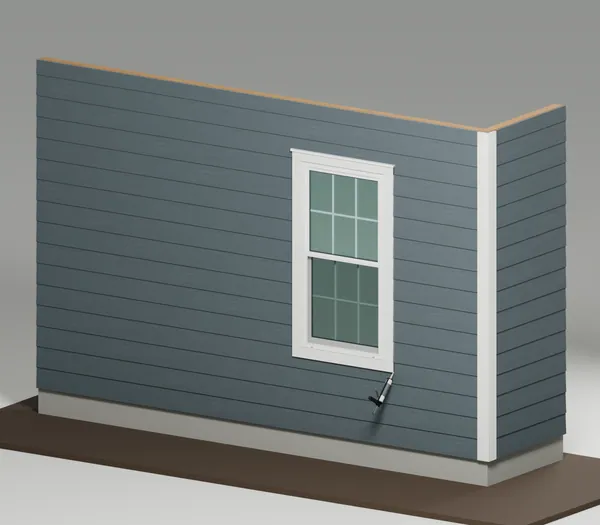
We seal last, once every plank is on. Flexible sealant fills the small gaps where plank ends meet the corner boards and window trim. 
Sealant bead in the 1/8 in gap at the window trim 
Sealant bead in the gap at the corner board 
Gap above the flashing stays open, never caulked - Sealed gap at plank ends
- 1/8 in
- Open gap above flashing
- 1/4 in


