7 illustrated steps
Roof valley
Follow the 7 illustrated steps in this roof valley assembly.
- Step 1
Leak barrier in the valley
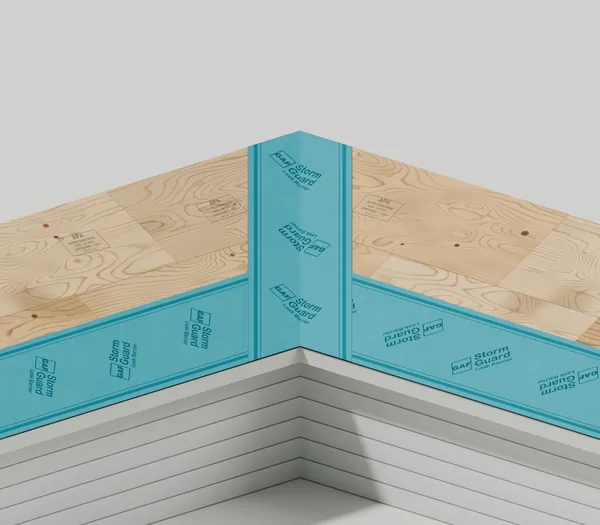
We put a waterproof leak barrier into the valley first, where two roofs meet and their water runs together. 
18 in each side of the valley 
Cut along both eaves, over the eave barrier 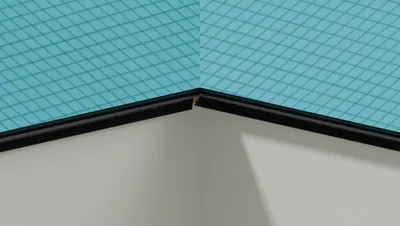
Drip edge (F5.5) mitered at the inside corner - StormGuard width
- 36 in
- Each side of the valley
- 18 in
- Minimum sheet overlap
- 6 in
- Step 2
Underlayment laps onto the valley barrier
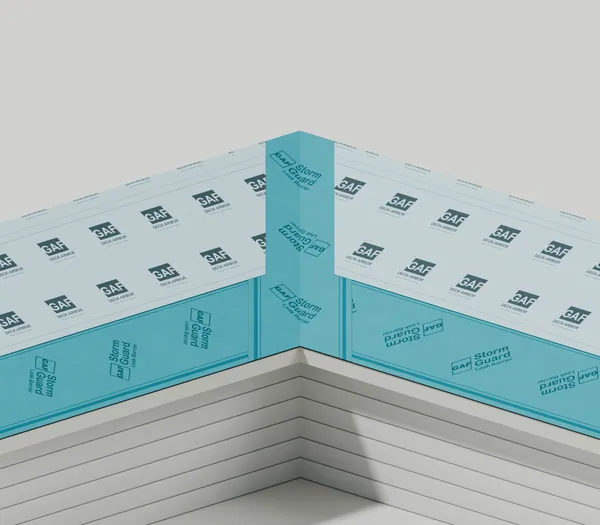
We cover the rest of each roof with synthetic underlayment, overlapping the valley barrier so water always runs over a lap, not into it. 
DeckArmor laps 6 in onto the barrier 
DeckArmor edge on top of the teal leak barrier 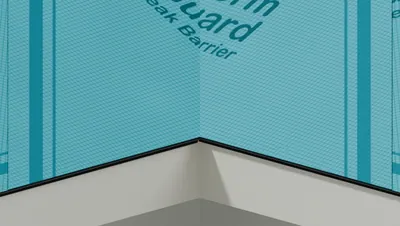
At the eave - Lap onto the valley barrier
- 6 in
- Lap over the eave barrier
- 3 in
- StormGuard left open in the valley
- 24 in
- Step 3
Metal valley (W valley)
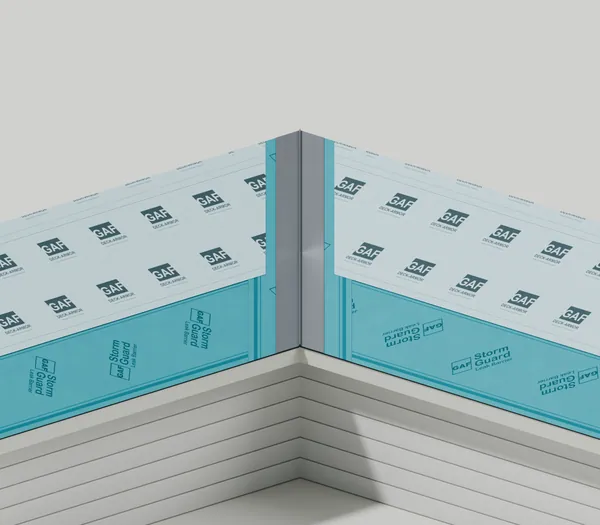
We lay a metal valley with a raised center rib over the barrier. It carries the water down the valley and off the roof edge. 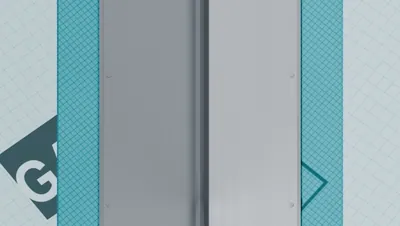
8 in flat each side, 1 in rib 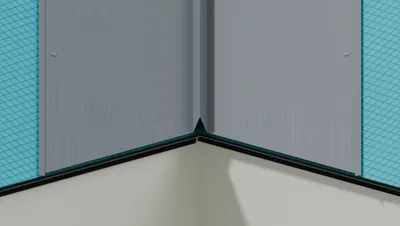
Low end cut along both drip edge lines 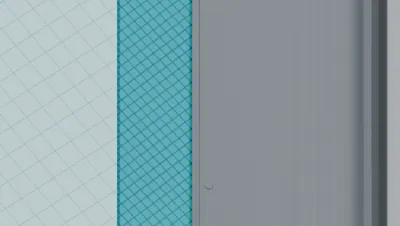
Nails at the outer edge only - Valley metal width
- 18 in
- Valley metal length
- 10 ft
- Flat each side
- 8 in
- Center rib
- 1 in
- Step 4
Leak barrier strips over the metal edges
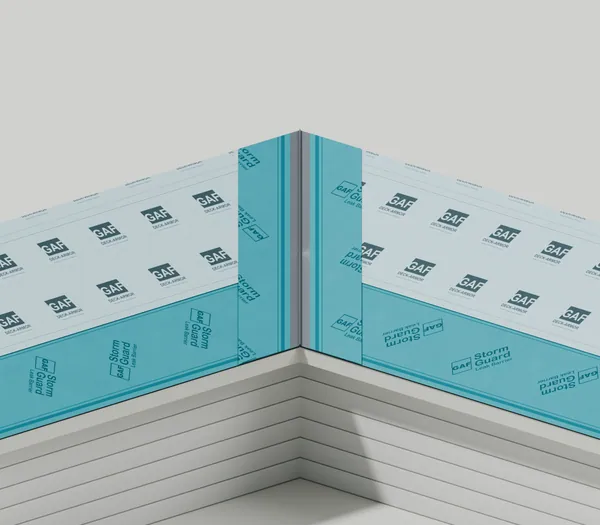
We seal leak barrier strips over both edges of the metal and its nails, keeping every nail hole under a waterproof layer. 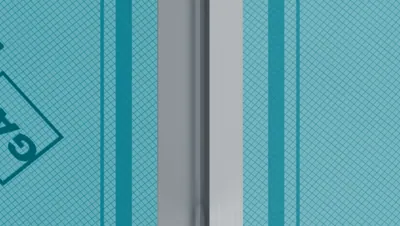
Strip covers the nails and 5 in of metal 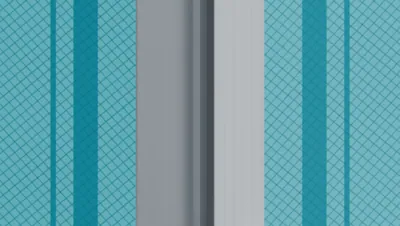
3 in of open metal each side of the rib 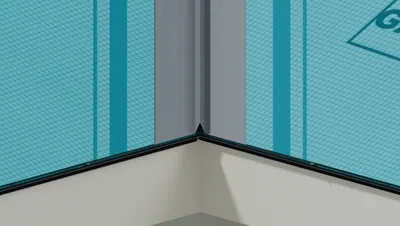
At the eave: metal runs to the drip edge line - Strip width
- 18 in
- Metal covered
- 5 in
- Open metal each side of the rib
- 3 in
- Step 5
Starter strip at both eaves
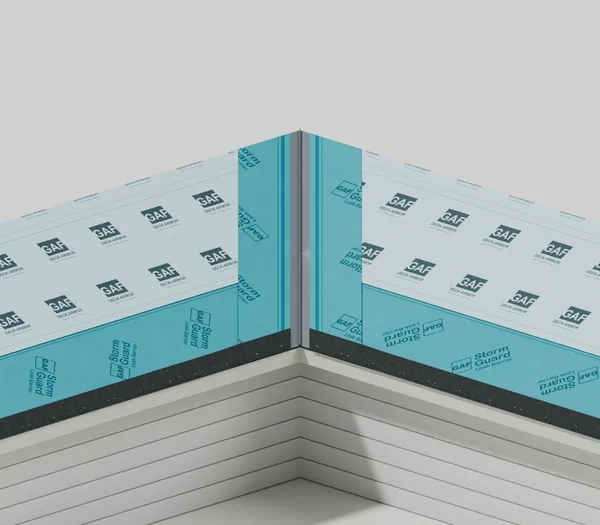
We run a starter strip along both eaves, set slightly past the metal drip edge so rainwater drips cleanly off the roof edge. 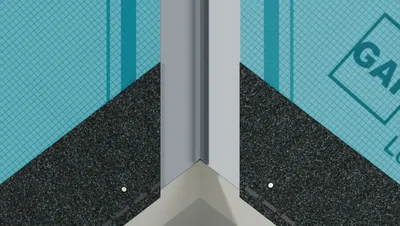
Starter stops 3 in from the rib 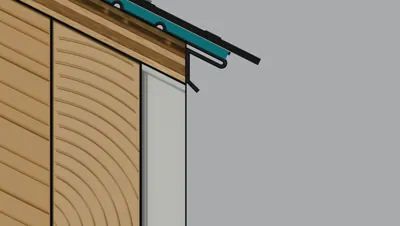
End view: starter 1/2 in past the drip edge 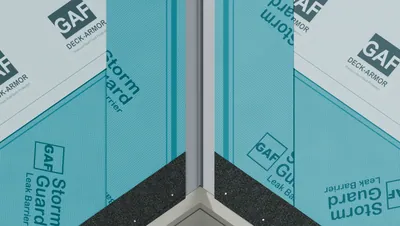
Both eaves - Overhang past the drip edge
- 1/2 in
- Stop back from the rib
- 3 in
- Step 6
Shingles cut back from the rib
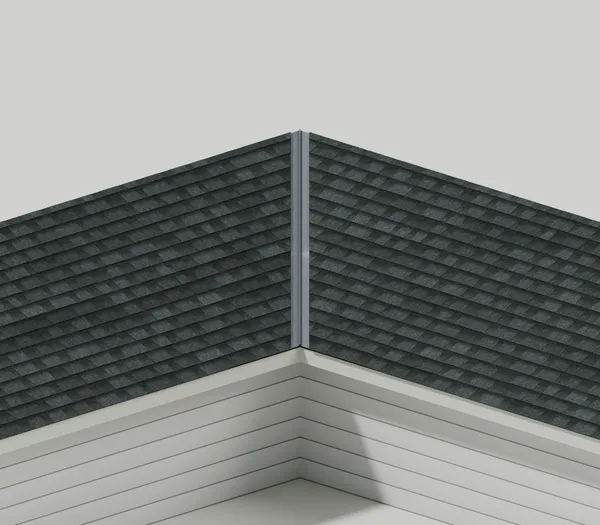
We trim the shingles in a straight line on each side, leaving an open metal channel for water to run down the valley. 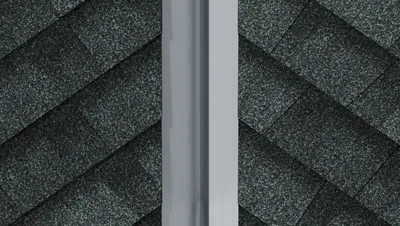
3 in of open metal each side of the rib 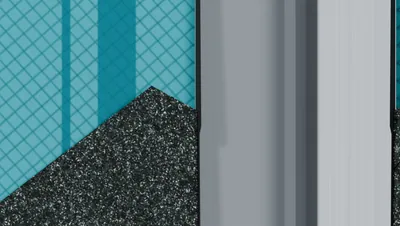
Upper corner of each cut shingle clipped 2 in 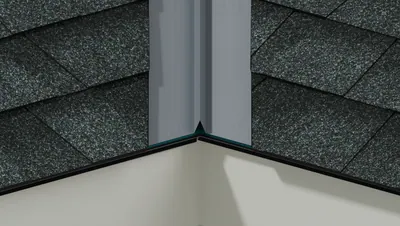
Water leaves over the drip edge - Open metal each side of the rib
- 3 in
- Corner clip
- 2 in
- Nail setback from the cut line
- 6 in
- Step 7
Ridge caps cover the top of the valley
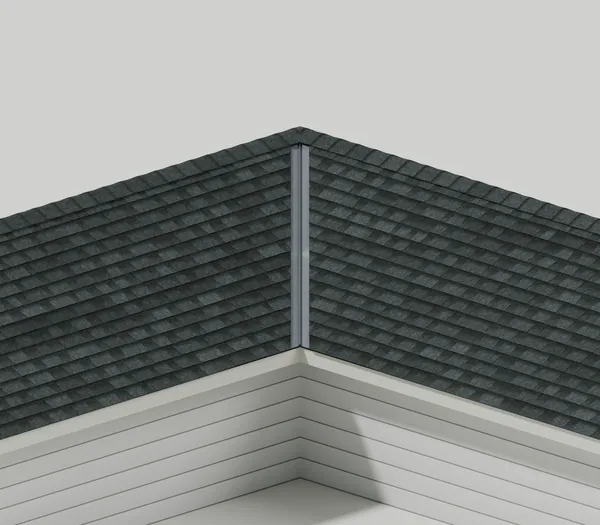
We finish both ridges with ridge cap shingles that cover the top end of the valley metal, closing the last opening at the peak. 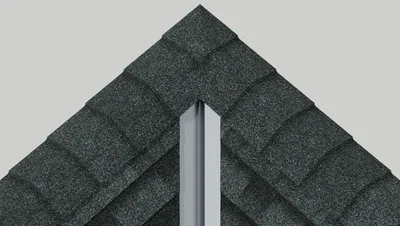
From above: the valley metal runs under the ridge caps 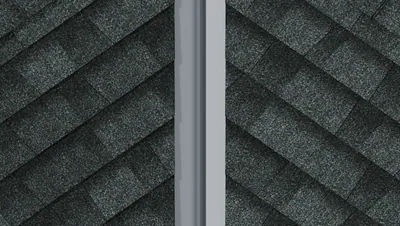
Open valley below the ridge 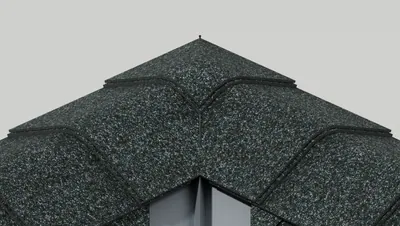
Both ridge cap runs meet in one miter


