7 illustrated steps
Roof-to-wall flashing
Follow the 7 illustrated steps in this roof-to-wall flashing assembly.
- Step 1
Leak barrier where the roof meets the wall
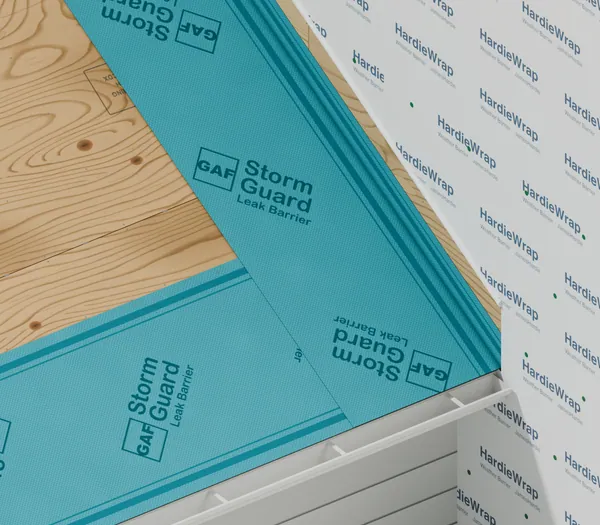
Where the roof meets the wall, we press a leak barrier into the corner and turn it up the wall to seal the joint. 
Turned 6 in up the wall 
Laps over the eave leak barrier 
Eave: drip edge, gutter and end cap - On the deck
- 30 in
- Up the wall
- 6 in
- GAF minimum up the wall
- 5 in
- Step 2
Underlayment to the wall

We cover the rest of the deck up to the wall with synthetic underlayment, overlapping the leak barrier so water runs over every lap. 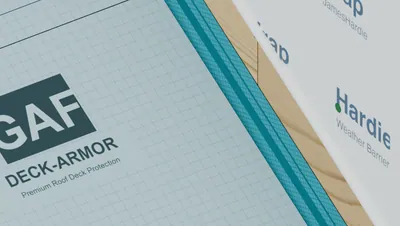
Runs tight to the wall 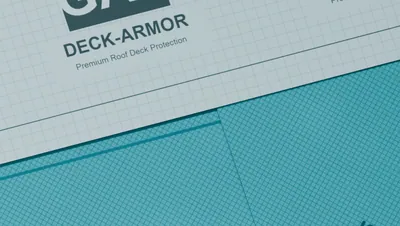
Laps 3 in over the eave leak barrier 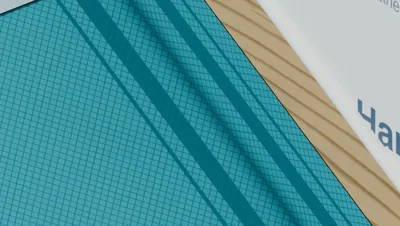
Leak barrier stays up the wall - Course width
- 48 in
- Side lap
- 3 in
- Lap over the eave barrier
- 3 in
- Step 3
Starter strip at the eave
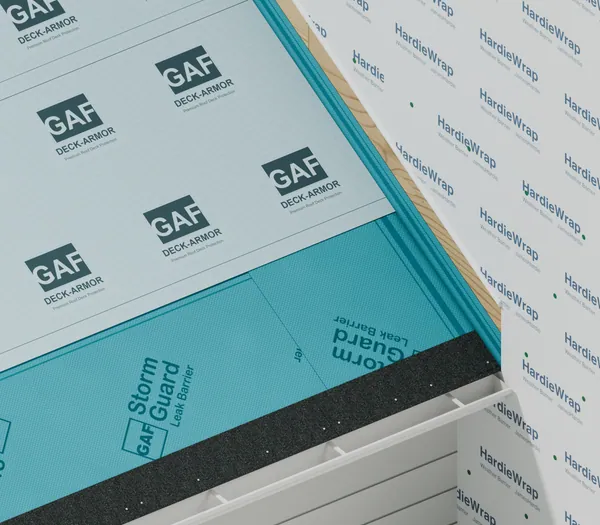
We run a starter strip along the eave to the wall, set slightly past the drip edge so water drips into the gutter. 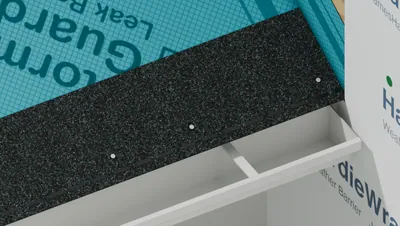
Starter runs to the wall 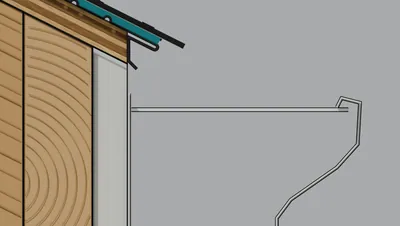
End view: starter 1/2 in past the drip edge, over the gutter 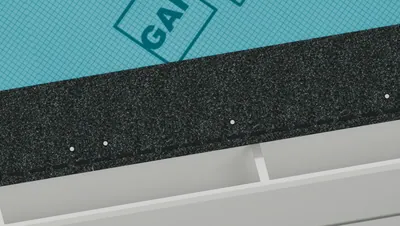
Butted end to end and nailed - Overhang past the drip edge
- 1/2 in
- Step 4
Kickout flashing at the bottom row
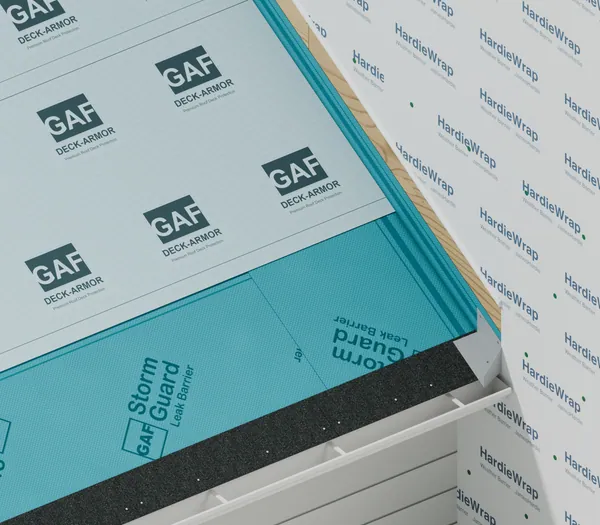
We set a kickout flashing at the bottom of the wall to turn roof water out into the gutter instead of down the wall. 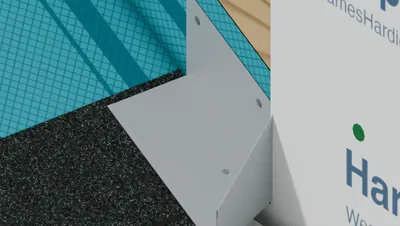
Kickout: 8 in by 5 in by 5 in, bent at 110 degrees 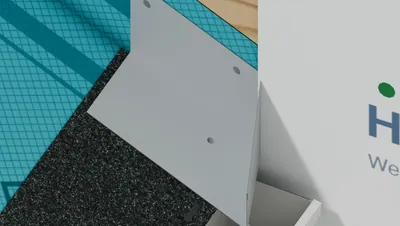
Sealed end turns water into the gutter 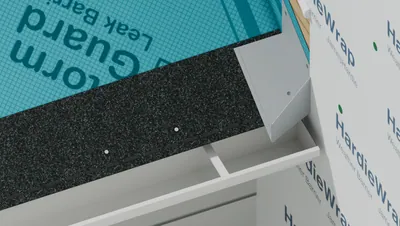
On the starter, at the lowest row - Wall leg length
- 8 in
- Wall leg height
- 5 in
- Roof leg
- 5 in
- Diverter angle
- 110 degrees
- Step 5
Step flashing woven with each shingle row
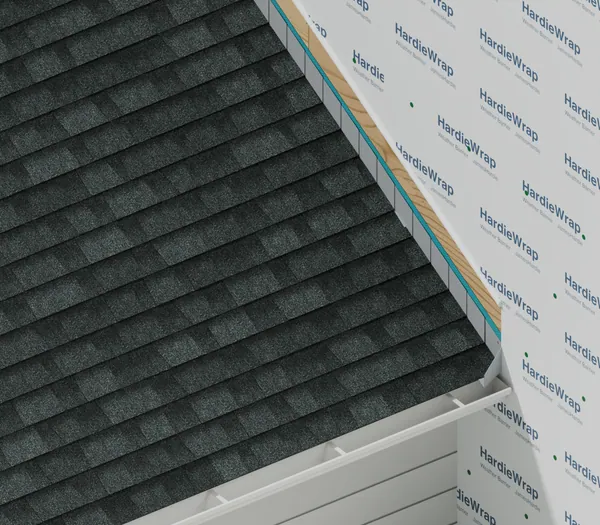
We give each row of shingles its own step flashing against the wall, each piece overlapping the one below to carry water onto the roof. 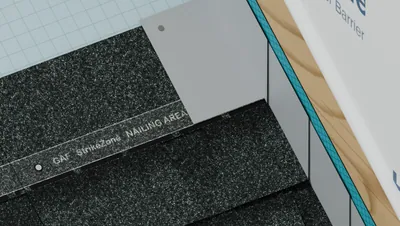
One piece per row; the next row covers it 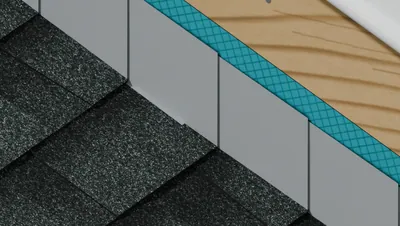
Wall legs lap downhill, upper over lower 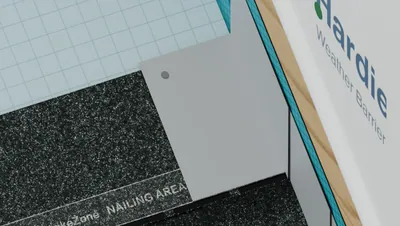
One nail high on the roof leg, covered by the next piece - Step flashing roof leg
- 5 in
- Step flashing wall leg
- 5 in
- Step flashing length
- 8 in
- Minimum piece overlap
- 2 in
- Step 6
House wrap over the flashing legs (WRB)
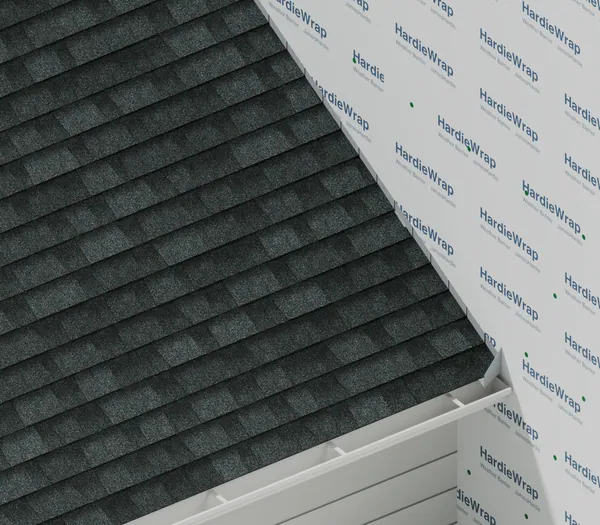
We let the house wrap that is already on the wall down over the metal flashing, so water running down the wall stays outside. 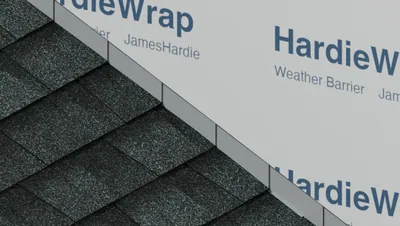
The same sheet of house wrap, let down over the flashing legs 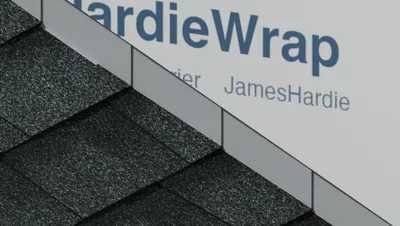
Wrap ends 2 in above the shingles, with the flashing legs behind it 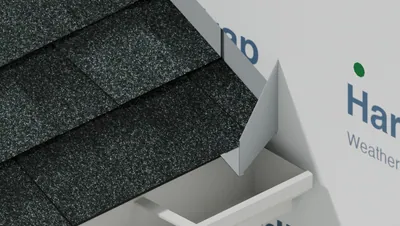
Kickout stays out in front, its wall leg under the wrap - Wrap laps over the flashing wall legs, at least
- 2 in
- Wrap stops above the shingles
- 2 in
- Step 7
Siding with 2 in roof clearance
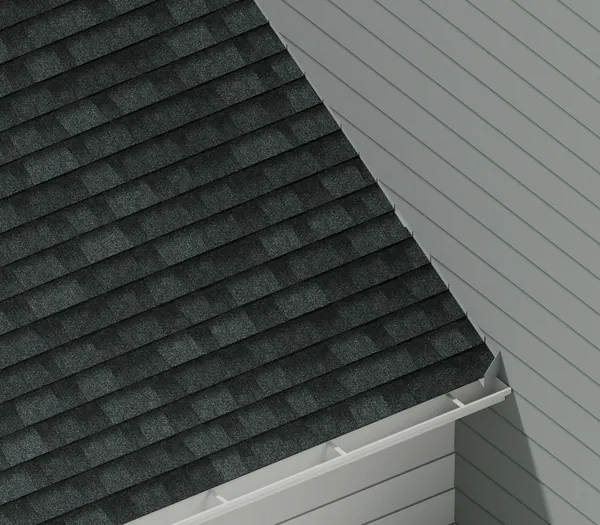
We cut siding parallel to the roof, 2 in above the shingles as James Hardie requires, leaving only flashing in the gap. 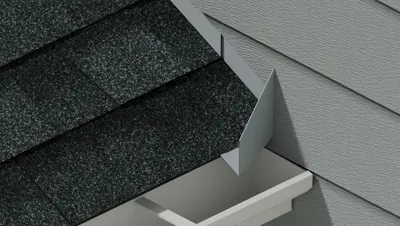
Kickout clears the siding 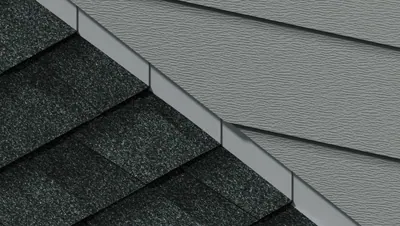
2 in gap above the shingles 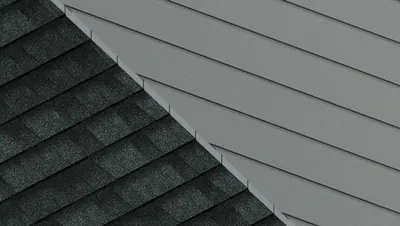
Siding cut parallel to the roof - Siding clearance to the roof
- 2 in


