15 illustrated steps
Roof installation
Follow the 15 illustrated steps in this roof installation assembly.
- Step 1
Plywood roof deck (CDX)
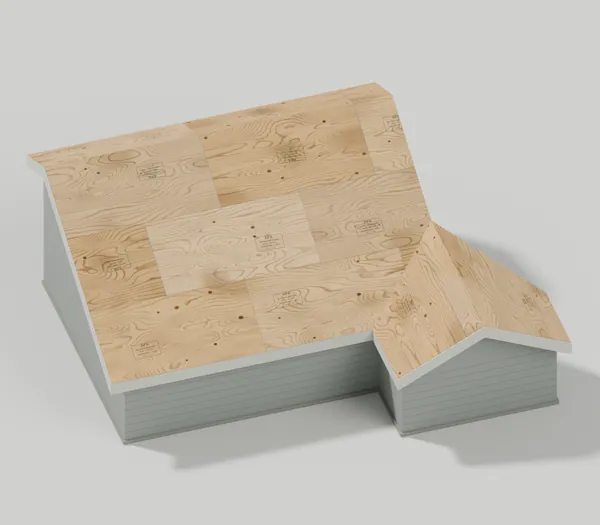
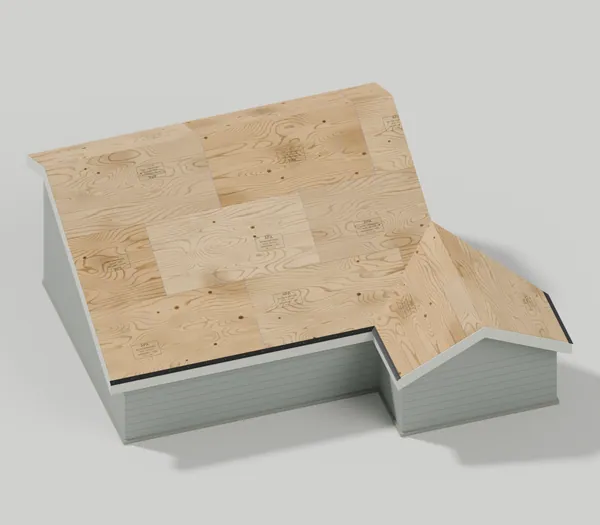
We sheathe the rafters with plywood sheets, staggering the joints, so every layer above is fastened to a solid, even deck. 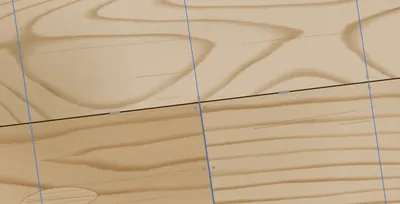
Sheet ends staggered; H-clips in the long joint 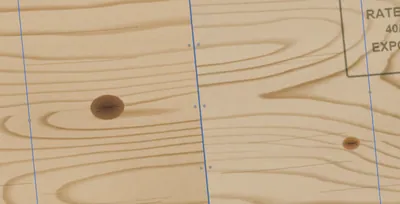
Nails on the rafters at sheet ends and in the field 
Plumb fascia and vented soffit - Plywood (CDX) thickness
- 5/8 in
- Sheet width
- 48 in
- Sheet length
- 96 in
- End joint stagger
- 48 in
- Panel gap
- 1/8 in
- Rafter spacing
- 16 in
- Step 2
Drip edge along the eaves
We nail aluminum drip edge along the bottom edges of the roof first, so the waterproof layers that follow can lap over the metal. 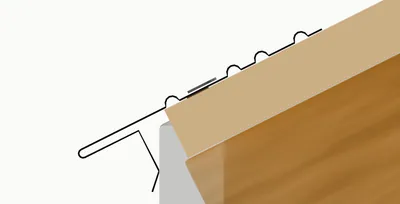
End view: deck flange, hem, face and kick 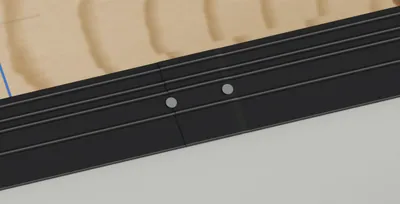
Two 10 ft lengths lap 2 in at the joint 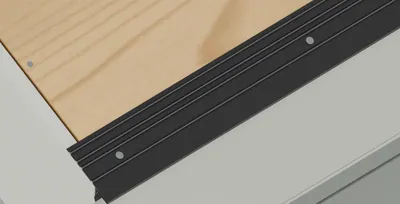
Runs to the gable corner, nailed along the run - Aluminum thickness
- 0.019 in
- Length
- 10 ft
- Lap
- 2 in
- Step 3
Leak barrier along the eaves
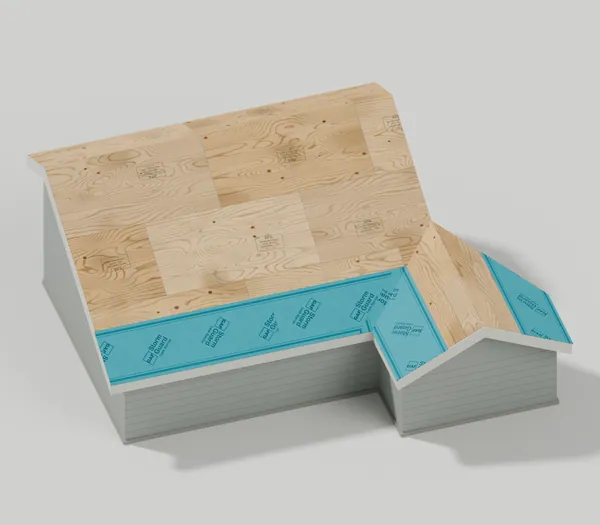
We roll waterproof GAF StormGuard leak barrier along the eaves, over the drip edge, where GAF calls for protection from ice dams. 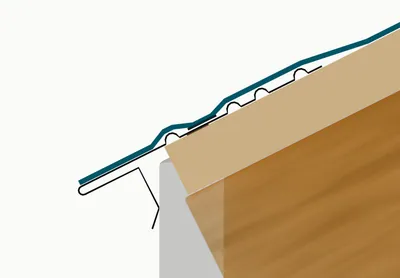
End view: the leak barrier lies on top of the eave drip edge 
Pieces lap 6 in at the ends - Roll width
- 36 in
- End lap
- 6 in
- Wing sheet past the valley line
- 6 in
- Step 4
Valley leak barrier
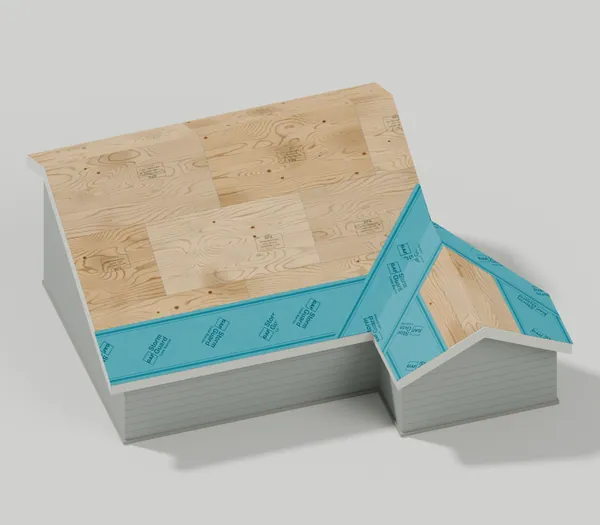
We center a full roll of leak barrier in the valley, where two roof slopes send their water together. 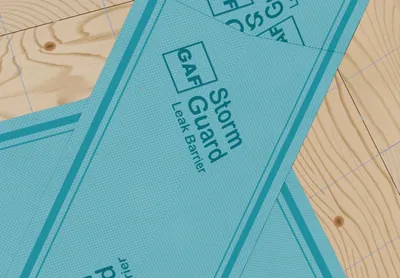
36 in roll centered in the valley 
Upper piece laps 6 in over the lower piece - Roll width
- 36 in
- Up each slope from the valley line
- 18 in
- Lap
- 6 in
- Step 5
DeckArmor underlayment
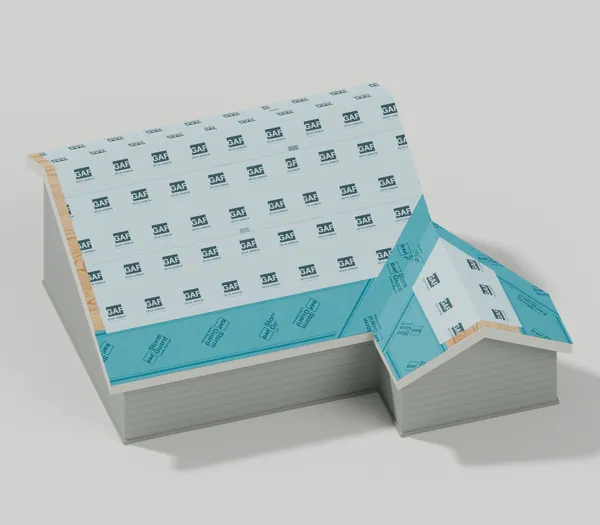
We cover the rest of the deck with GAF DeckArmor, a breathable underlayment that sheds water, each course lapping over the one below. 
Laps of 3 in and 6 in 
Stops 6 in short of the gable edge (rake) 
Laps 3 in over the eave barrier and 6 in onto the valley - Course width
- 48 in
- Side lap
- 3 in
- End lap
- 6 in
- Lap over the eave leak barrier
- 3 in
- Lap onto the valley leak barrier
- 6 in
- Setback from the rake
- 6 in
- Step 6
Leak barrier up the gable edges (rakes)
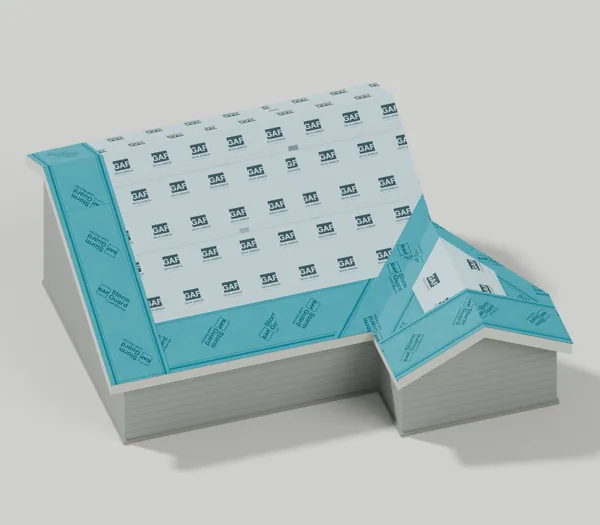
We run waterproof leak barrier up each gable edge, over the underlayment, because GAF lists rakes among the vulnerable leak areas of a roof. 
Rake leak barrier lies over the DeckArmor 
Upper piece laps 6 in over the lower piece 
At the corner it laps over the eave leak barrier - Strip width
- 36 in
- Over the DeckArmor
- 30 in
- End lap
- 6 in
- Step 7
Drip edge up the gable edges (rakes)
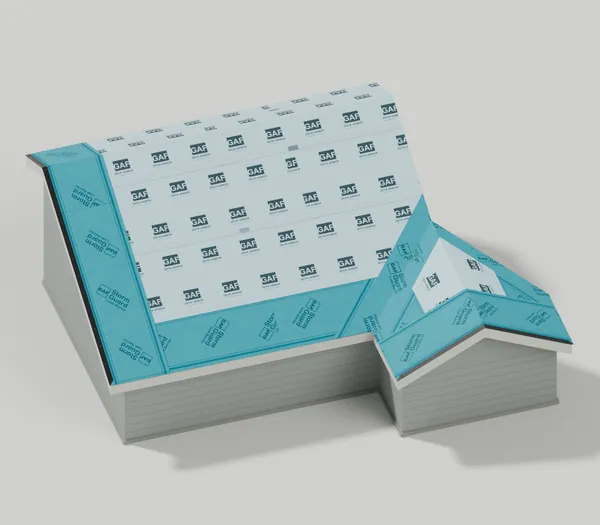
We nail matching drip edge up each gable edge, on top of the leak barrier, so the metal covers the edge of the membrane. 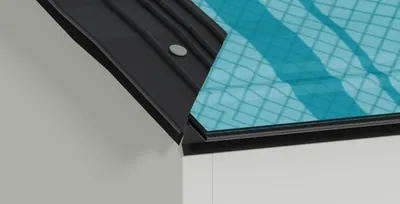
Rake drip edge over the eave drip edge, face folded around the corner 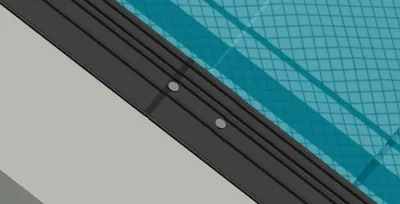
Two 10 ft lengths lap 2 in, upper over lower 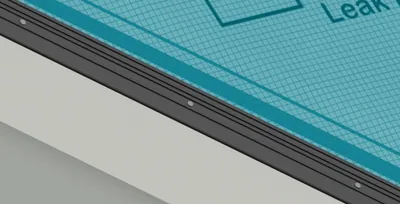
Nails between the ribs - Length
- 10 ft
- Lap
- 2 in
- Face leg folded around the corner
- 1 1/4 in
- Step 8
Metal valley (W valley)
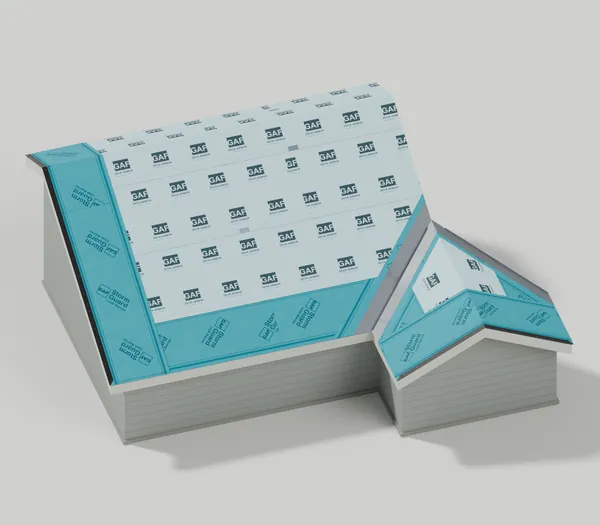
We lay a bent metal W valley over the leak barrier, nailed only along its outer edges so no nail goes through the channel. 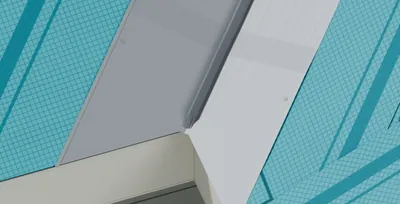
Foot: cut along both eaves, nailed at the edges only 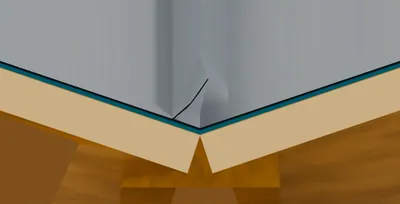
End view across the valley: the rib stands 1 in up 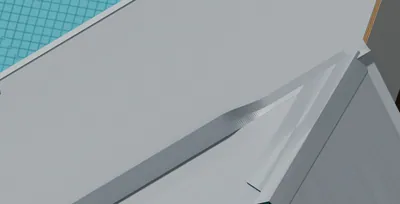
Top: rib snipped, pressed flat and folded 2 in over the ridge - Sheet width
- 18 in
- Sheet length
- 10 ft
- Flange
- 8 in
- Rib leg
- 1 in
- Nail in from the edge
- 3/4 in
- Fold over the wing ridge
- 2 in
- Step 9
Leak barrier over the valley edges
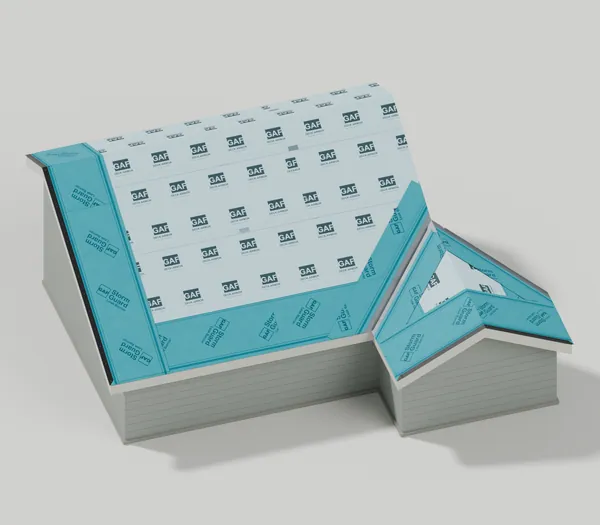
We seal both edges of the valley metal and their nails under strips of leak barrier, leaving 3 in of bare metal beside the rib. 
One 18 in strip over each edge of the metal 
3 in of metal shows each side of the rib 
Strips cover the nails and run onto the DeckArmor - Strip width
- 18 in
- On the metal flange
- 5 in
- Metal exposed each side of the rib
- 3 in
- Step 10
Starter shingles
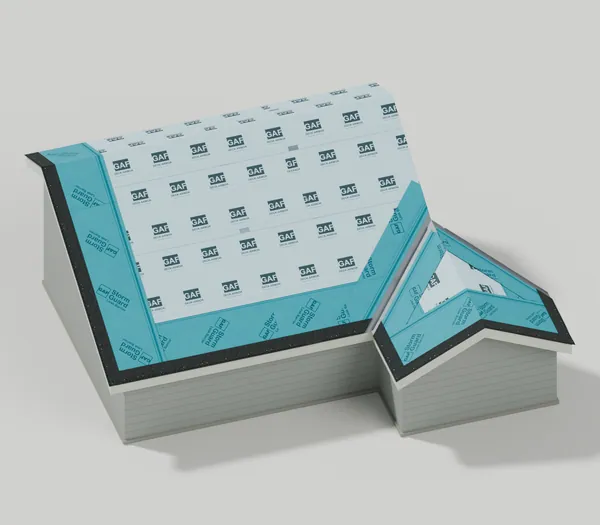
We lay GAF WeatherBlocker starter strips along every eave and rake, with factory sealant near the edge to help hold the first shingles in wind. 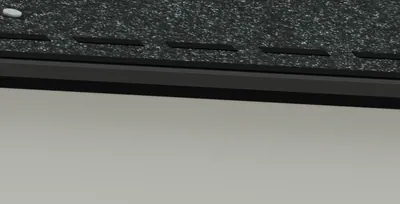
Eave: the metal drip edge still shows under the starter 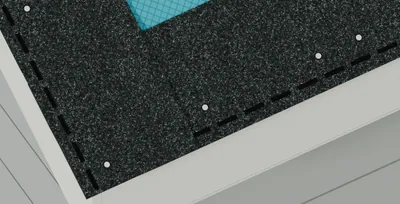
Corner: the rake strip laps over the eave strip 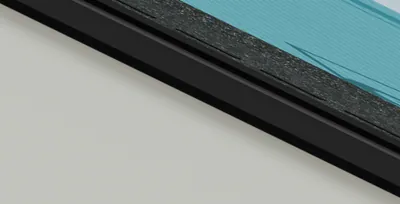
Rake: the same overhang, with metal showing below - Half strip width
- 8 1/2 in
- Strip length
- 40 in
- Overhang past the drip edge nose
- 1/2 in
- Minimum lap of rake strip over eave strip
- 3 in
- Step 11
Shingles: first rows
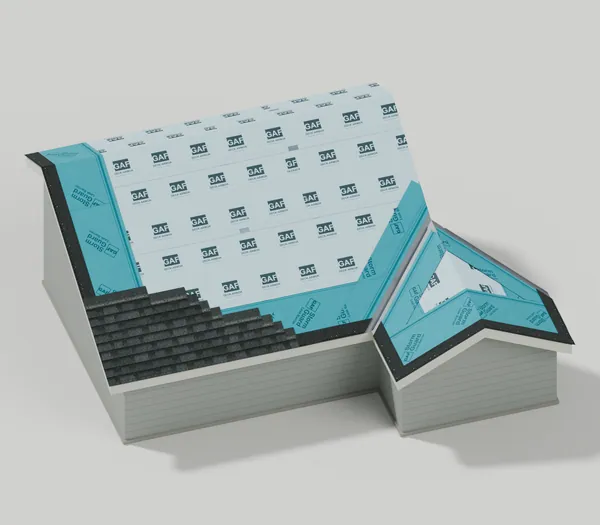
We lay shingles from the eave up, offsetting each row so joints do not line up, and nail where the next row covers. 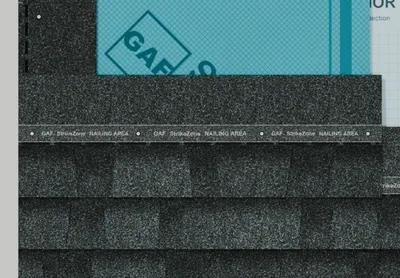
Top shingle: 4 nails, 1 1/2 in and 13 in from each end 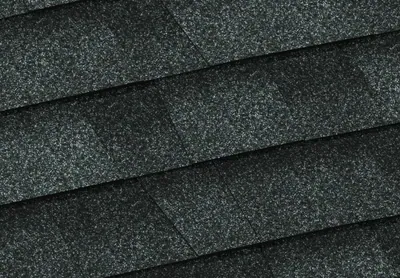
Each row shows 5 5/8 in, with a shadow line under each row - Shingle length
- 39 3/8 in
- Shingle height
- 13 1/4 in
- Exposure
- 5 5/8 in
- Row 2 trim
- 6 in
- Row 3 trim
- 11 in
- Row 4 trim
- 17 in
- Nail line above the butt
- 6 7/8 in
- Step 12
Shingles: whole roof
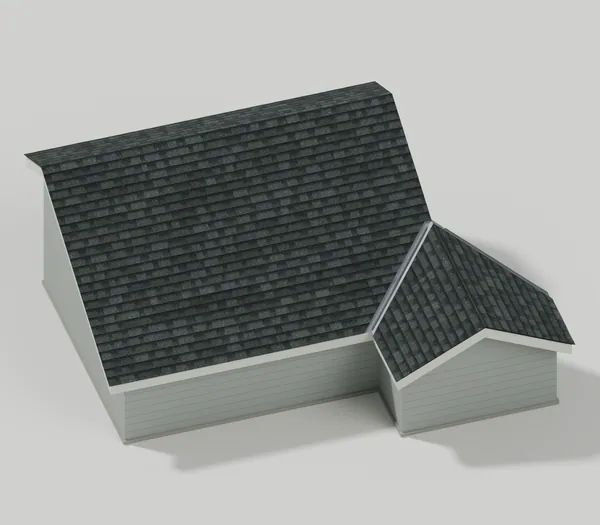
We shingle every slope. At the valley we cut the shingles back on a straight line, leaving an open metal channel for water. 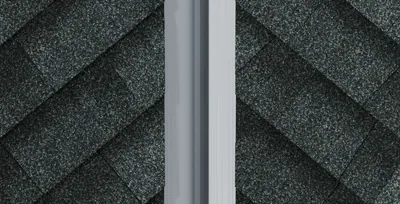
Open valley: shingles cut 3 in back from the rib on each side 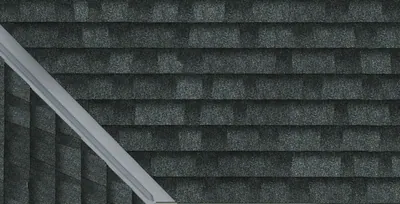
Wing: rows run parallel to the wing eave 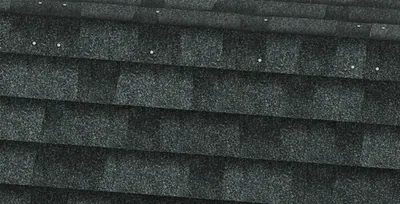
Top row: 4 nails per shingle, covered by the vent and caps - Exposure
- 5 5/8 in
- Valley metal left open each side of the rib
- 3 in
- Top row nails below the peak
- 3 1/2 in
- Step 13
Ridge opening
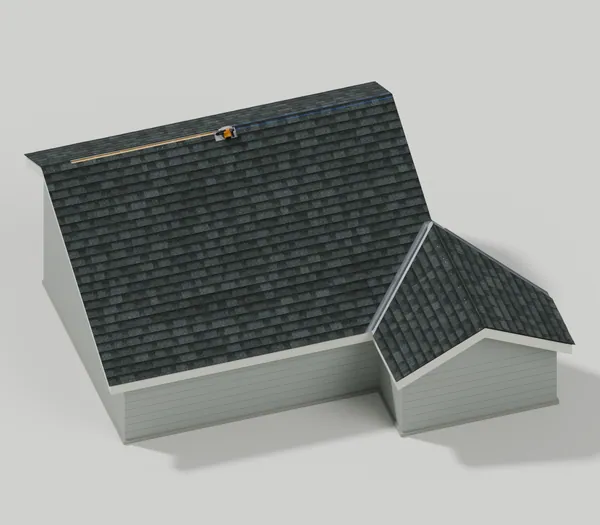
We saw a narrow opening along the main ridge so attic air can exhaust through the ridge vent that covers it next. 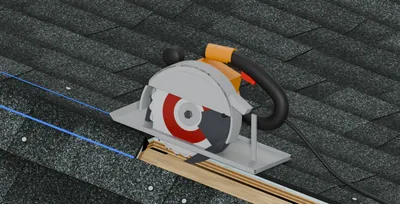
Blue chalk line 1 5/8 in from the peak; the saw cuts along it 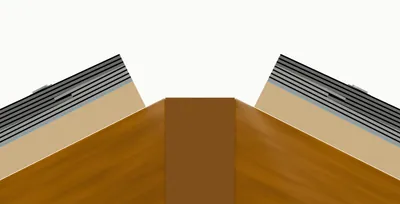
End view: cut 1 5/8 in each side of the peak 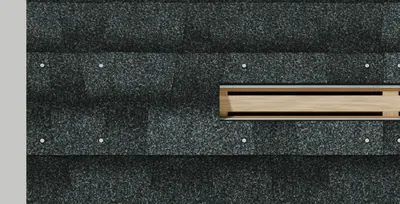
Looking down: the opening stops 16 in from the roof edge - Opening each side of the peak
- 1 5/8 in
- Maximum opening
- 3 1/4 in
- Stop from the end wall
- 6 in
- Stop from the roof edge
- 16 in
- Saw blade
- 7 1/4 in
- Step 14
Ridge vent
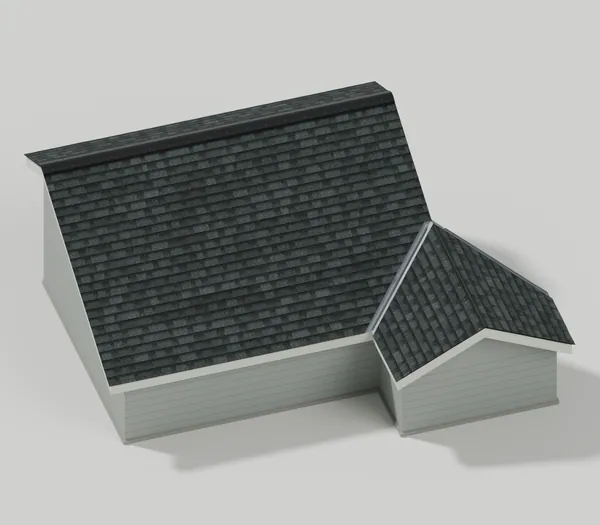
We cover the opening with a low ridge vent. It lets attic air out, and its filter resists weather, insects and leaves. 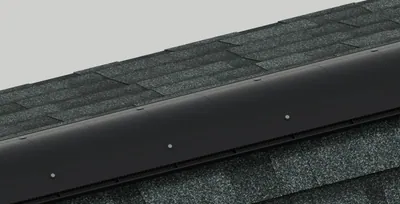
One smooth, low top bent over the peak and nailed to the deck 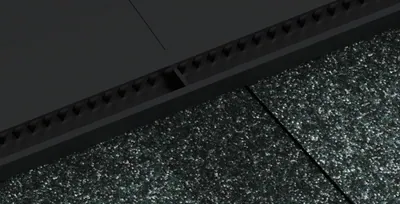
Outside wall stands in front of the air slots 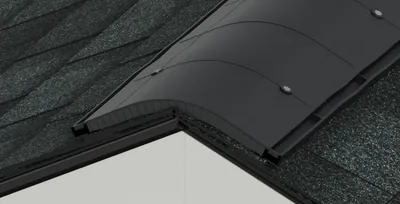
Roof edge: the vent runs to the end, closed end outward - Section length
- 4 ft
- Width
- 11 1/2 in
- Cold weather joint gap
- 1/8 in
- Minimum run past the opening
- 6 in
- Ring shank nail
- 3 in
- Step 15
Ridge caps
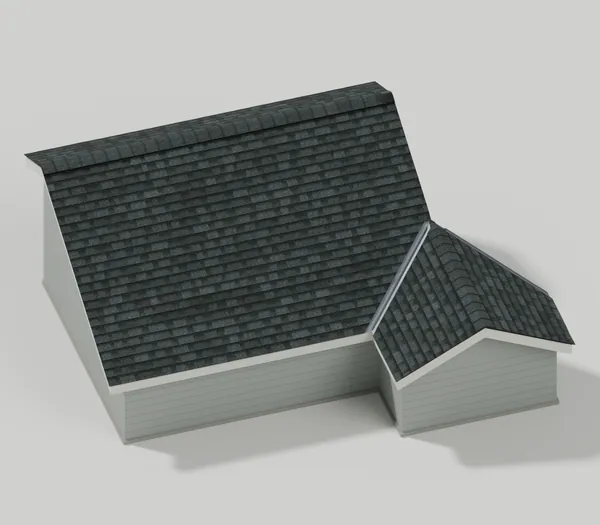
We finish both ridges with two-layer ridge caps. On the main ridge we nail them through the vent, each cap covering the last cap's nails. 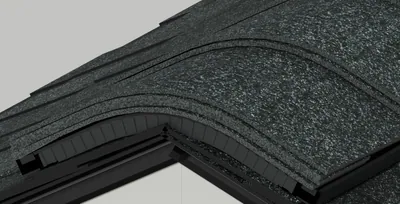
Roof edge: 4 in starter piece under the first cap 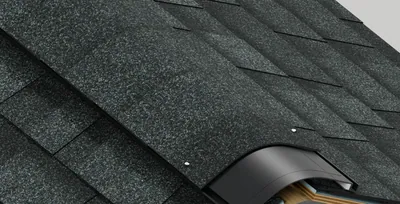
Last cap laid: 2 nails, which the next cap covers 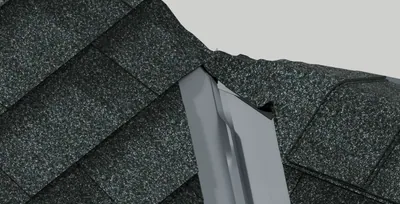
Wing ridge: a main roof shingle laps over the last cap - Cap piece
- 12 in
- Exposure
- 8 in
- Starter depth
- 4 in
- Starter length
- 11 1/2 in
- Nails back from the exposed end
- 9 in
- Nails in from the edge
- 1 in
- Tongue under the main roof row
- 2 1/2 in


