7 illustrated steps
Plumbing vent pipe boot
Follow the 7 illustrated steps in this plumbing vent pipe boot assembly.
- Step 1
Leak barrier square at the pipe

We seal a square of waterproof leak barrier around the plumbing vent pipe as a second layer of protection under the flashing. 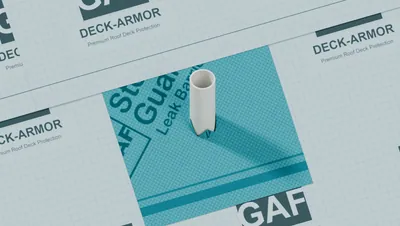
24 in by 24 in square, centered on the pipe 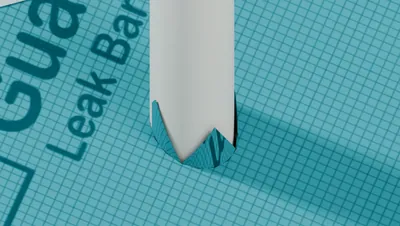
X cut, with the points pressed up the pipe 
Top edge tucked under the DeckArmor above - Leak barrier square
- 24 in
- Step 2
Shingles up to the pipe
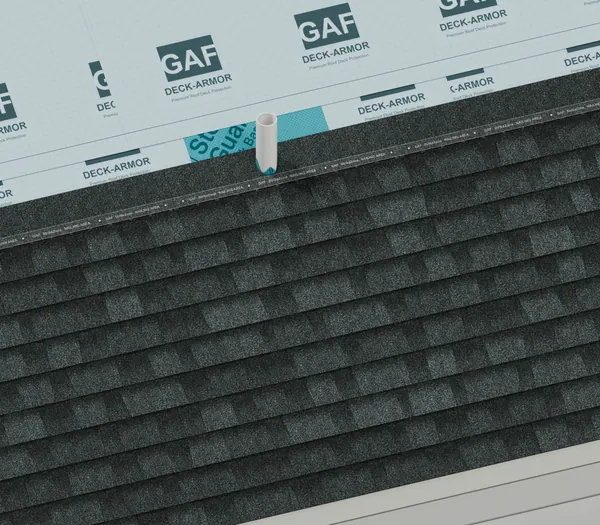
We lay shingles up to the pipe and notch the last row neatly around it, with the leak barrier still sealed underneath. 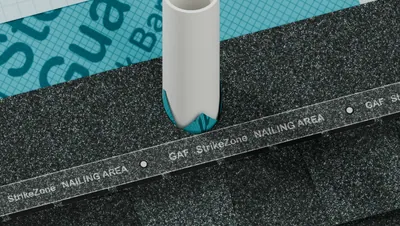
Last row notched around the pipe 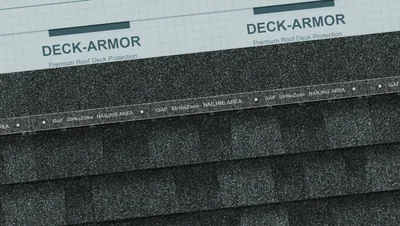
Four nails per shingle on the nail line 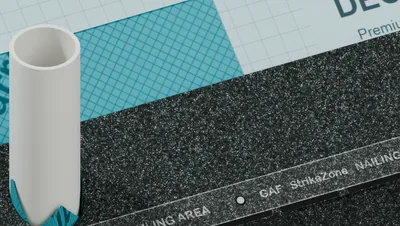
Leak barrier square stays under the shingles - Step 3
Pivot base flashing over the pipe
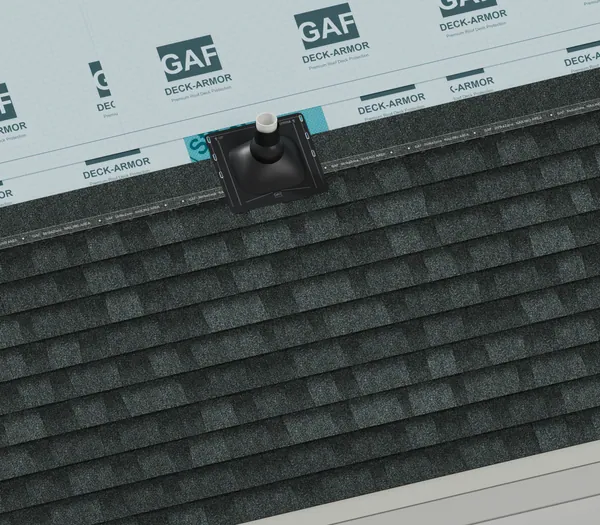
We slide a metal base flashing over the pipe, its bottom edge resting on top of the shingles below so water runs off over them. 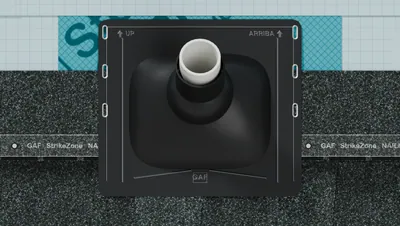
From above: printed UP marks, nail slots and side ribs 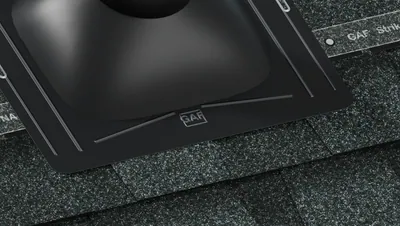
Lower edge sits on the shingles 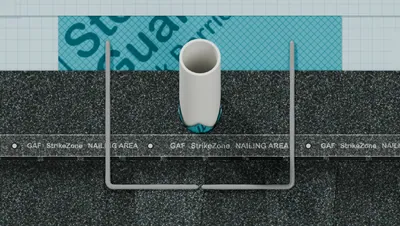
Flange lifted off: sealant under the sides and bottom - Base flashing width
- 17.2 in
- Base flashing length
- 15 in
- Drain gap in the sealant
- 1/4 in
- Step 4
Pivot cap pushed on
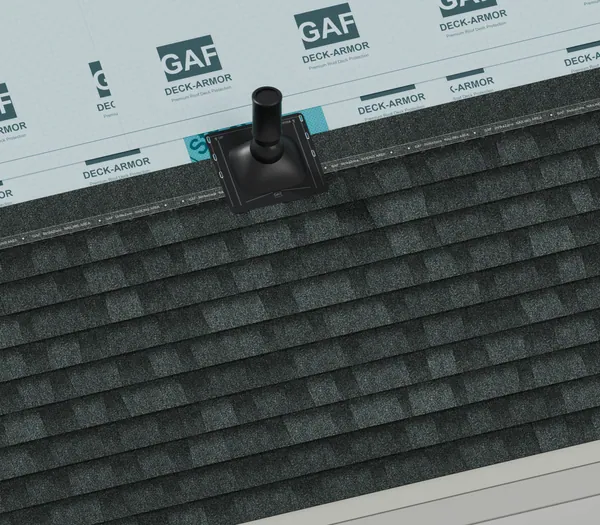
We push a metal cap down over the flashing tube to cover the pipe completely, with no rubber gasket left exposed to the weather. 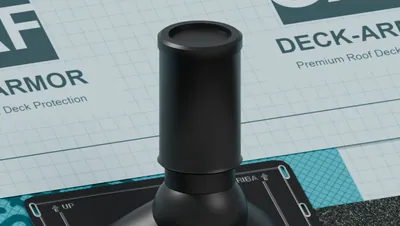
Cap covers the pipe 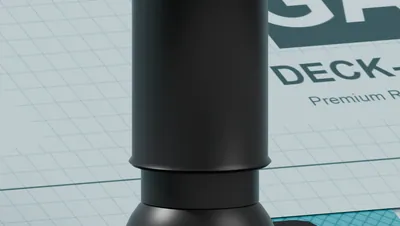
Cap laps over the tube 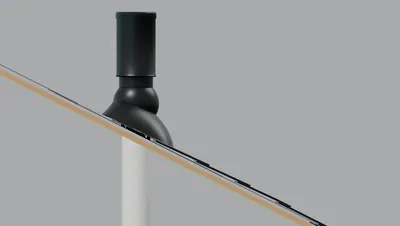
Side view: plumb on a 6:12 roof (6 in of rise per 12 in) - Cap overlap on the tube
- 1 in
- Pipe insert
- 3 in
- Step 5
Nail through the slots
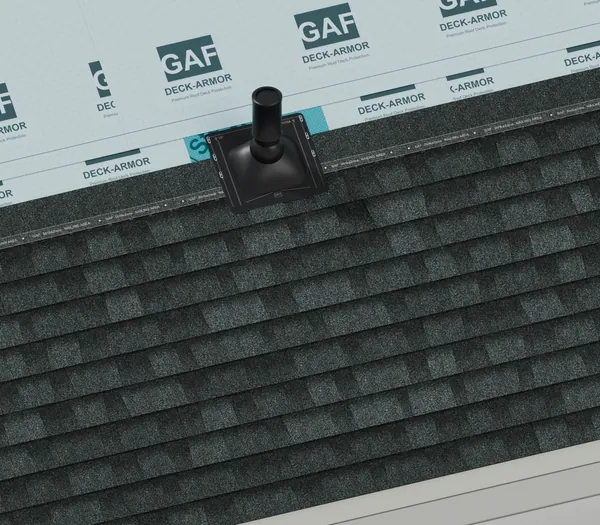
We nail the base flashing only through its built-in slots, which let the metal move, and the nails end up hidden under shingles. 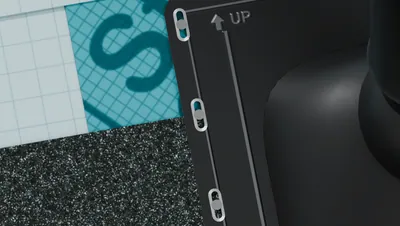
Three nails each side, in the slots 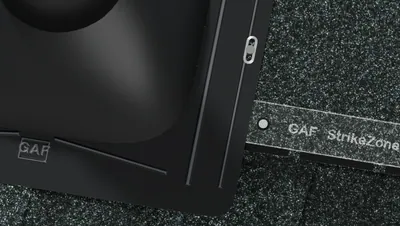
No nail below the lowest slot 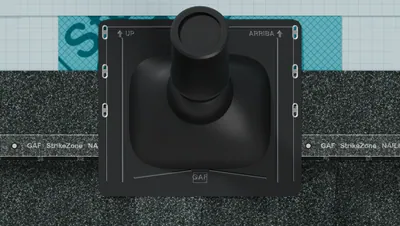
From above - Nails per side
- 3
- Step 6
Seal the sides and top
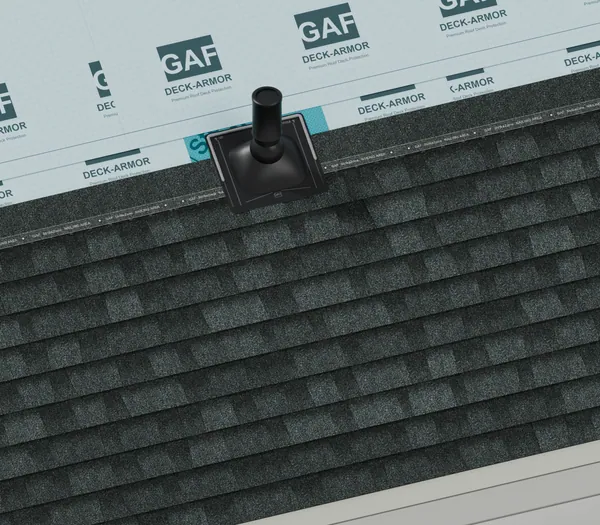
We run a bead of sealant up both sides and across the top of the flashing, over the nails, before the shingles cover it. 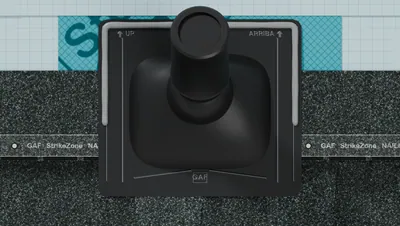
Bead on both sides and the top 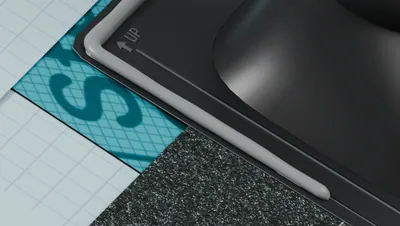
Bead covers the nail heads 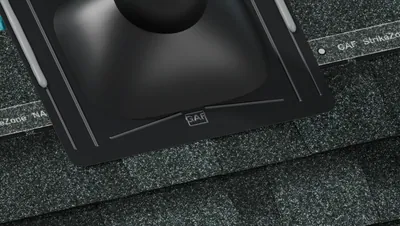
No sealant across the bottom - Bead size, minimum
- 3/8 in
- Bead size, maximum
- 1/2 in
- Step 7
Shingles over the sides and top
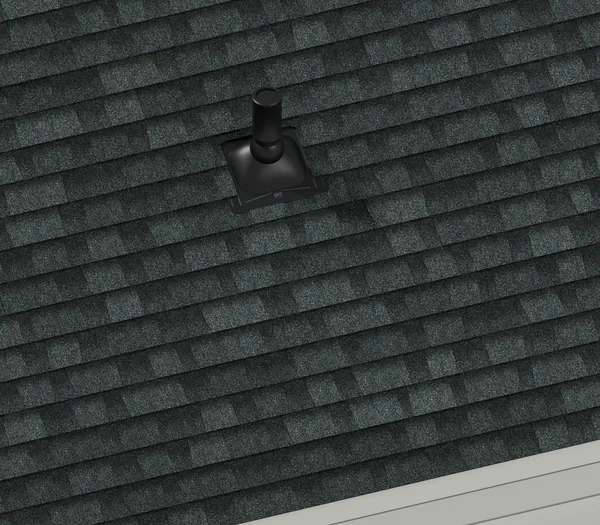
We cover the sides and top of the flashing with shingles and leave only its lower edge on top, so water sheds past the pipe. 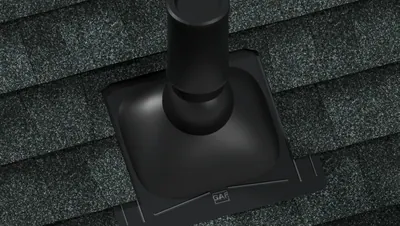
Shingles cover the sides and top 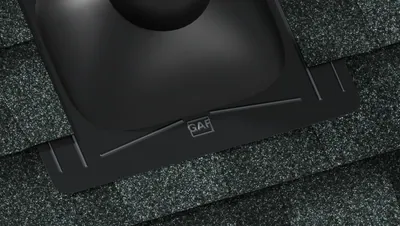
Only the lower flange shows 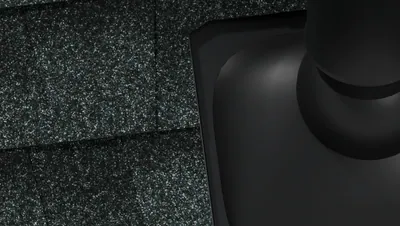
Cut along the rib, off the dome - Cut off the dome
- 3/4 in


