12 illustrated steps
GAF Liberty low-slope roof
Follow the 12 illustrated steps in this GAF Liberty low-slope roof assembly.
- Step 1
Plywood roof deck (CDX)
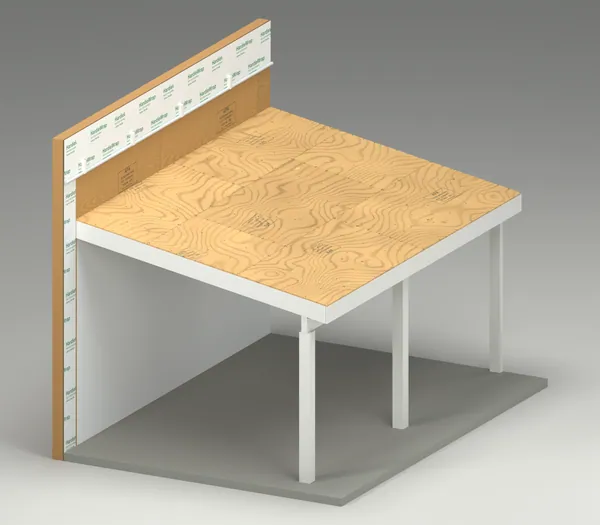
We lay a solid plywood deck with staggered seams first. It gives the new low-slope roof a firm, flat surface. 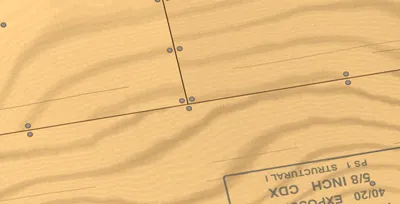
Staggered joints; nail rows on every rafter 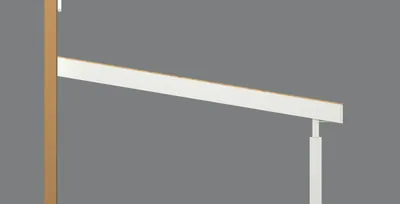
Side view from the rake: low 2:12 pitch (2 in of rise per 12 in) 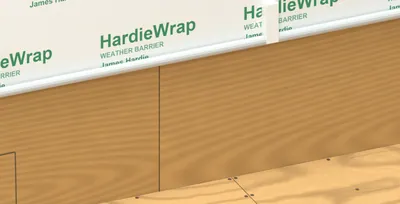
House wrap (HardieWrap) rolled up and taped above the roof line - Plywood thickness
- 5/8 in
- Roof run
- 11 ft
- Roof rise
- 22 in
- Step 2
Self-adhered base sheet (Liberty SA)
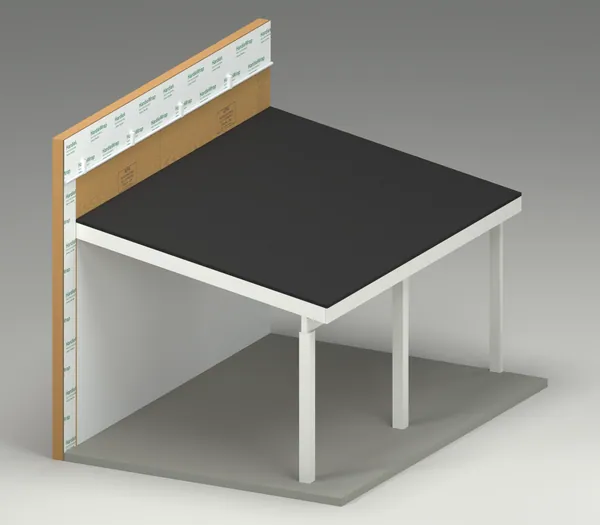
We press the self-adhering Liberty base sheet onto the bare plywood deck in overlapping rows. Cap nails hold it down next. 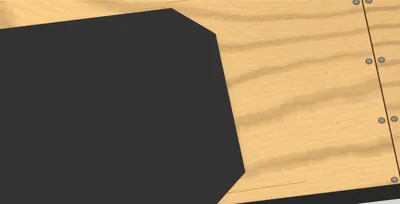
End of piece 1, before the next: both corners clipped at 45 degrees 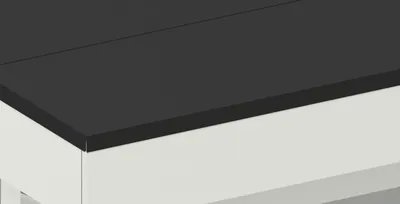
Half-width starter row with a 1 1/2 in turn-down 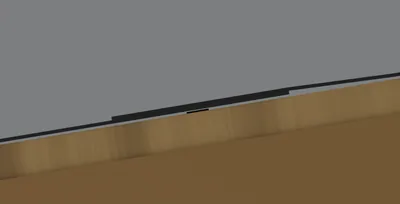
Cutaway view: row 2 laps 3 in over the starter - Starter course width
- 19 11/16 in
- Side lap
- 3 in
- End lap
- 6 in
- End lap stagger
- 36 in
- Edge turn-down
- 1 1/2 in
- Step 3
Cap nail the base sheet
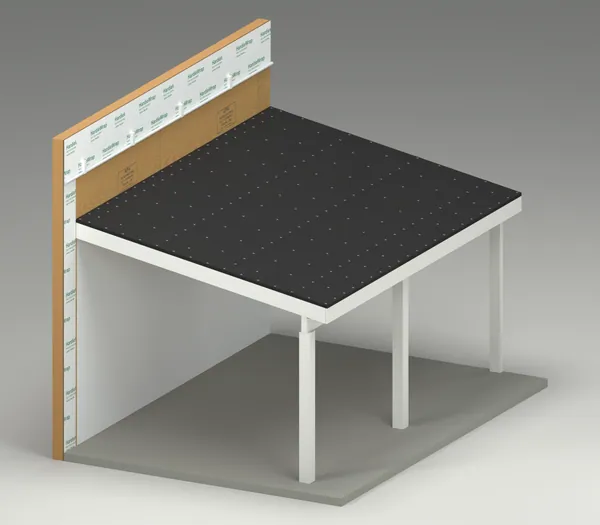
We fasten the base sheet to the deck with even rows of round metal cap nails. 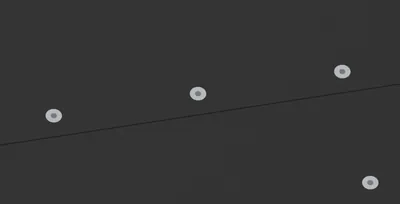
Side lap: cap nails through both sheets 
Field: 2 staggered rows of cap nails 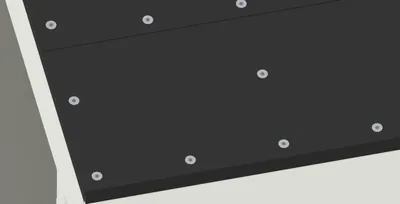
Eave and rake edges: a row of cap nails - Cap head diameter
- 1 in
- Step 4
Drip edge (C6) along the eave
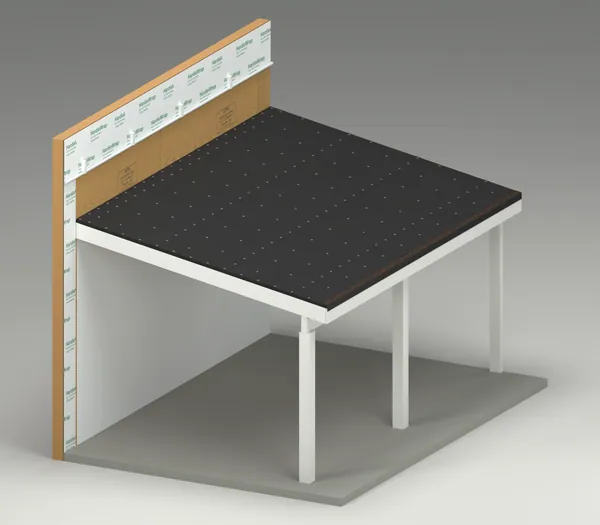
We fasten aluminum drip edge (C6) along the eave, set in flashing cement over the base sheet. 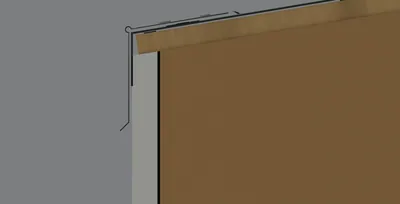
Cutaway of the drip edge (C6): flange, bead, face and kick 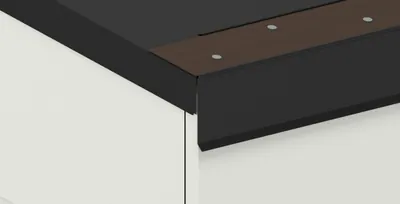
Corner before the gravel stop (H7) goes on: the drip edge (C6) stops at the corner 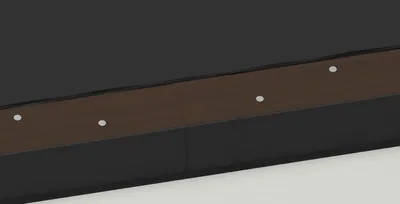
10 ft lengths, 2 in lap, staggered nails - Drip edge (C6) flange
- 3 in
- Drip edge (C6) face
- 3 in
- Drip edge (C6) kick
- 3/8 in
- Metal lap
- 2 in
- Step 5
Gravel stop (H7) up the gable edge (rake)
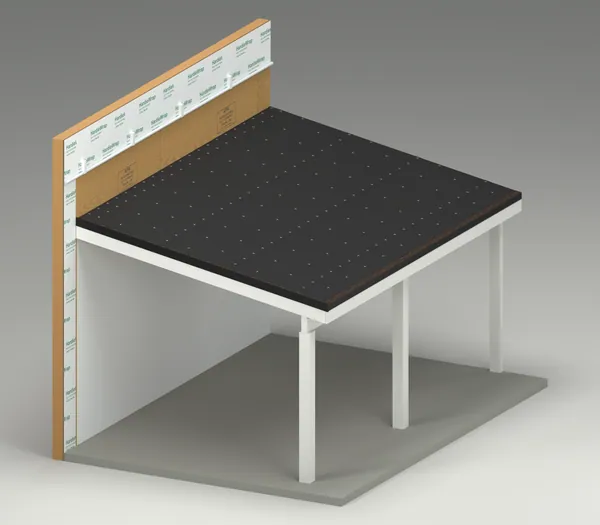
We run a raised metal gravel stop (H7) up the gable edge, lapping it over the end of the drip edge at the corner. 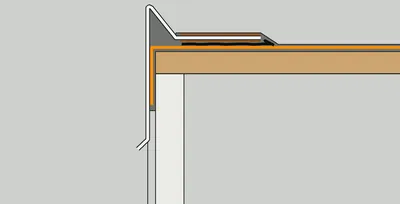
Cutaway view through the rake: gravel stop (H7) over the base sheet, layers pulled apart 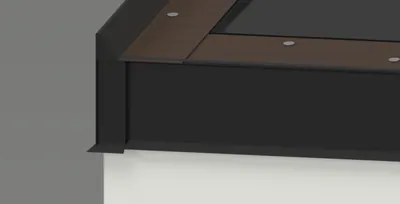
Corner from the eave: the gravel stop (H7) lip stands 7/8 in above the drip edge (C6) 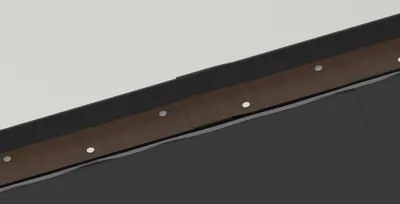
Along the rake: 10 ft lengths, 2 in lap, staggered nails - Gravel stop (H7) flange
- 3 in
- Gravel stop (H7) face
- 4 in
- Gravel stop (H7) raised lip
- 7/8 in
- Gravel stop (H7) kick
- 3/8 in
- Metal lap
- 2 in
- Step 6
Wall base flashing
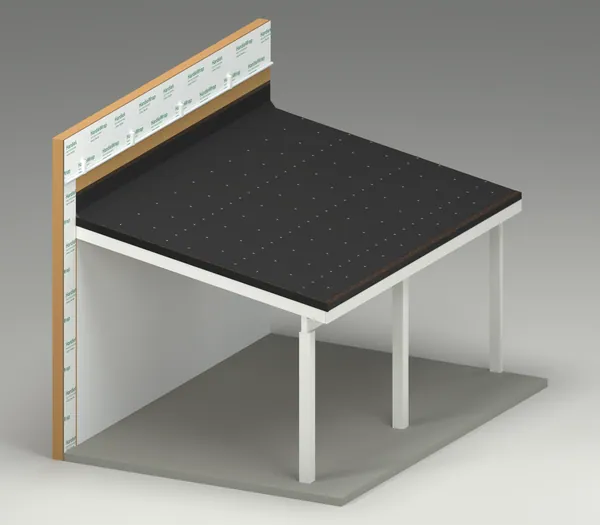
Where the roof meets the house wall, we turn a strip of base sheet up the wall to seal that corner. 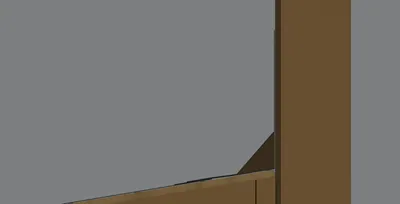
Cutaway view: base sheet over the angled cant strip 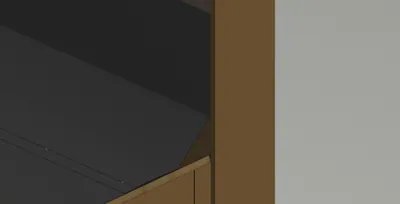
Cut end: 4 in onto the roof, 8 in up the wall 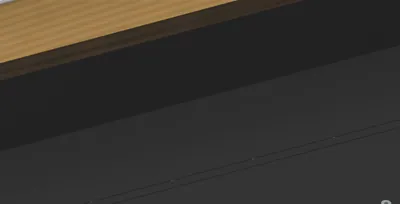
Base sheet turned up the primed wall - Onto the roof
- 4 in
- Up the wall
- 8 in
- Step 7
Cap sheet (Liberty): first row
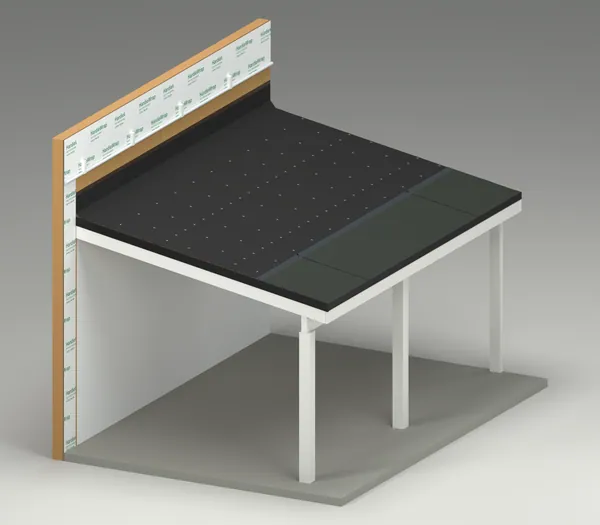
We lay the first row of granule-surfaced cap sheet at the eave, the layer that takes the weather first. 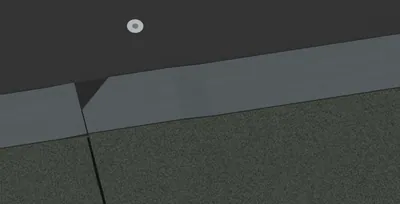
Granule surface; 4 in selvage edge with its film still on 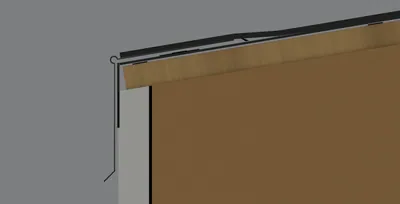
Cutaway view: cap sheet over the drip edge (C6) flange 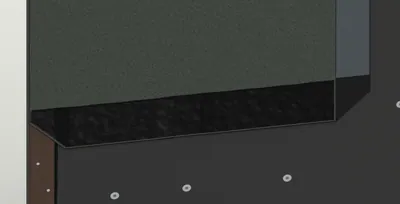
End of piece 1, before the next: cement on the 6 in lap, both corners clipped - Setback from the metal edge
- 1/4 in
- End lap
- 6 in
- Selvage width
- 4 in
- End lap stagger
- 36 in
- Step 8
Cap sheet (Liberty): remaining rows
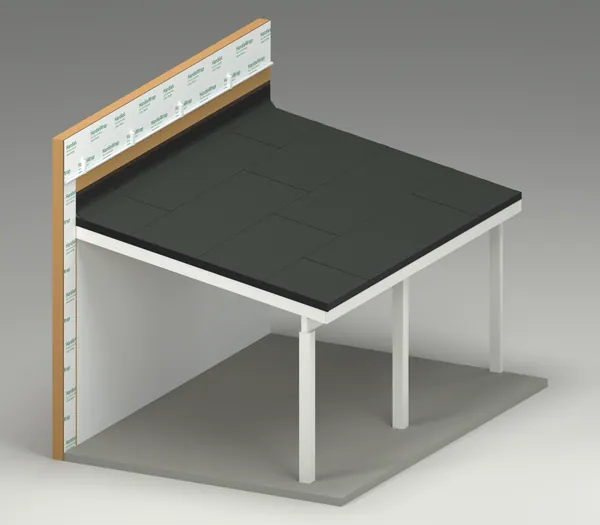
We overlap the remaining cap sheet rows up to the wall, so water runs over each seam rather than into it. 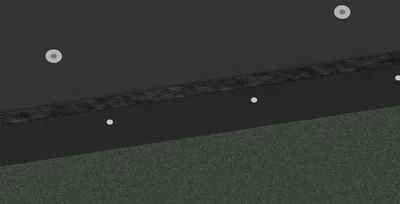
Selvage before the next course: back nails, cement, 4 in lap 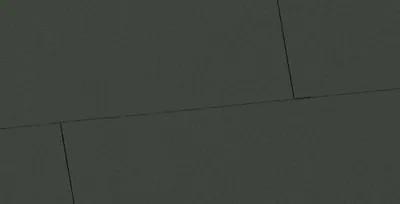
End laps 3 ft apart, row to row 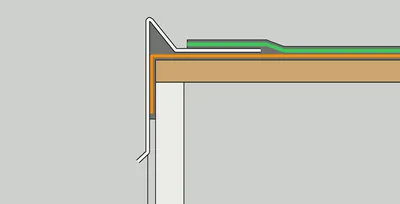
Cut through the rake: cap sheet over the gravel stop (H7) flange - Side lap over the selvage
- 4 in
- End lap
- 6 in
- End lap stagger
- 36 in
- Onto the wall
- 2 in
- Setback from the H7 lip
- 1/4 in
- Step 9
Wall cap flashing
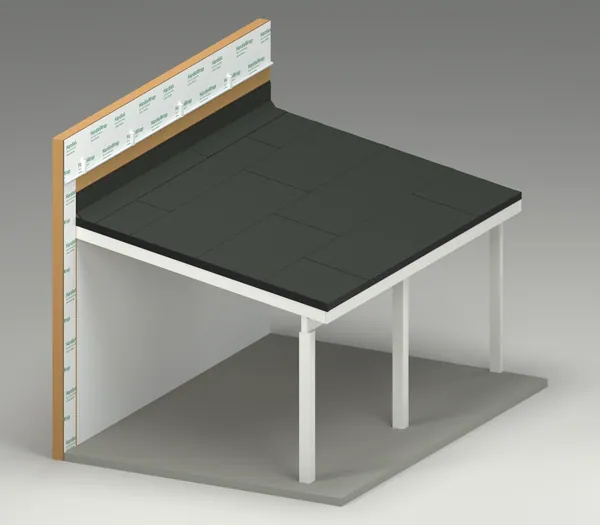
We cover the wall flashing with a strip of granule cap sheet that runs up the wall, sealing the joint where roof meets house. 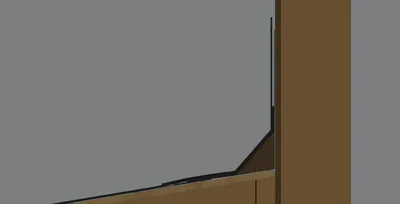
Cutaway view: base sheet, field cap sheet and wall cap sheet 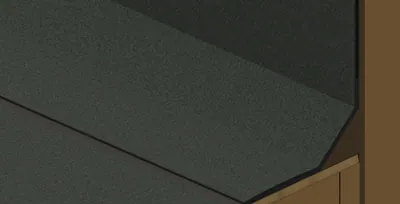
Cut end: 6 in onto the primed field cap sheet, then up the wall 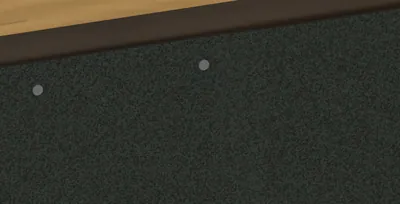
Top edge nailed to the wall - Onto the primed field cap
- 6 in
- Step 10
Metal counterflashing at the wall
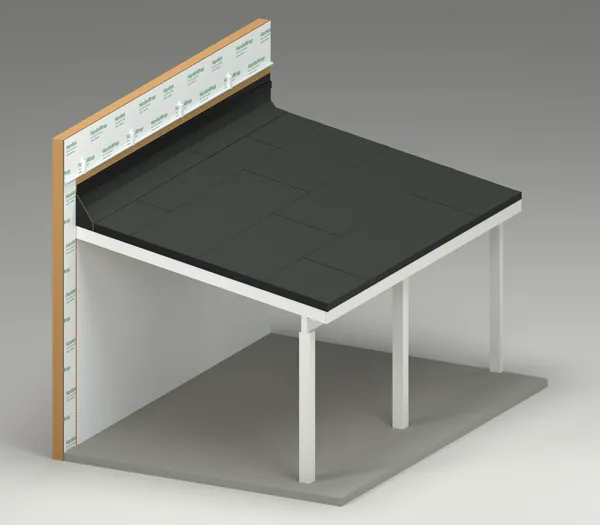
We cap the top of the wall membrane with metal counterflashing nailed to the wall, so water cannot run behind it. 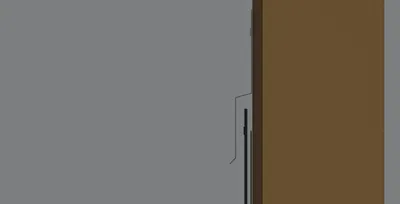
Cutaway view: counterflashing over the top of the wall cap sheet 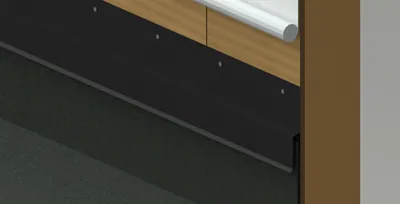
Leg nailed to the wall, face 2 1/2 in over the membrane 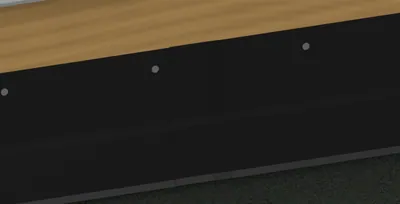
10 ft lengths, 2 in lap - Step 11
House wrap (HardieWrap) over the flashing leg
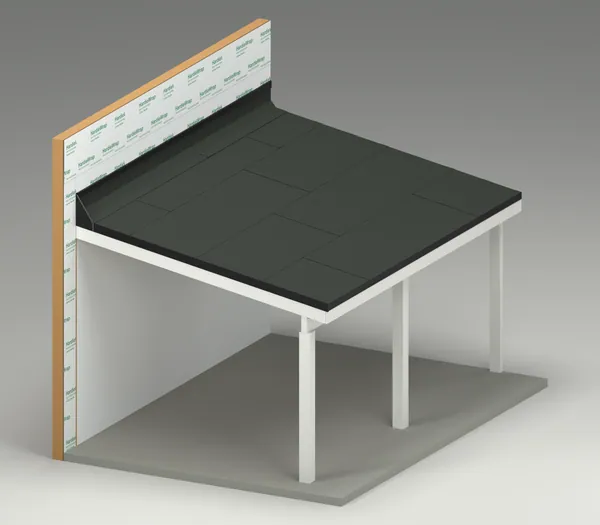
We bring the house wrap down over the counterflashing leg, so every layer sheds water onto the one below. 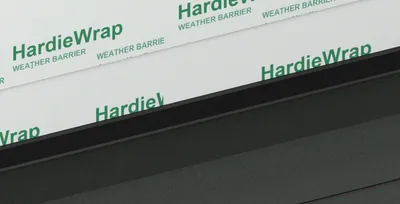
House wrap (HardieWrap) laps over the flashing leg 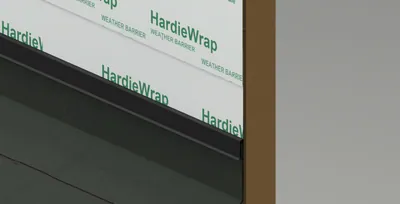
Cut end: a wrap strip over the leg, the upper wrap over the strip 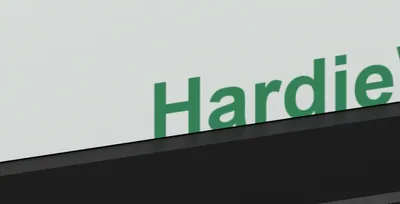
The wrap strip covers 3 3/4 in of the leg, down to the bend - Step 12
Siding and the finished roof
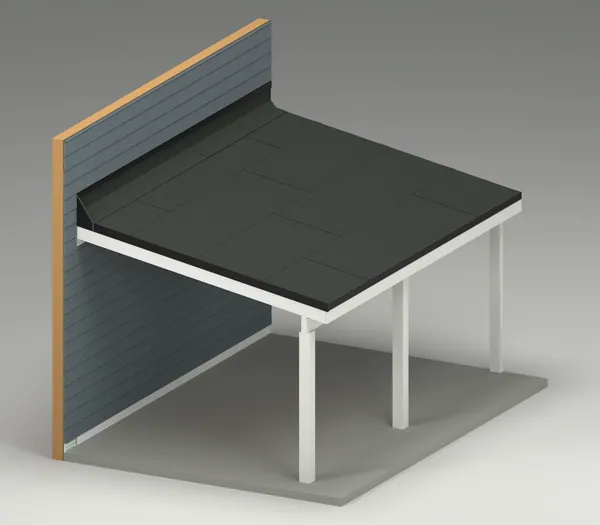
We hang siding over the wrap, clear of the roof and flashing, to finish a roof with metal edges. 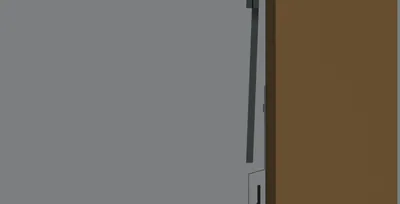
Cutaway view: HardiePlank siding over HardieWrap house wrap over the flashing leg 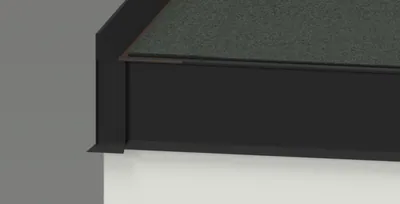
Corner from the eave: gravel stop (H7) lip at the rake, drip edge (C6) at the eave 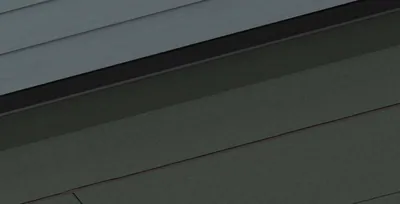
Roof to wall, finished - Siding exposure
- 7 in
- Minimum lap
- 1 1/4 in
- Minimum roof clearance
- 2 in


