11 illustrated steps
Insert window replacement
Follow the 11 illustrated steps in this insert window replacement assembly.
- Step 1
Measure the old frame
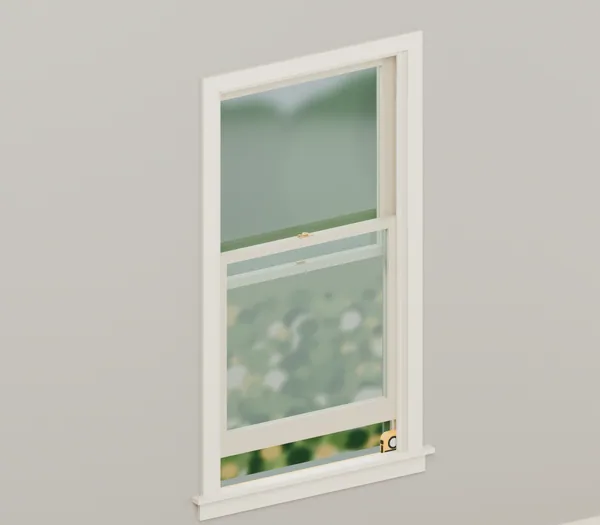
We measure the old frame from jamb to jamb in several places so the new window is sized to fit the opening. 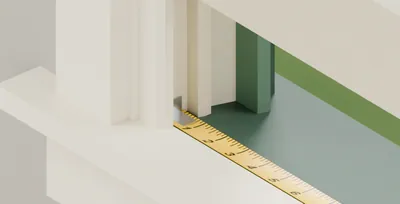
Hook on the old side jamb, behind the stop strip 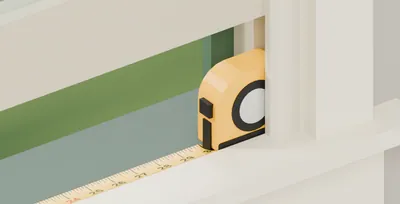
Tape case against the other jamb: add its length 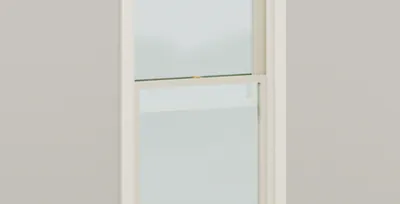
Three widths and three heights: use the smallest - Step 2
Take out the old sashes
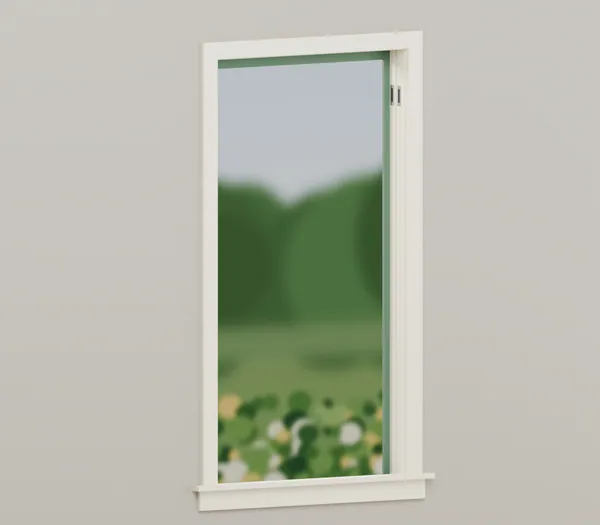
We remove the old sashes and inside stops but keep the frame, sill and outside trim, so we never open the walls or siding. 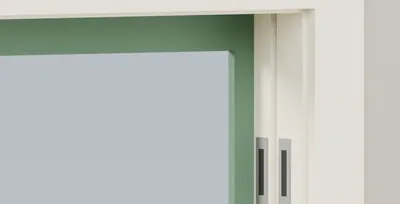
Outside stop (blind stop) stays at the top and sides 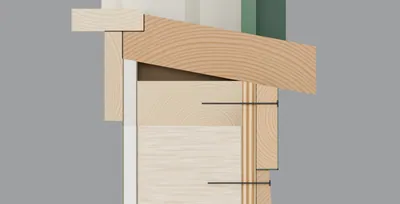
Side cutaway, room at left: the sill slopes outward 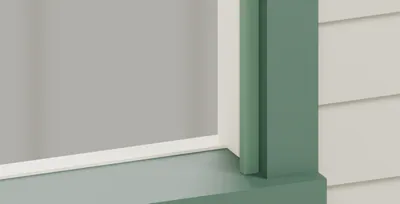
From outside: stop, jamb depth, sill nose - Step 3
Level the sill with wood blocks
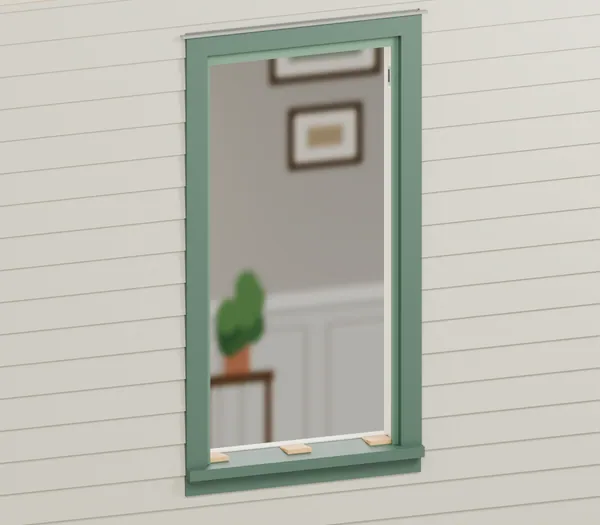
We set tapered wood blocks on the old sloped sill to give the new window a level, solid base to sit on. 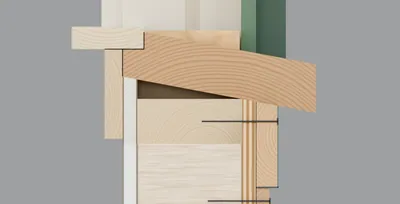
Side cutaway, room at left: wedge block with a level top 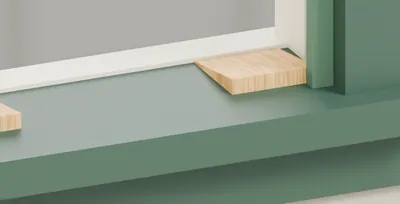
Thick end faces out; the top is level 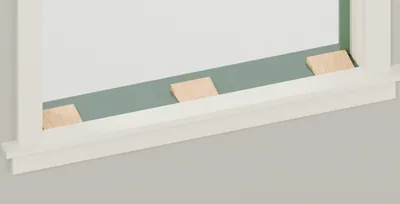
From the room: three blocks along the sill - Step 4
Sealant on the outside stops (blind stops)
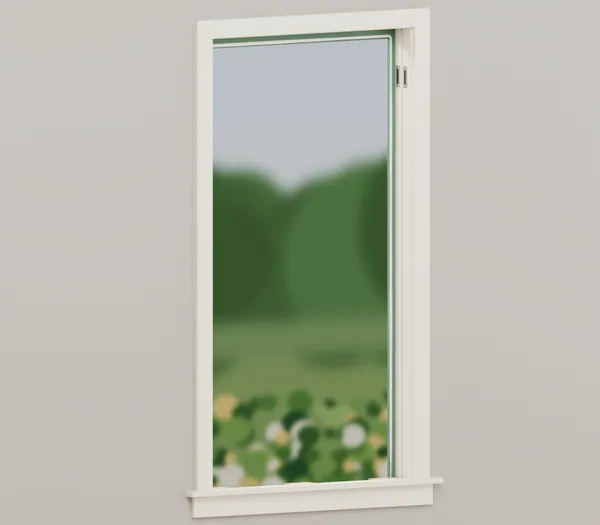
We run a continuous bead of sealant on the outside stops, at the head and both sides, to seal the joint the window presses into. 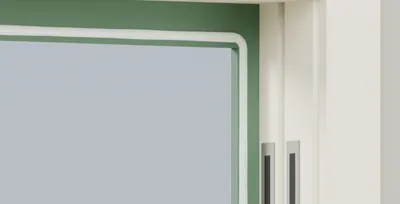
Bead on the top and side outside stops 
Cut level, from above: low dome of sealant on the stop 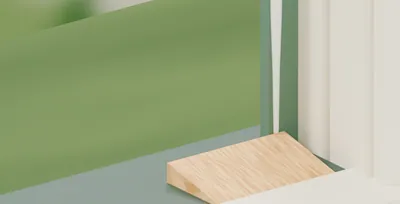
Bead comes down to the sill, none across it - Blind stop bead, about
- 3/8 in
- Step 5
Set the new window
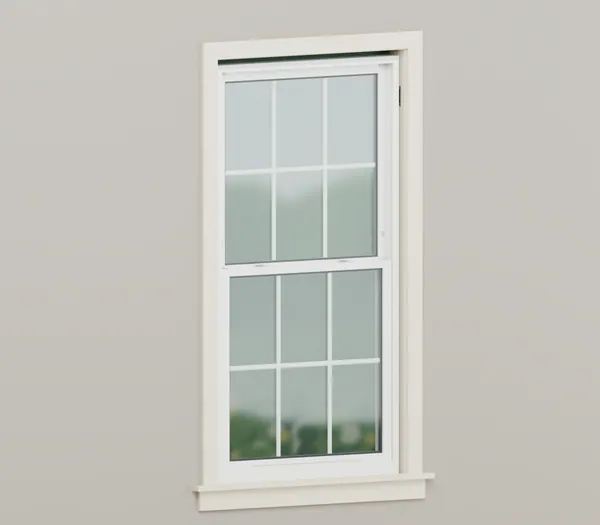
We tilt the new Vytex double hung window into the old frame and set it level on the wood blocks, tight against the outside stops. 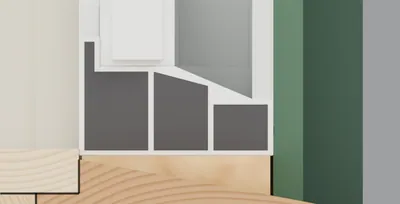
Side cutaway, room at left: the frame bears on the stop 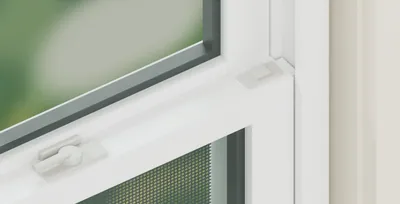
Lower sash in the inner track, upper sash in the outer track 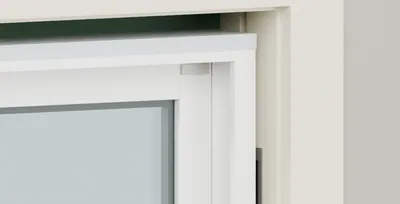
Gap at the old frame, not yet filled - Step 6
Shim plumb, level and square
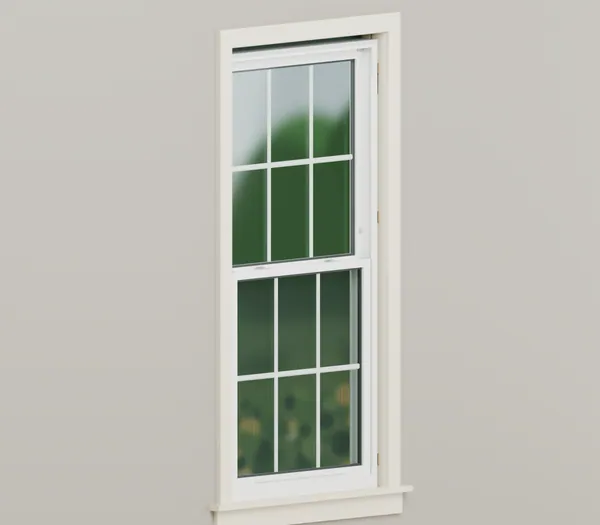
We use pairs of shims in the side gaps to hold the new window plumb, level and square so the sashes slide and lock properly. 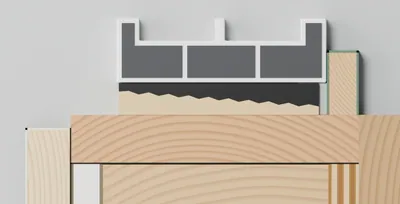
Cut through the side gap, seen from above 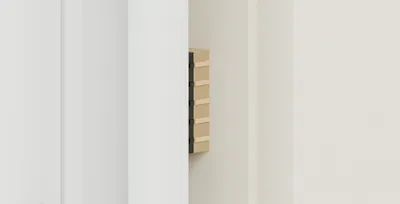
In place: two shim ends, flush in the gap 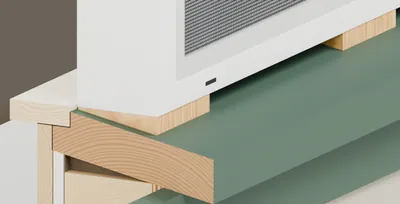
Cutaway: wood blocks carry the sill - Step 7
Screws through the sides of the frame (jambs)
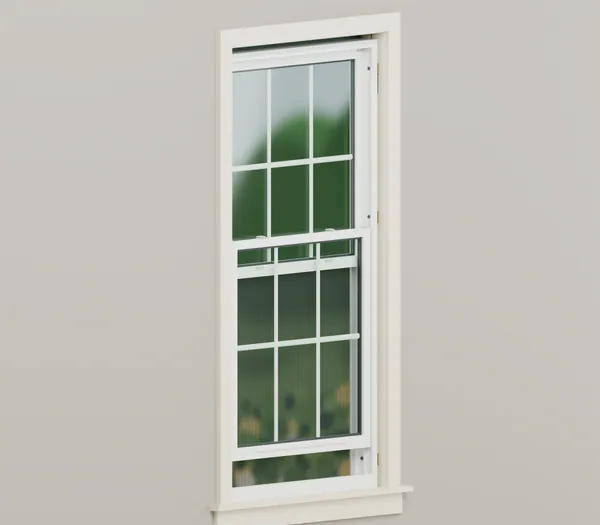
We drive screws through the window frame, the shims and the old jamb to hold the new window firmly in place. 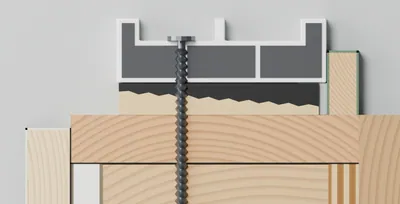
Cut at a screw, from above: through both shims 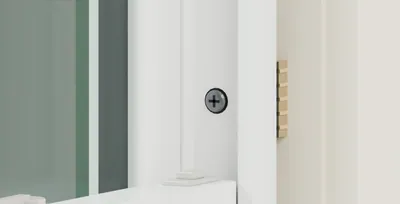
Middle screw in the inner track, above the sash 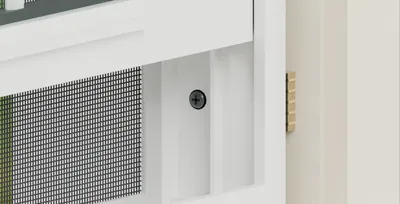
Sash raised: bottom screw in the outer track - Step 8
Foam the gap from inside
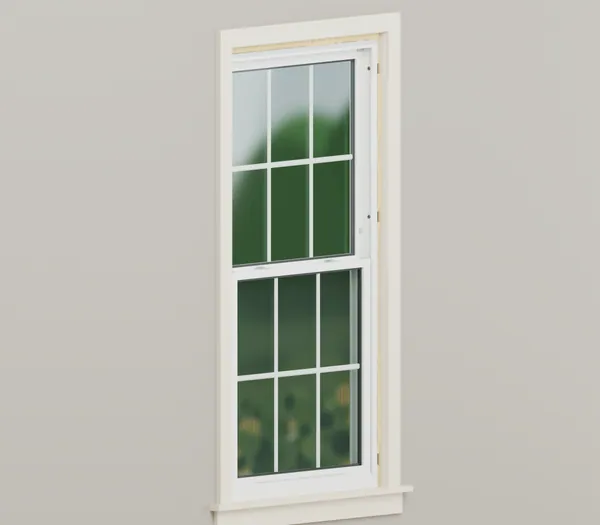
From inside the room, we fill the gap around the new window with low expansion foam, insulating the space between the new and old frames. 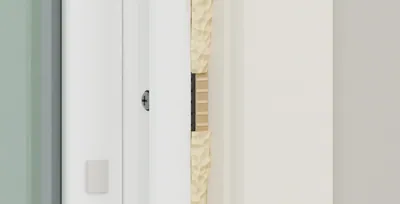
Side gap: foam above and below the shim pair 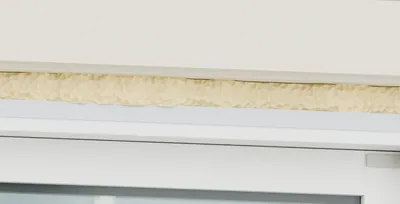
Top gap: foam above the window 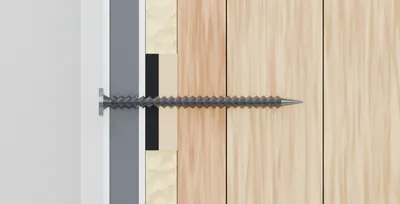
Cut through the side gap, seen from the room - Gap below which Vytex says insulation may not be required
- 1/8 in
- Step 9
Sill extender and outside sealant
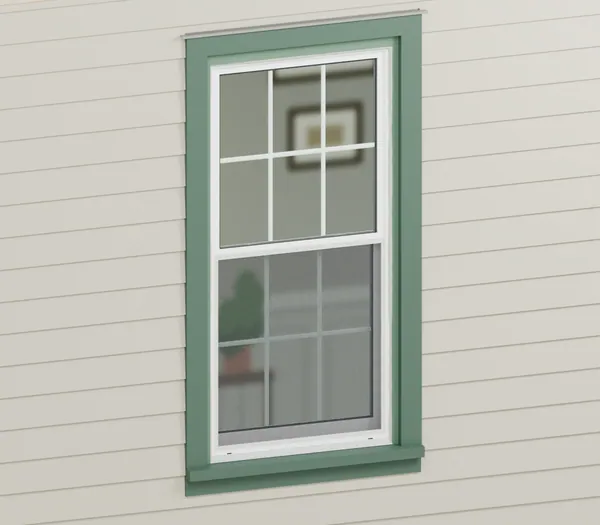
Outside, we close the space under the new sill with a sill extender and seal around the whole window, keeping the weep slots open. 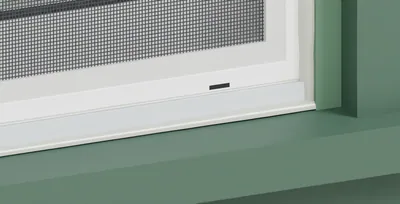
Sill extender: a separate strip under the sill 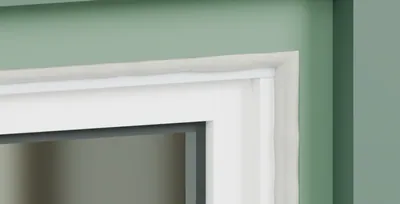
Sealant bead runs through the top corner 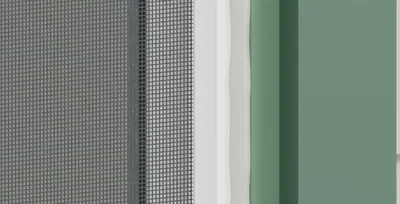
Bead up the side; half screen over the lower sash - Step 10
Screw covers, stops and sealant
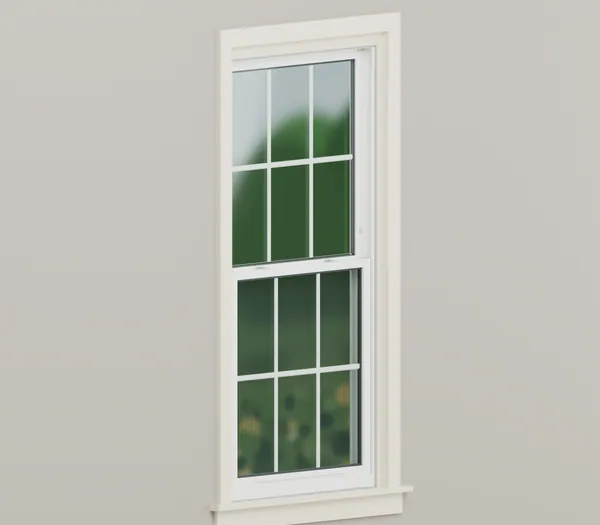
Inside, we hide the screws with covers, put the stops back over the gap, and finish the joint with a thin sealant line. 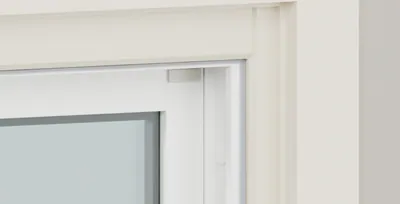
Stops cover the side gap and the top gap 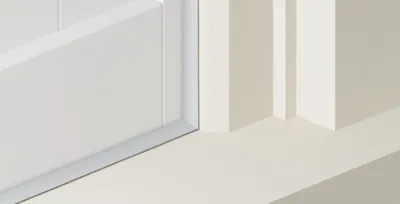
Sealant bead at the inside sill (stool) and up the stop 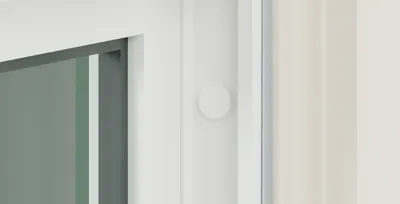
Cover over each screw head - Interior sealant line, about
- 3/16 in
- Step 11
Optional: cap the old outside trim
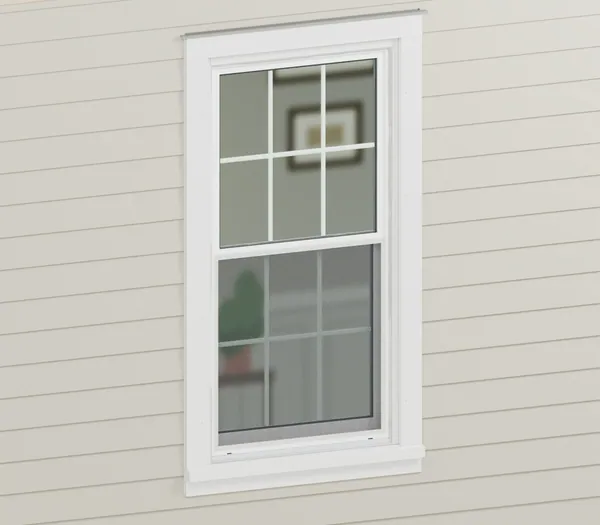
Optional and quoted separately, we can cover the old outside wood trim with aluminum trim coil, sealed to the new window and the siding. 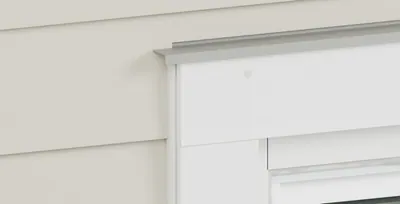
Top piece laps over the side piece 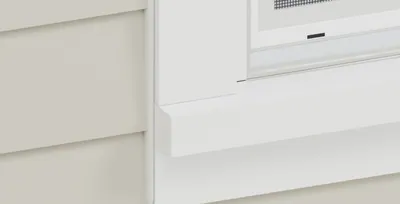
Sill nose wrapped, ends included 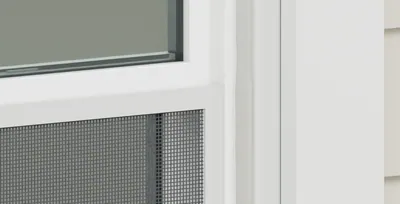
Capping sealed to the window frame


