14 illustrated steps
Gutter installation
Follow the 14 illustrated steps in this gutter installation assembly.
- Step 1
Roof edge ready
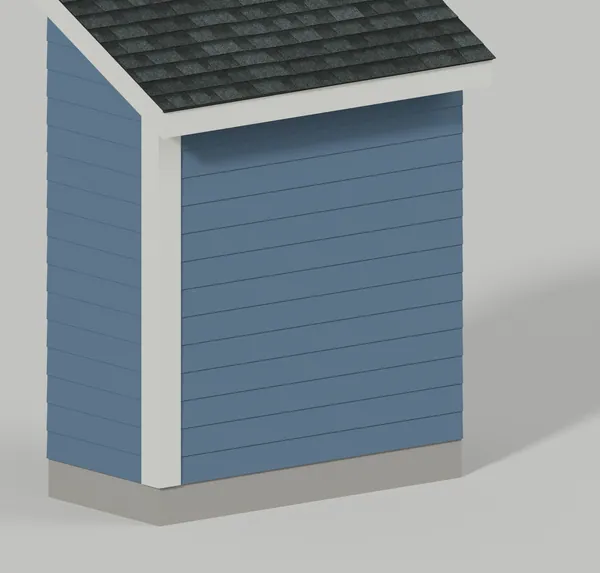
We start with the roof, drip edge and fascia finished, ready for the gutter. 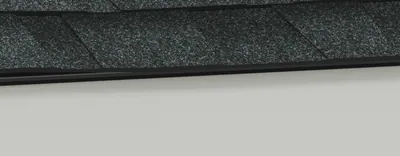
Drip edge over the fascia 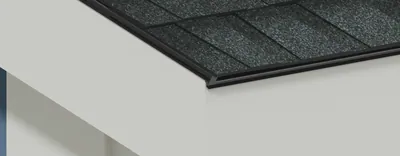
Drip edge along the eave and rake 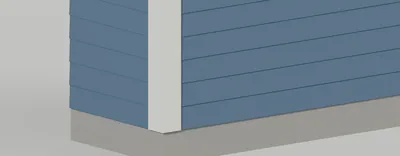
House corner where the downspout will run - Step 2
Form the gutter on site
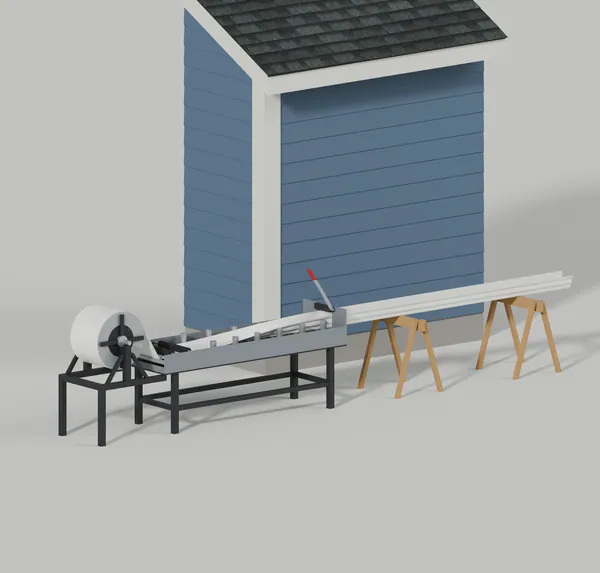
We form your gutter on site from one coil of aluminum, so each run is one piece with no seams. 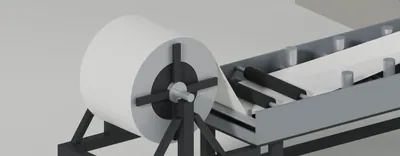
Flat coil of aluminum feeding into the machine 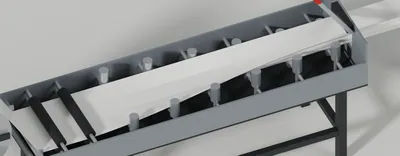
Rollers bend the flat strip into the gutter shape 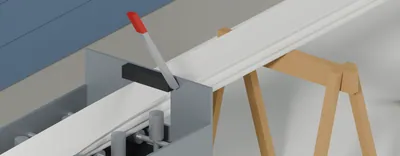
One piece comes out at the length of the roof edge - Step 3
Cap and seal the gutter on the ground
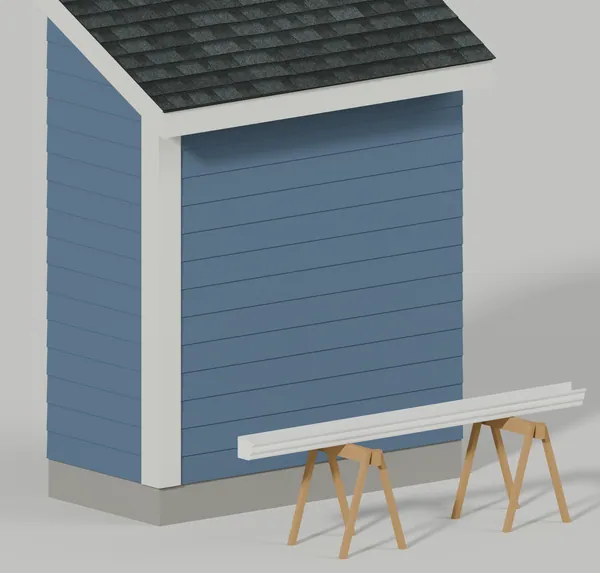
We form one seamless 6 in aluminum gutter and crimp and seal its end cap on the ground. 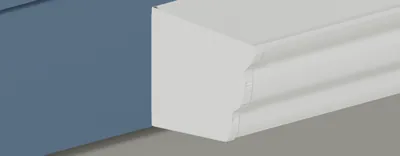
Shaped end cap crimped around the gutter 
Sealant inside the end cap joint along the back, floor and front 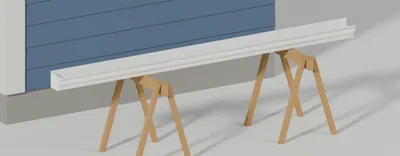
One seamless gutter formed on site - Nominal gutter size
- 6 in
- Step 4
Fit the outlet on the ground
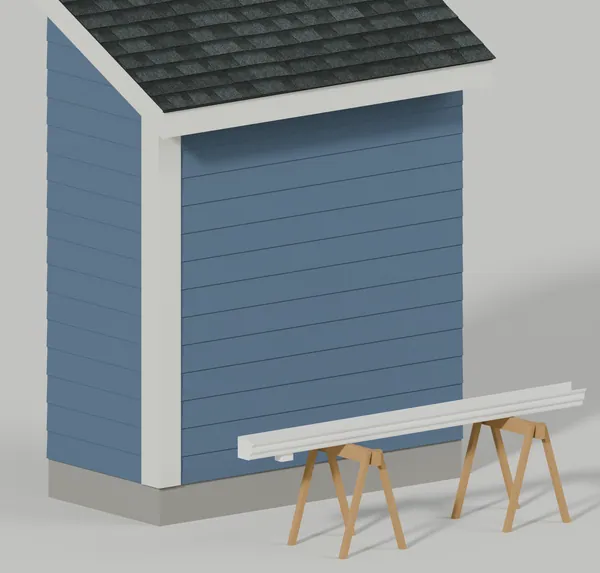
We cut an opening near the gutter end, set the outlet in it and seal around the flange while the gutter is on the ground. 
Outlet set in the opening with a sealant bead around the flange 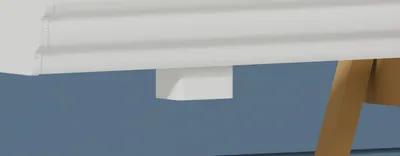
Outlet neck drops below the gutter 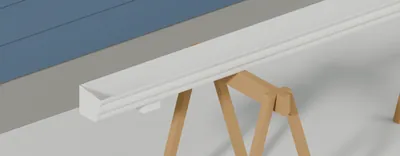
Outlet at the low end near the corner - Step 5
Clip in the hidden hangers
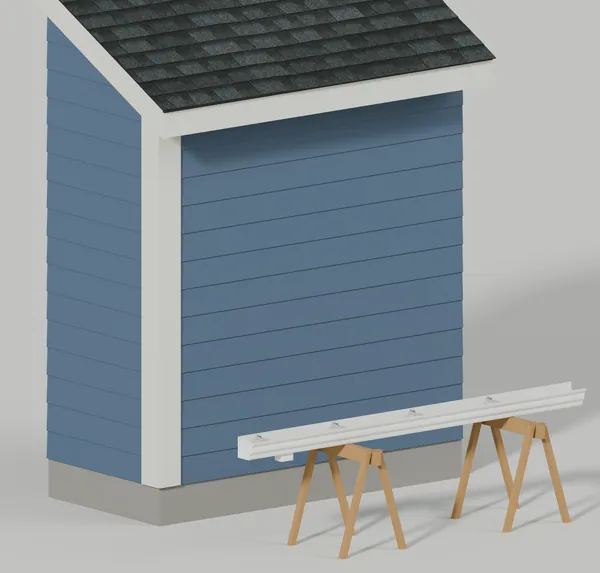
We clip in hidden hangers along the run, each hooking the front lip and carrying its own long screw. 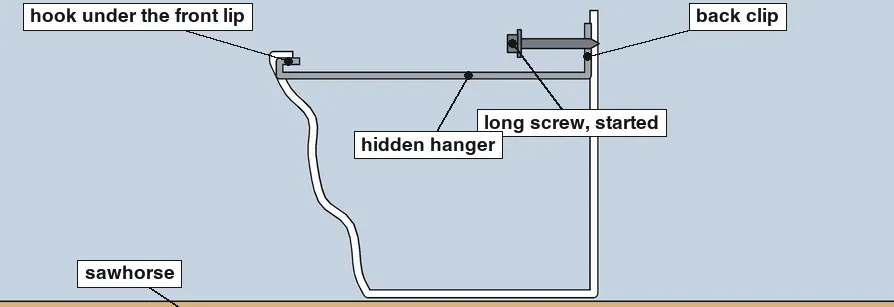
Cut view of the hanger hook under the front lip 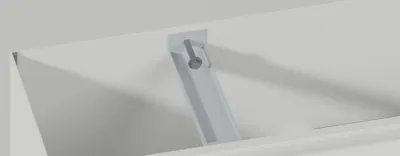
Back clip with its long screw started 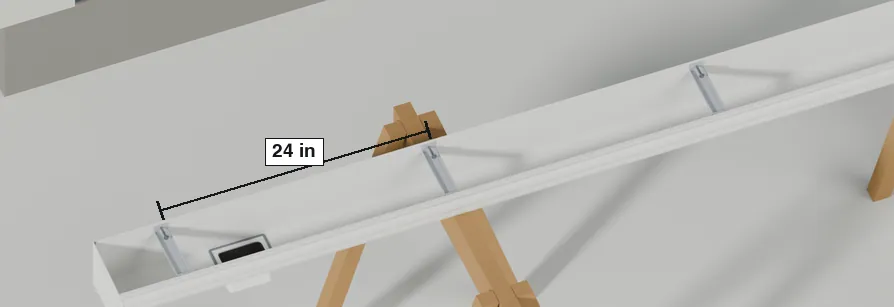
Hidden hangers along the run - Step 6
Hang the gutter
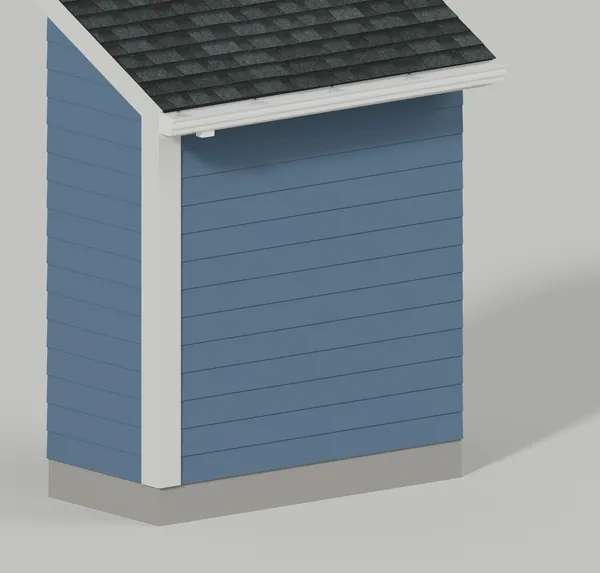
We lift the gutter tight under the drip edge and drive each hanger screw through the gutter back into the fascia. 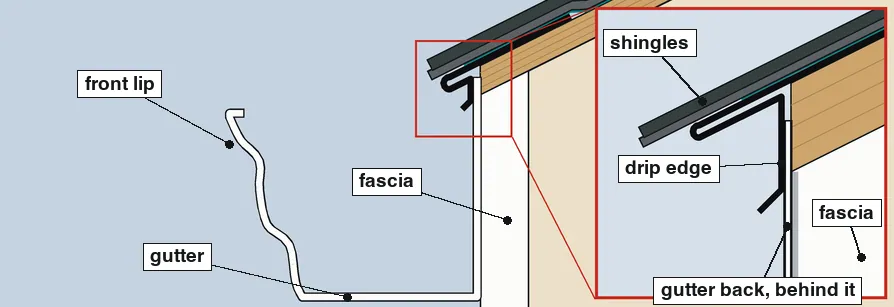
Cut view of the gutter back behind the drip edge 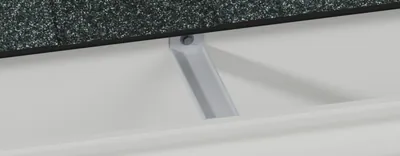
Hanger screw through the gutter back into the fascia 
Gutter end reaches the rake shingle edge - Step 7
Check the gutter slope
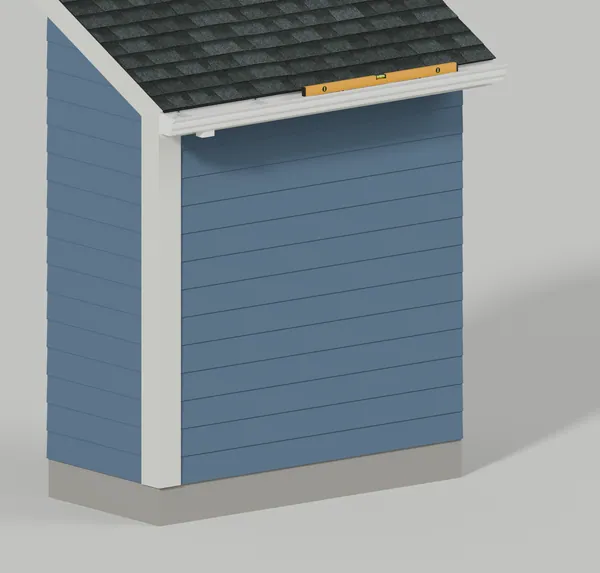
We pitch the gutter by eye toward the downspout, about 1/4 in every 10 ft, and check long runs with a level. 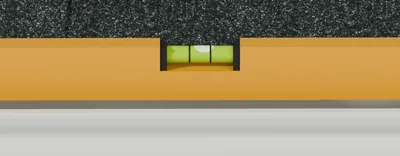
Level bubble sits toward the high end, away from the downspout 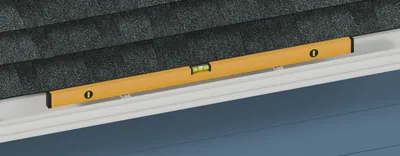
Level rests on the hidden hangers inside the gutter 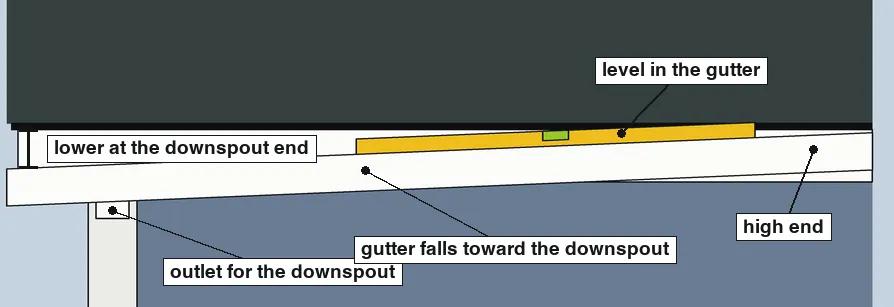
Gutter falls about 1/4 in every 10 ft, drawn 20 times steeper - Approximate fall per 10 ft toward the downspout
- 1/4 in
- Level length
- 4 ft
- Step 8
Connect the upper elbows
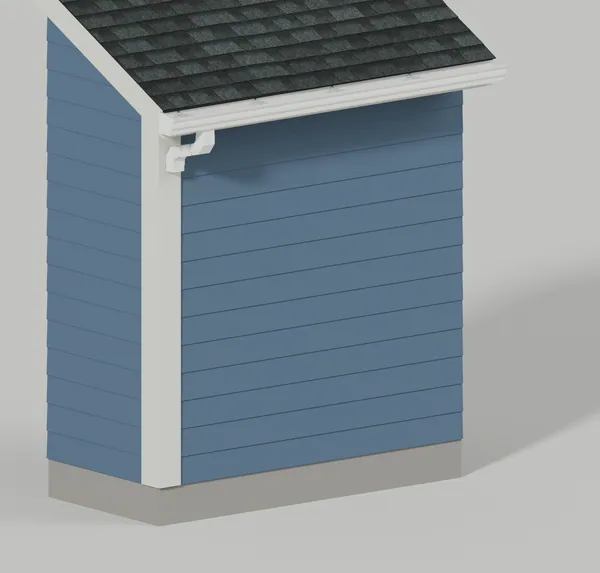
We connect two elbows and a short piece from the outlet to the house corner, with two screws at each joint. 
Two elbows bring the outlet back to the wall 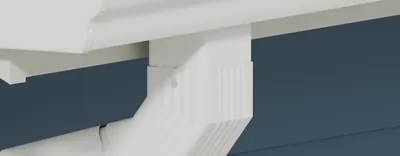
Outlet fits inside the elbow with two screws at the joint 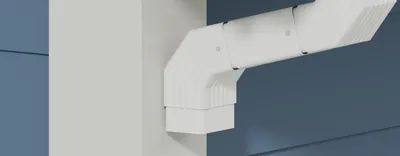
Lower elbow points down at the corner trim - Screws per joint
- 2
- Step 9
Strap the downspout
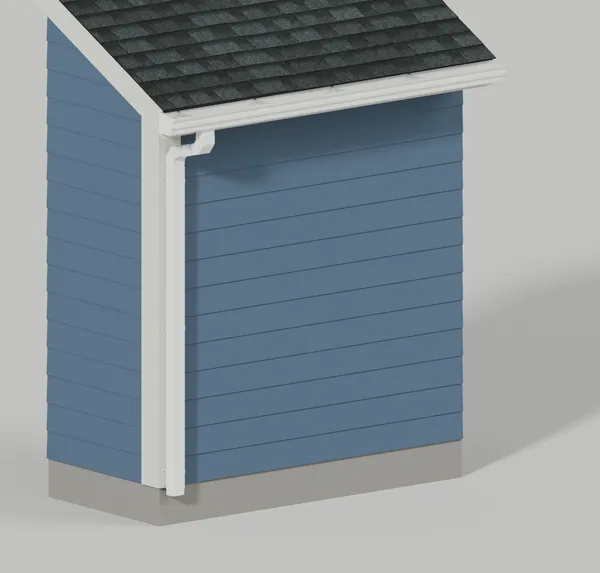
We strap a 3 x 4 in downspout to the corner trim, fitting each upper piece inside the piece below. 
Strap screwed to the trim on both sides 
Upper piece fits inside the piece below 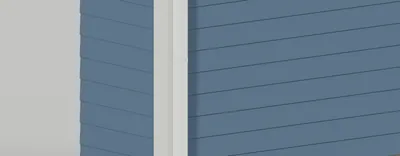
Downspout runs down the corner trim - Downspout width
- 3 in
- Downspout depth
- 4 in
- Step 10
Direct water away from the corner
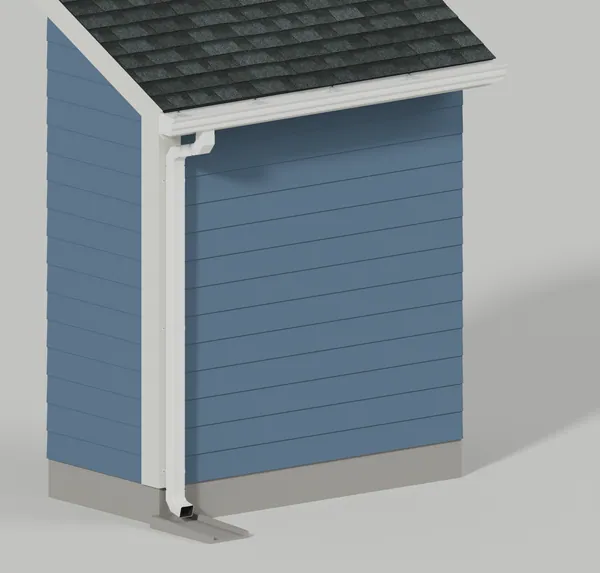
We turn the bottom elbow out in front of the corner onto a splash block, away from the foundation and never along a side wall. 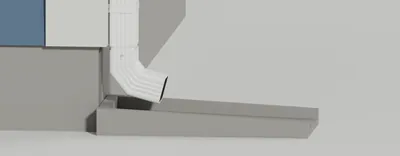
Bottom elbow points out away from the wall 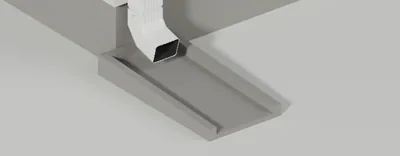
Splash block beneath the bottom elbow 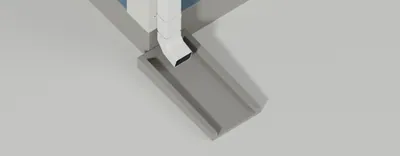
Discharge in front of the corner, never along a side wall - Step 11
Fit the first LeafTech guard section
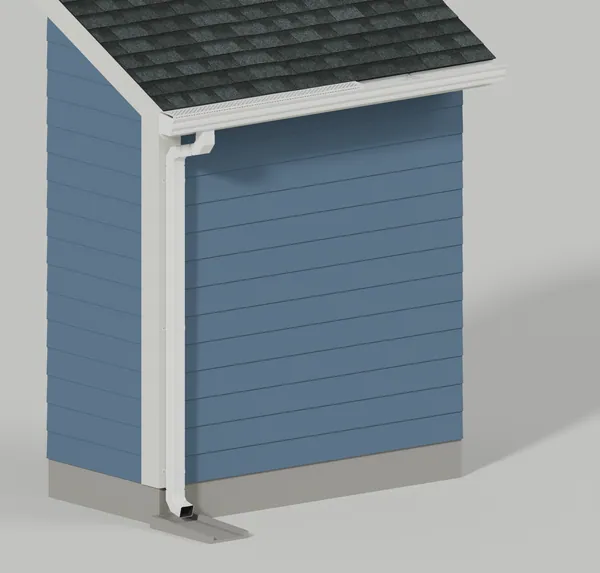
We slide the first 5 ft LeafTech section under the first shingle row at the capped gutter end and screw it to the gutter lip. 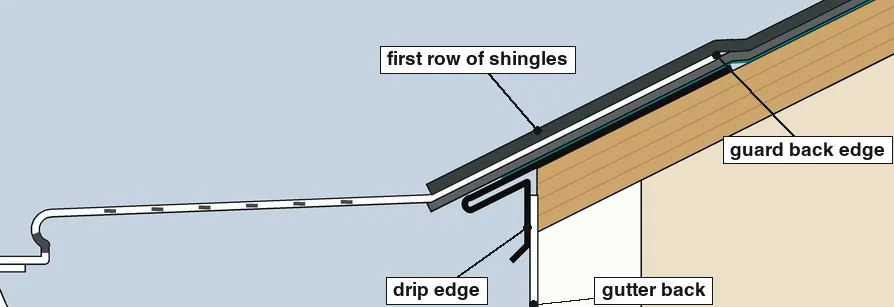
Cut view of the guard back edge beneath the first shingle row 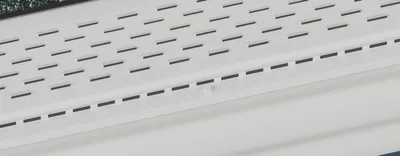
Screw through the guard front edge into the gutter lip 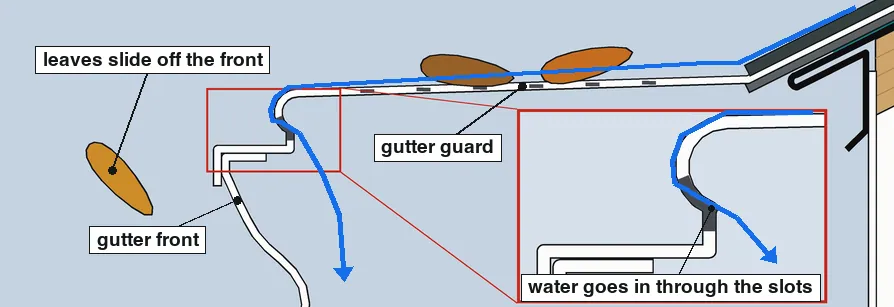
Cut view of water following the round nose through the drain slots - Guard section length
- 5 ft
- Step 12
Overlap the guard sections
We overlap each next guard section, working away from the capped end, and lock every joint with a 1/4 in screw. 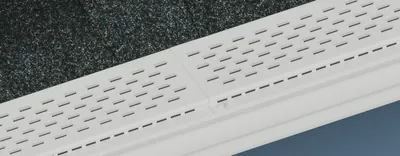
Next guard section overlaps the first 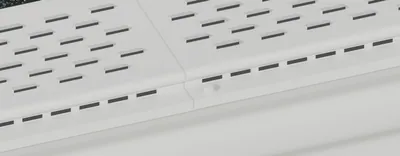
A 1/4 in screw locks the guard joint 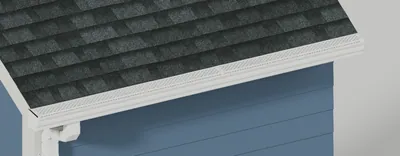
Guard sections cover the whole gutter - Guard joint screw
- 1/4 in
- Step 13
Cap the guard end
We close the open side of the guard with an aluminum end cap that overlaps the gutter end cap. 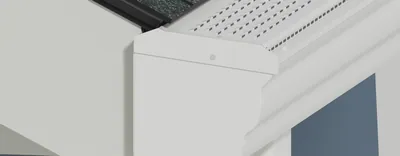
Aluminum end cap closes the side of the guard 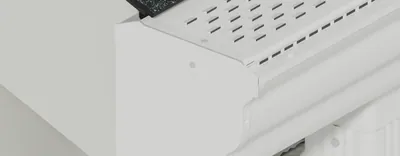
Guard cap overlaps the gutter end cap 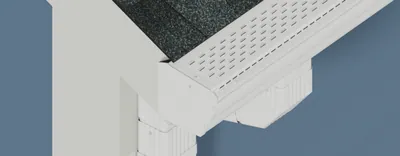
Closed guard end at the corner - Step 14
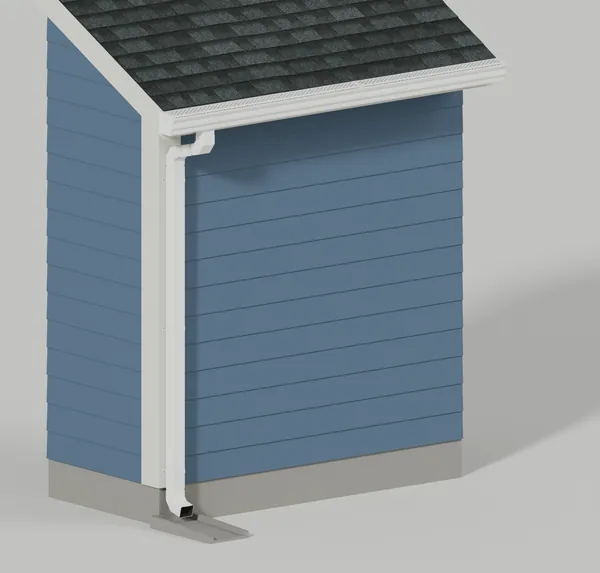
Finished gutter system
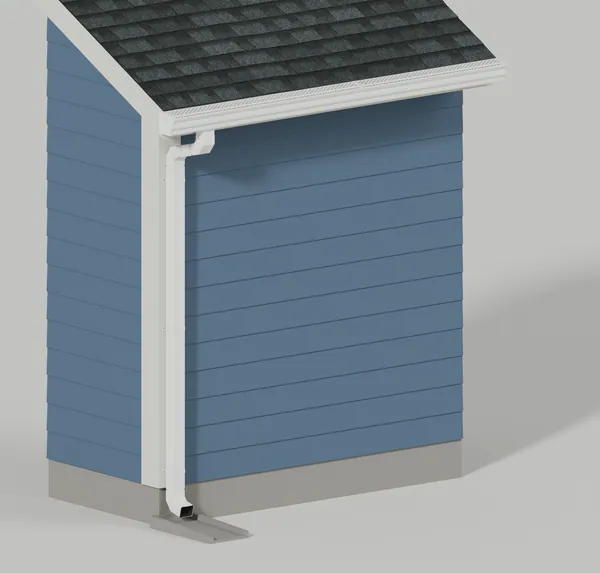
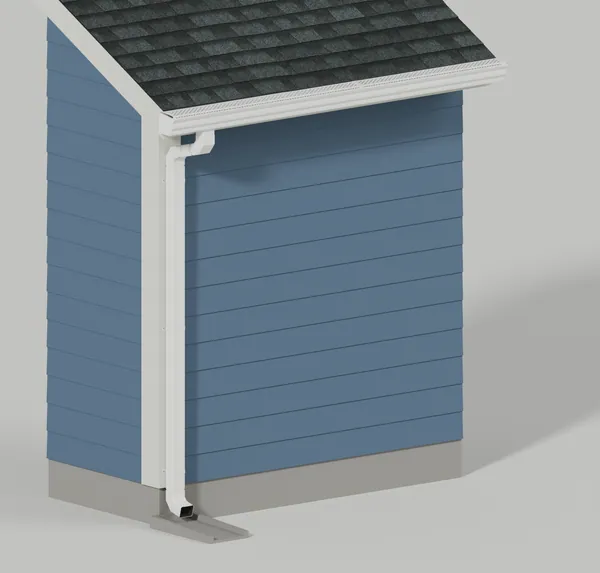
We finish the gutter, downspout and guard with a water path from the roof to the ground away from the house. 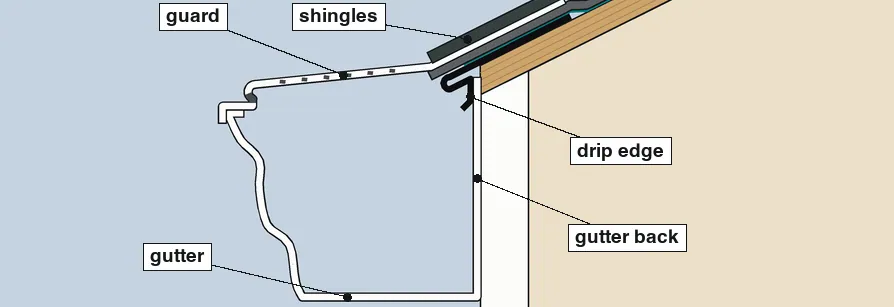
Cut view of the guard and gutter tight under the roof edge 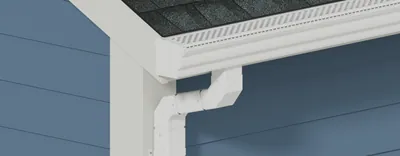
Gutter end, elbows and downspout at the corner 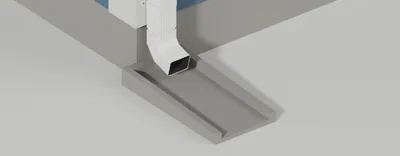
Bottom elbow and splash block direct water away from the house


