15 illustrated steps
Full-frame window replacement
Follow the 15 illustrated steps in this full-frame window replacement assembly.
- Step 1
Window opening framed (rough opening)
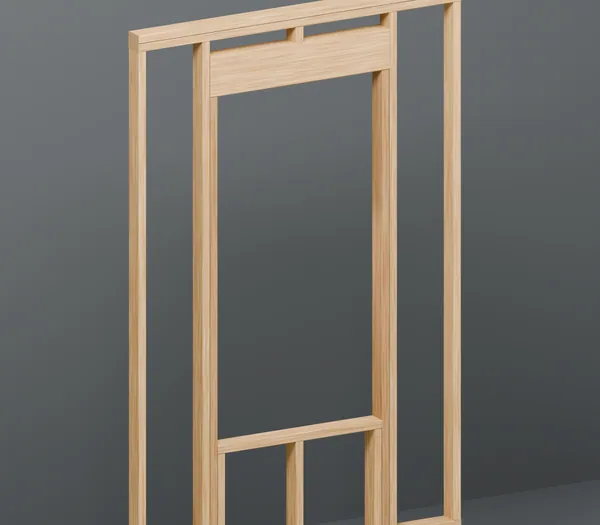
We build new framing around the window opening, sized a little larger than the window so the window can sit level. 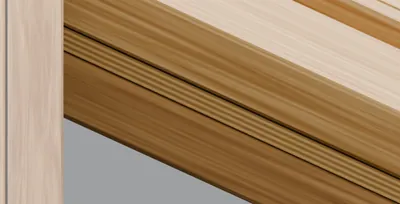
Header from below: two 2x8 boards with a 1/2 in plywood spacer 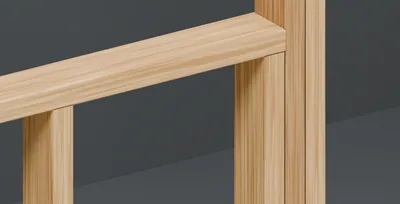
Rough sill on short supports (cripples), one under each end 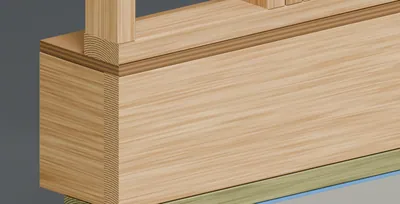
Plate, subfloor, rim and joist, sill plate, blue gasket - Rough opening allowance
- 1/2 in
- Rough opening width
- 32 5/8 in
- Rough opening height
- 62 1/2 in
- Framing spacing
- 16 in
- Step 2
Plywood sheathing
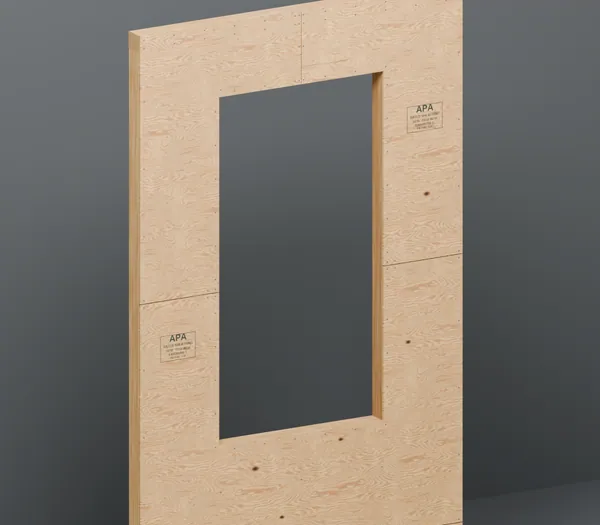
We nail plywood sheathing over the framing in a few large sheets, each cut to fit around the opening. 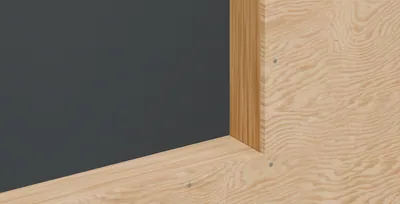
Cut flush: side framing and rough sill inside the opening 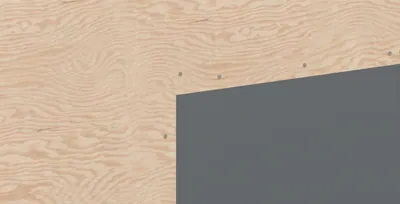
Top corner: sheathing flush to the framing 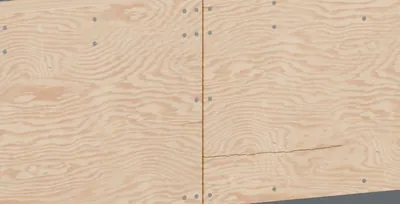
Sheet end joint on the framing, nailed on both sides - Plywood thickness
- 15/32 in
- Gap between sheets
- 1/8 in
- Step 3
House wrap cut and folded in
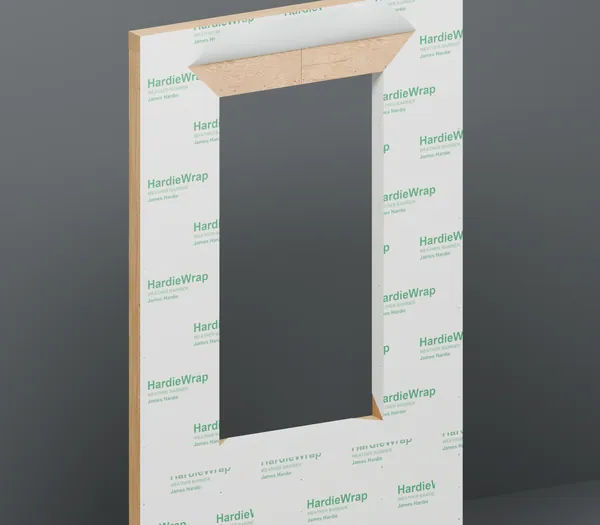
We cover the sheathing with HardieWrap house wrap. At the opening we fold the sides and bottom inward and lift the top flap clear. 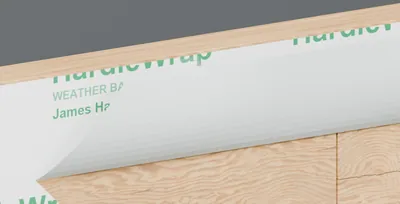
Top flap folded up and taped, plain back showing 
Flaps folded in and stapled; the pan covers the corner next 
Upper sheet laps the lower by 6 in, seam taped - Sheet lap
- 6 in
- Head cut past corner
- 9 in
- Step 4
Sill pan flashing
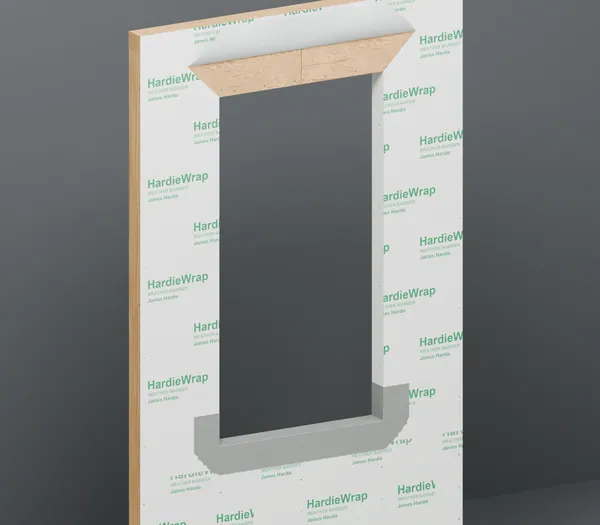
We line the bottom of the opening with flexible flashing turned up both sides. It forms a pan so water at the sill drains out. 
Pan covers the whole sill and turns 6 in up the side 
Corner stretched and fanned onto the wall 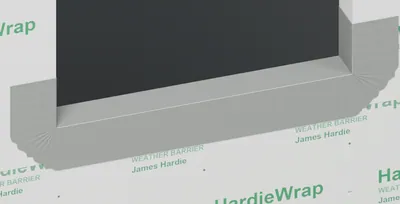
One piece across the sill - Longer than opening width
- 12 in
- Up each side
- 6 in
- Roll width
- 9 in
- Step 5
Sealant where the flange will sit
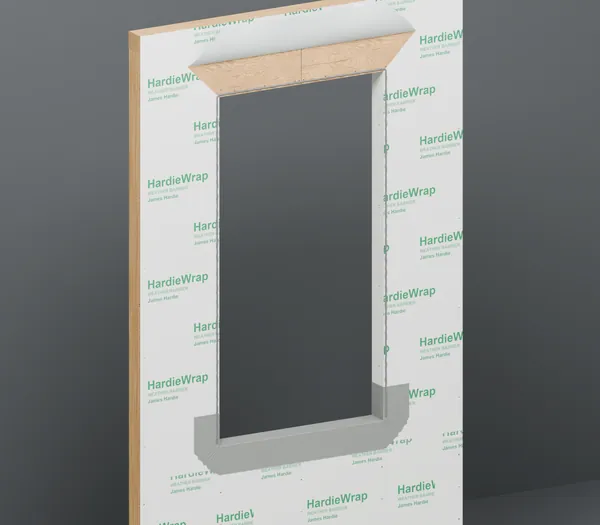
We run sealant up both sides and across the top of the opening where the flange will press in, leaving the bottom open to drain. 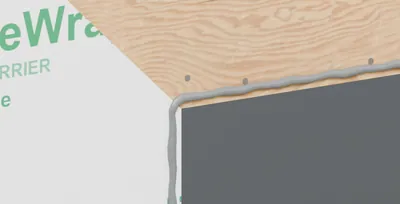
Bead turns the top corner without a break 
Bead stops above the sill, so the bottom stays open 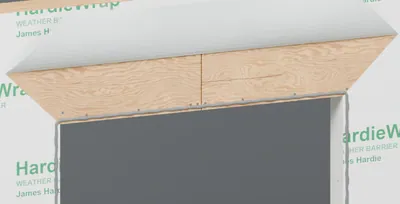
One continuous bead across the top - Bead size
- 3/8 in
- Bead outside opening edge
- 7/16 in
- Step 6
Window set and leveled
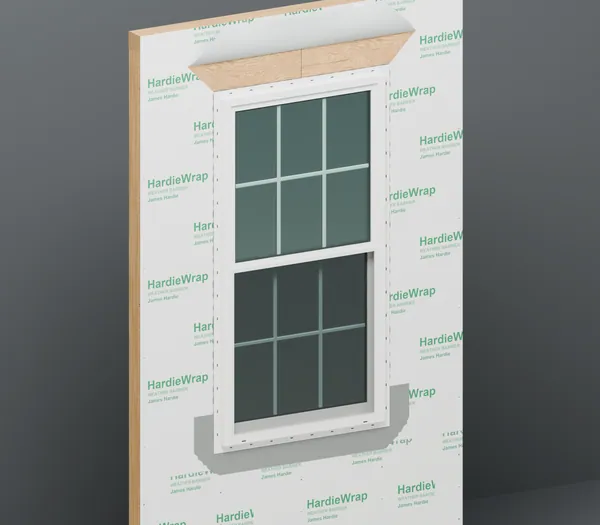
We press the new Vytex double hung window into the sealant and level it, with shims under the sill corners where they are needed. 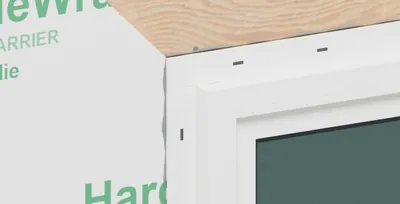
Flange pressed into the sealant, slots still empty 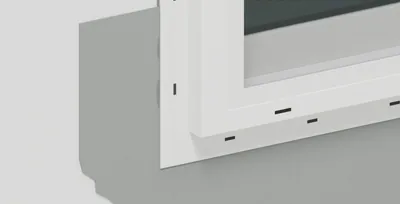
Sill flange over the sill pan 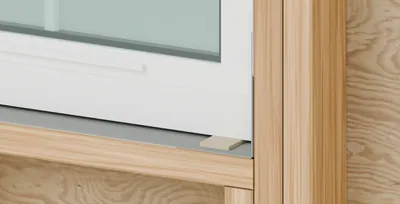
From inside: shim under the sill corner - Window width
- 32 1/8 in
- Window height
- 62 in
- Step 7
Nailing flange fastened
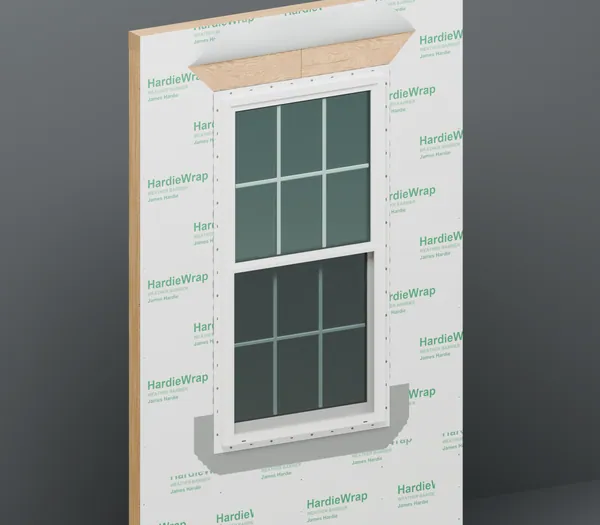
We fasten the window to the wall through its nailing flange, one fastener in every other slot, on all four sides. 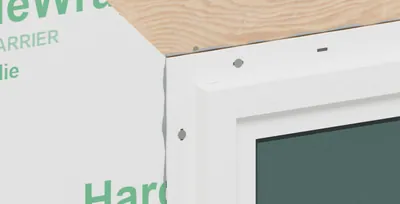
Flange: fastener in every other slot 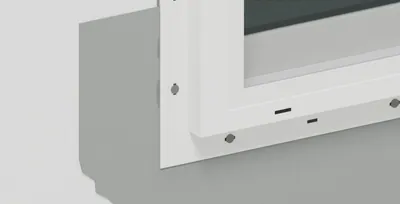
Sill flange fastened too (Vytex step 9), over the pan 
Side flange: every other slot, up the whole side - Step 8
Side flashing tape (jamb)
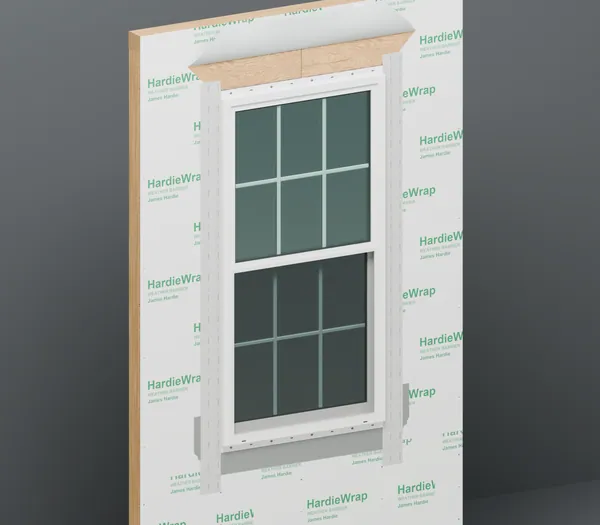
We seal each side flange of the window to the wall with flashing tape that runs past the sill flashing below and above the opening. 
4 in tape: 1 3/8 in on the flange, 2 5/8 in on the wall 
Runs 3 in past the sill flashing 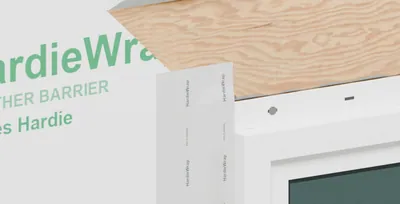
Runs 3 in above the opening - Tape width
- 4 in
- On the flange
- 1 3/8 in
- On the wall
- 2 5/8 in
- Past sill flashing
- 3 in
- Above the opening
- 3 in
- Step 9
Top flashing tape (head)
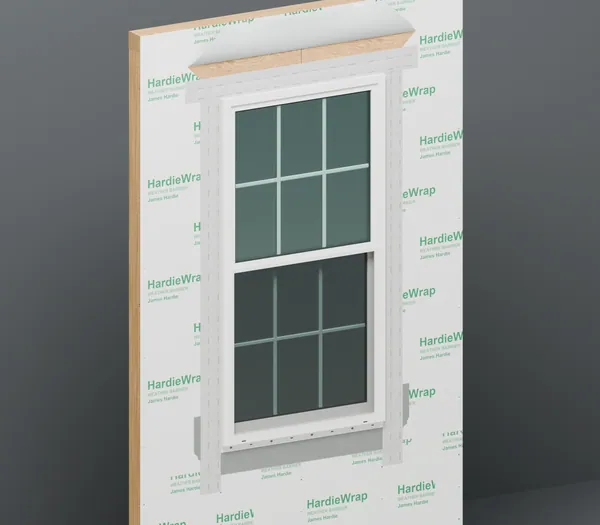
We seal the top flange with flashing tape that laps over the side tapes. We never tape the bottom flange, so water can escape. 
Top tape over the 4 in side tape and 3 in past it 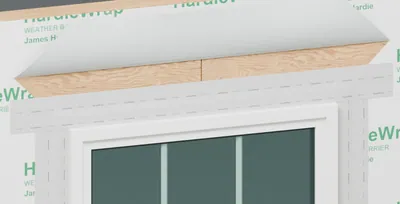
One piece across the top 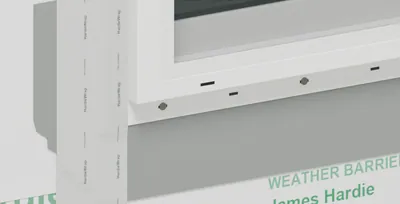
Bottom flange not taped, so the pan can drain - Past each jamb tape
- 3 in
- Tape width
- 4 in
- Step 10
Exterior trim boards
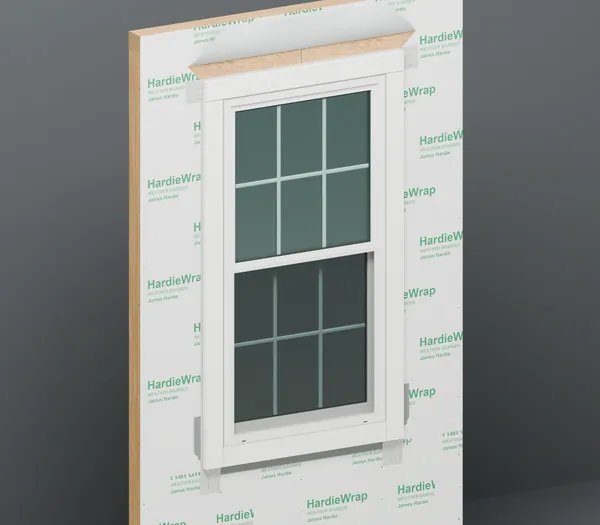
We frame the window with trim boards and seal the small joint between trim and window. The top board caps over the side boards. 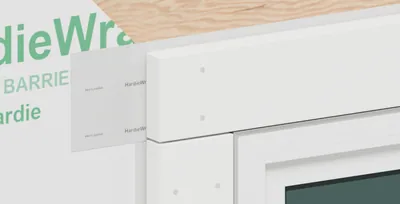
Top board caps over the side board 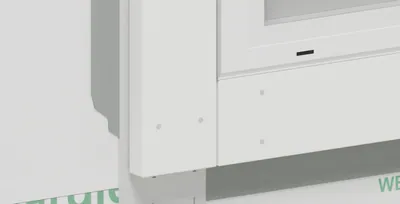
Sill board fits between the side boards 
Sealant bead in the 1/8 in joint, all around the frame - Trim face
- 3 1/2 in
- Trim to window gap
- 1/8 in
- Step 11
Metal flashing over the top trim
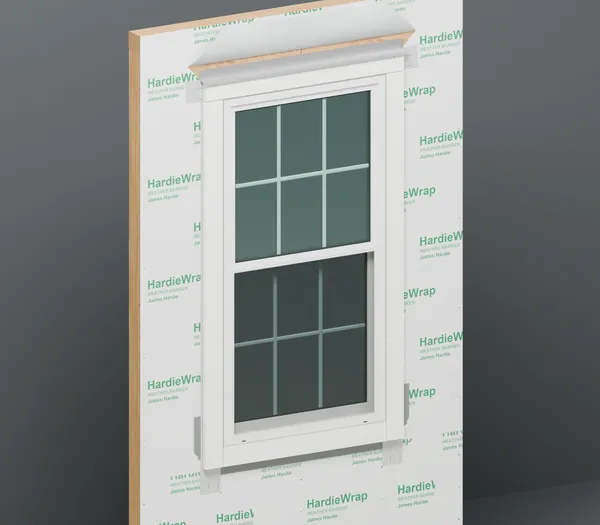
We cap the top trim board with aluminum flashing, its lip throwing water clear of the trim. Next we fold the wrap flap over it. 
End dam: end of the flat top bent up 1/4 in 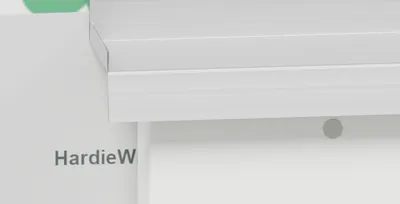
Flashing ends 1/2 in past the end of the top board 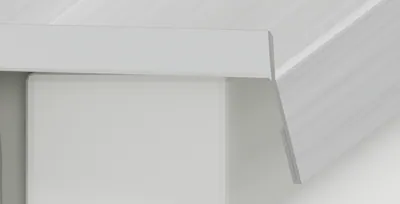
From the end: drip lip kicked out, hem folded flat - Wall leg
- 2 in
- Drip lip off trim face
- 1/4 in
- Past each board end
- 1/2 in
- End dam
- 1/4 in
- Step 12
House wrap flap folded down and taped
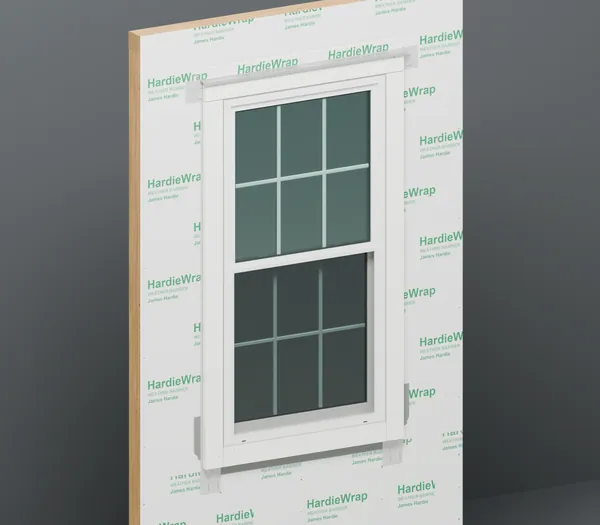
We fold the house wrap flap down over the metal flashing and tape both cuts, so water on the wrap runs out over the flashing. 
1 7/8 in seam tape from the flashing to the end of the cut 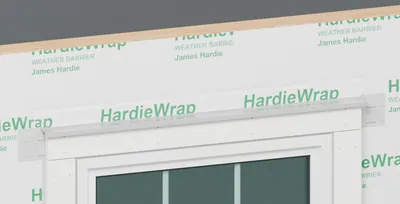
Flap laps over the flashing leg 
Same on the other cut - Seam tape width
- 1 7/8 in
- Step 13
Insulate the gap from inside
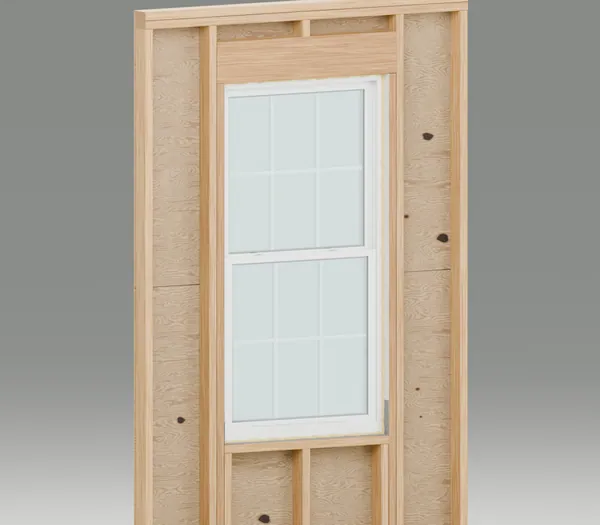
From inside, we fill the small gap between the window frame and the wall framing with low expansion foam to insulate around the window. 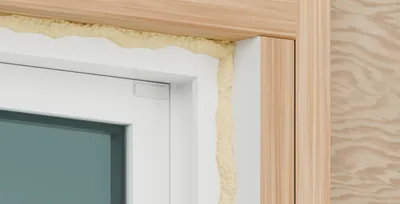
Top corner: foam in the gap all around 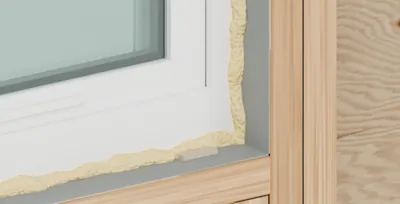
Sill corner: foam along the sill gap too 
House wrap folded in over the framing; foam in the 1/4 in gap - Gap each side
- 1/4 in
- Step 14
Siding fitted to the trim
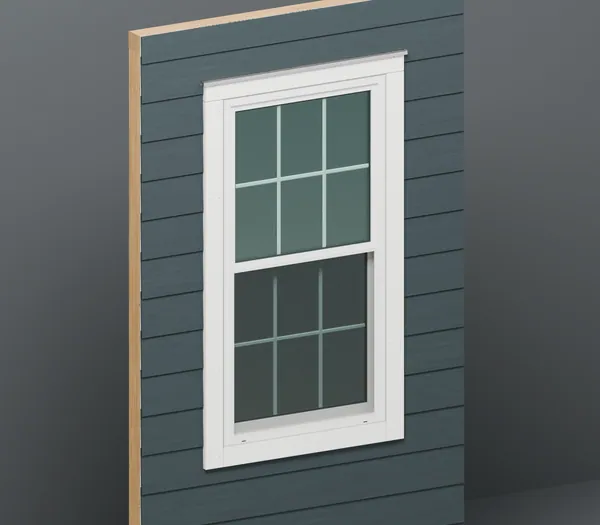
We fit fiber cement siding around the window, leaving a narrow joint at the trim for sealant and an open gap above the metal flashing. 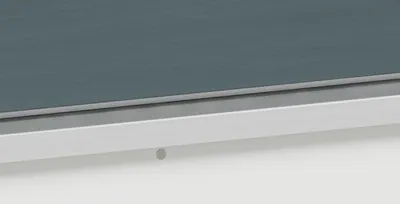
1/4 in open gap above the flashing, not caulked 
1/8 in joint at the side trim, ready for sealant 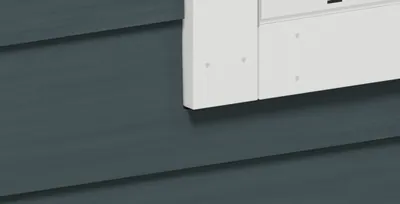
Plank notched under the sill trim - Exposure
- 7 in
- Joint at trim
- 1/8 in
- Open gap above flashing
- 1/4 in
- Minimum lap
- 1 1/4 in
- Step 15
Siding sealed to the trim
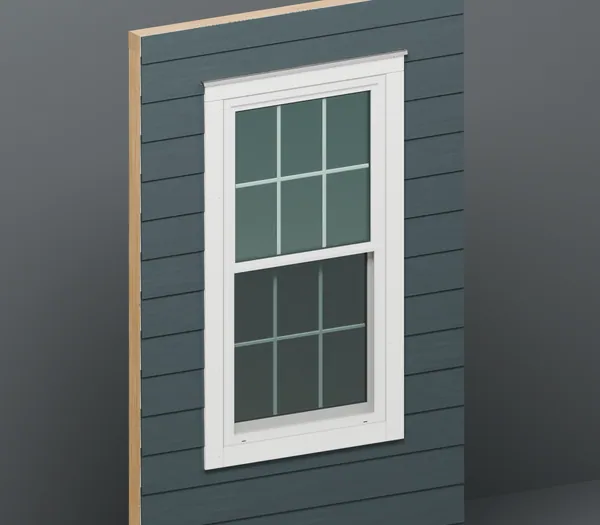
We seal the siding to the side and sill trim with color matched sealant. The gap above the metal flashing stays open to drain. 
Plank ends sealed to the side trim 
Sealed under the sill trim and around the corner 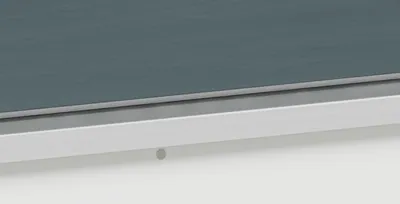
Above the head flashing: gap left open, no sealant - Joint at trim
- 1/8 in
- Open gap above flashing
- 1/4 in


