11 illustrated steps
Exterior trim
Follow the 11 illustrated steps in this exterior trim assembly.
- Step 1
Weather barrier on, seam tape on every seam
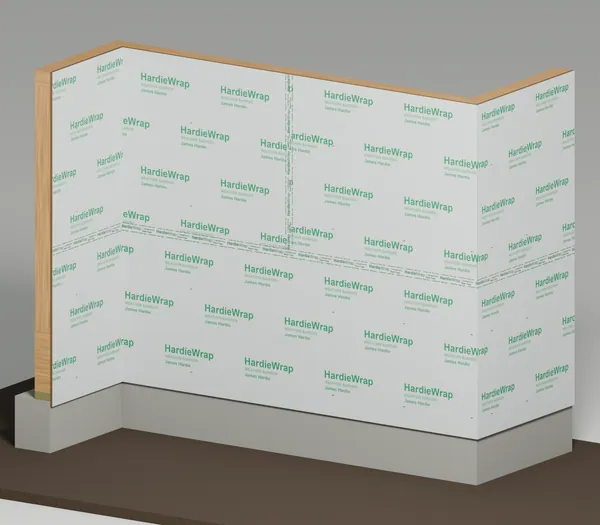
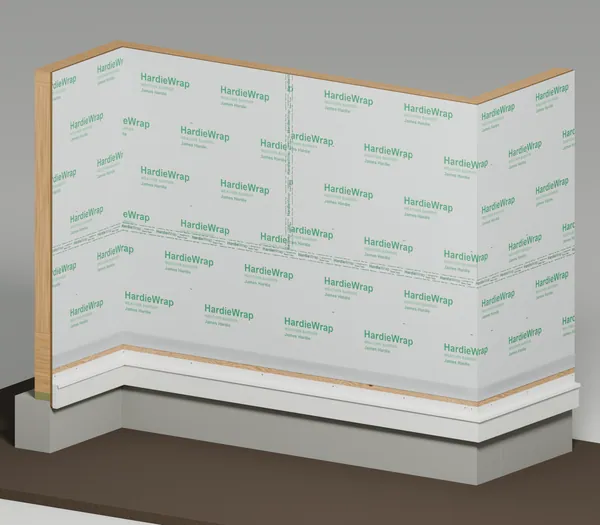
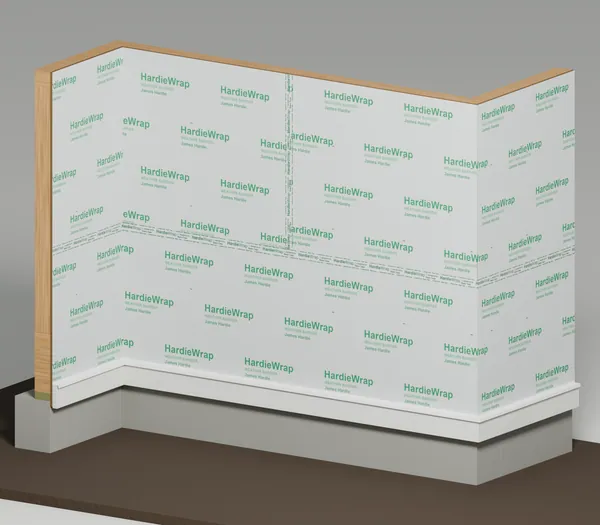
We start with the wall wrapped in HardieWrap weather barrier, sheets lapped like shingles and every seam sealed with HardieWrap seam tape. 
Printed seam tape where the level and upright seams cross 
Weather barrier carried around the outside corner 
Weather barrier run down onto the foundation - Sheet overlap
- 6 in
- HardieWrap seam tape width
- 1 7/8 in
- Step 2
Nail on the skirt board
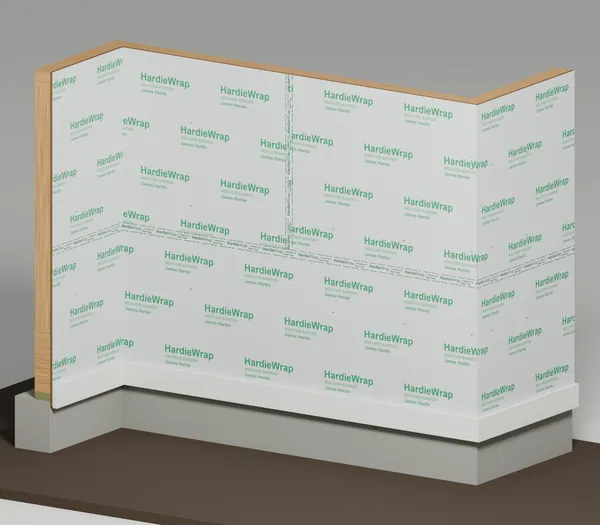
We run a HardieTrim skirt board along the base of the wall, nailed in pairs and at least 6 in above the ground. 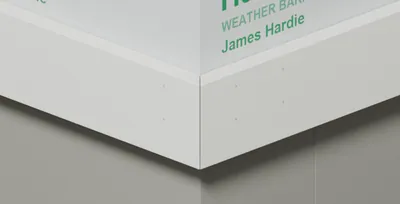
Skirt board ends mitered at the outside corner 
Skirt board ends butted tight at the inside corner 
Bottom edge of the skirt board well above the ground - Board width, actual (sold as 5 in)
- 4 1/2 in
- Board thickness
- 1 in
- Minimum nail distance from trim edge
- 1/2 in
- Minimum nail distance from trim end
- 1 in
- Minimum clearance above the ground
- 6 in
- Step 3
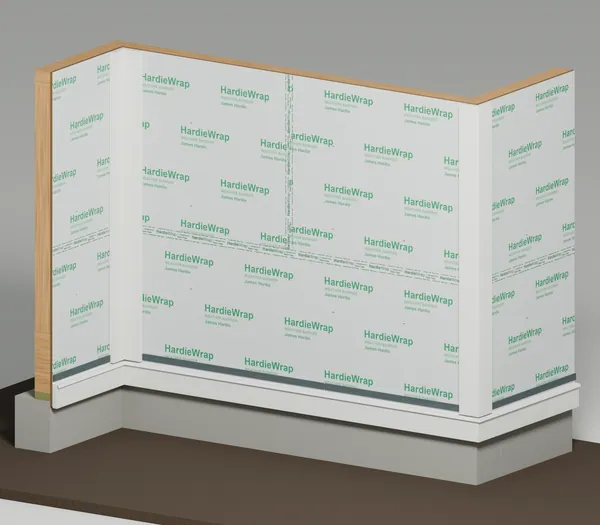
Cut the weather barrier above the board
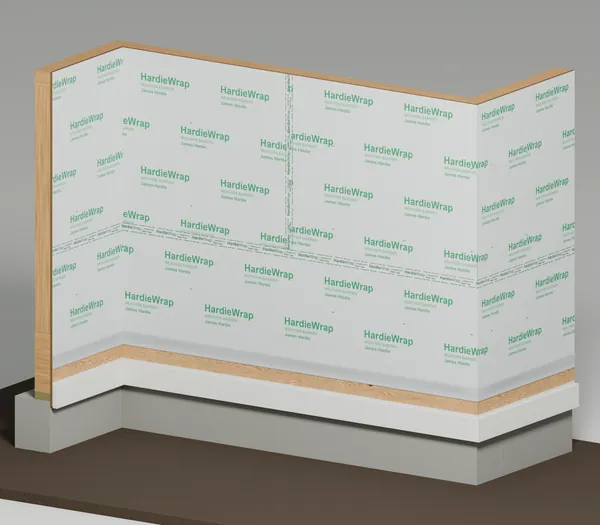
We cut the weather barrier level just above the skirt board and lift the flap so the metal flashing can go behind it. 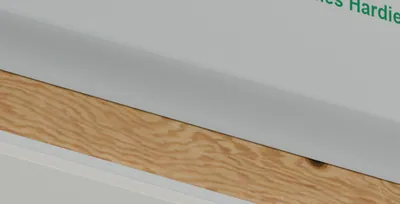
Level cut with the flap lifted off the bare sheathing 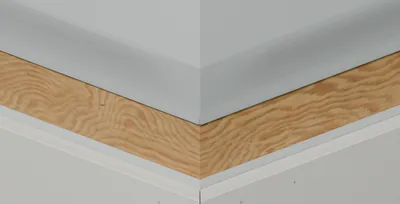
Level cut running around the outside corner 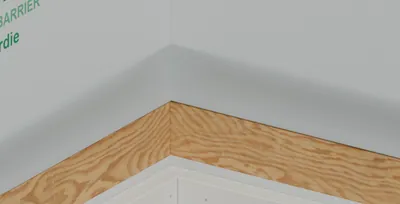
The same level cut at the inside corner - Step 4
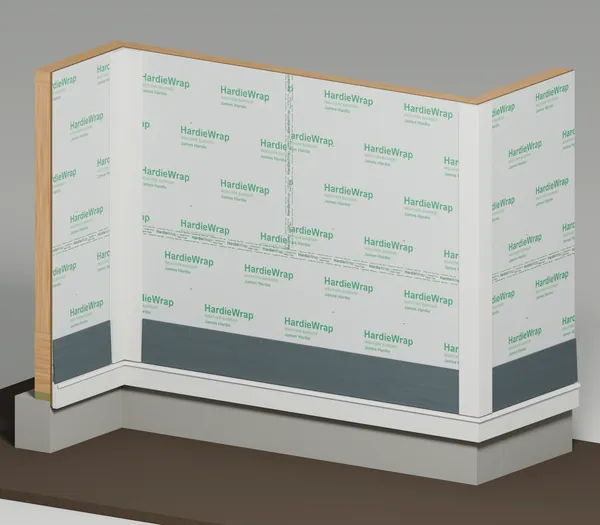
Add metal Z flashing
We cap the skirt board with metal Z flashing, its leg nailed to the wall and its drip edge turned down over the board. 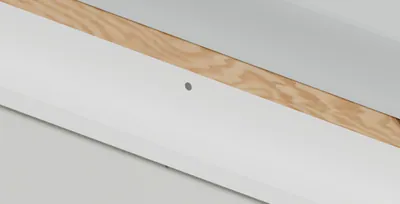
Flashing leg nailed to the wall, drip edge over the board 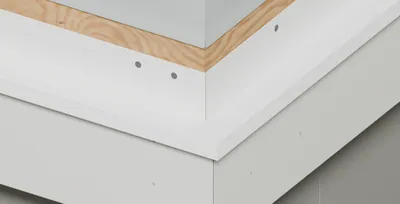
Outside corner flashing lapped and folded around 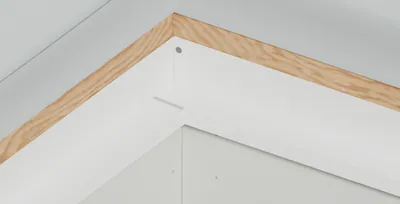
Inside corner flashing lapped and sealed - Drip edge fold around the corner
- 1 in
- Wall leg fold around the corner
- 2 1/2 in
- Step 5
Lap the weather barrier over the flashing
We bring the weather barrier flap back down over the metal leg, so water behind the siding runs onto the flashing and out. 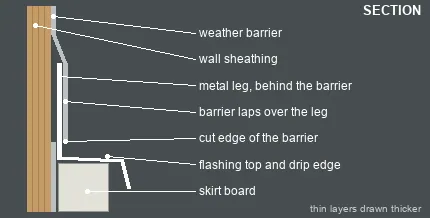
Section of the barrier lapped over the metal leg 
Barrier over the flashing leg around the outside corner 
The same lap at the inside corner - Step 6
Put up the outside corner boards
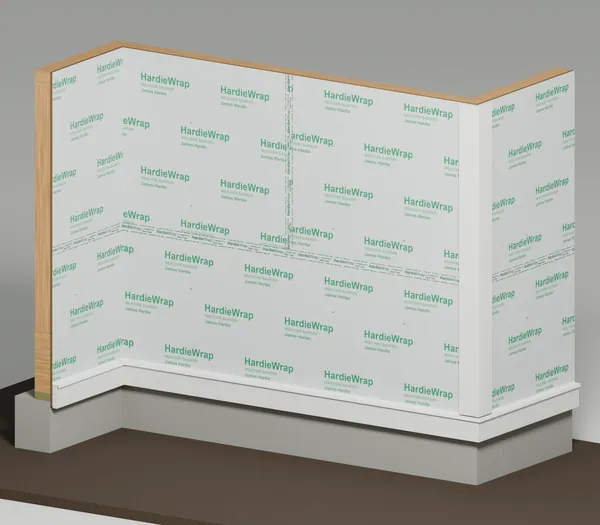
We form the outside corner with two HardieTrim boards, nailed to the wall and to each other, stopping 1/4 in above the flashing. 
Open gap between the corner boards and the flashing 
Both corner boards with small flush nail heads 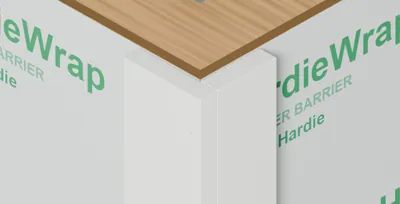
One board covers the edge of the other - Board width, actual (sold as 5 in)
- 4 1/2 in
- Board thickness
- 1 in
- Gap above the flashing, minimum
- 1/4 in
- Board to board nail from the corner edge
- 1/2 in
- Step 7
Put up the inside corner boards
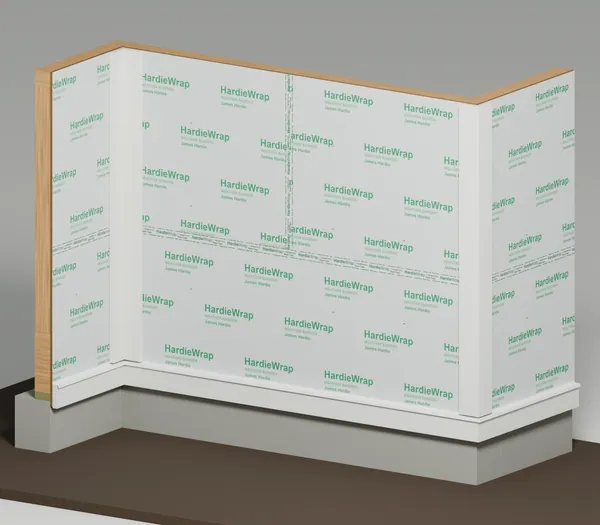
We build the inside corner from two HardieTrim boards, one on each wall, nailed in pairs, with the same open gap above the flashing. 
Open gap between the inside corner boards and the flashing 
A pair of small nail heads in an inside corner board 
From above, two boards, one butted to the other - Gap above the flashing, minimum
- 1/4 in
- Step 8
Nail on the starter strip
We put a narrow starter strip above the flashing so the first course tips out like the rest, with a gap to drain water. 
Drain gap between two starter strip pieces 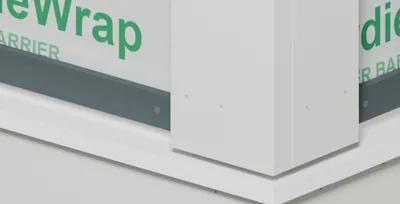
Starter strip stops at the outside corner board 
Starter strip stops at the inside corner board - Starter strip height
- 1 1/4 in
- Drain gap between pieces
- 1/4 in
- Step 9
Hang the first course of siding
We lay the first course of HardiePlank over the starter strip, 1/4 in above the flashing and 1/8 in short of the trim. 
From above, a 1/8 in gap at the outside corner board 
Open gap between the first course and the flashing 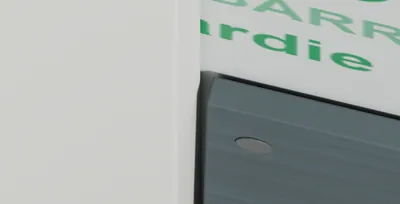
From above, a 1/8 in gap at the inside corner board - Gap above the flashing
- 1/4 in
- Gap from plank end to trim, minimum
- 1/8 in
- Step 10
Run the siding up the wall
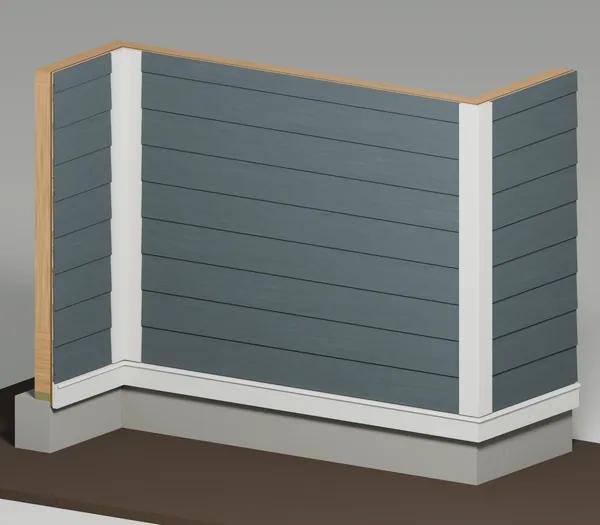
We run the rest of the siding courses up the wall, each lapping the one below and lining up around both corners. 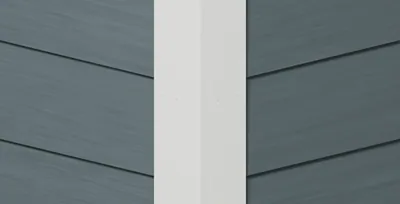
Courses line up around the outside corner 
Courses line up at the inside corner 
From above, the 1/8 in gap at the cut top still open - Gap from plank end to trim, minimum
- 1/8 in
- Step 11
Seal where siding meets trim
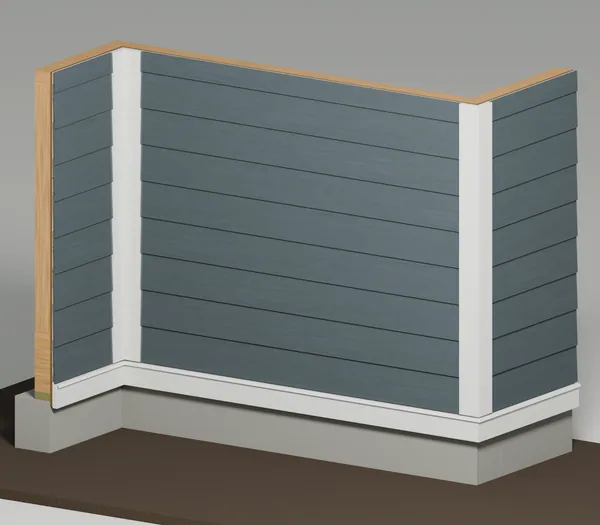
We seal every joint where plank ends meet the trim with a caulk gun. The gap above the flashing stays open so water drains. 
Color matched sealant at the outside corner board 
Color matched sealant at the inside corner board 
No sealant in the open gap above the flashing - Sealed gap at plank ends
- 1/8 in


