16 illustrated steps
Chimney flashing, open valley cricket
Follow the 16 illustrated steps in this chimney flashing, open valley cricket assembly.
- Step 1
Roof deck ready
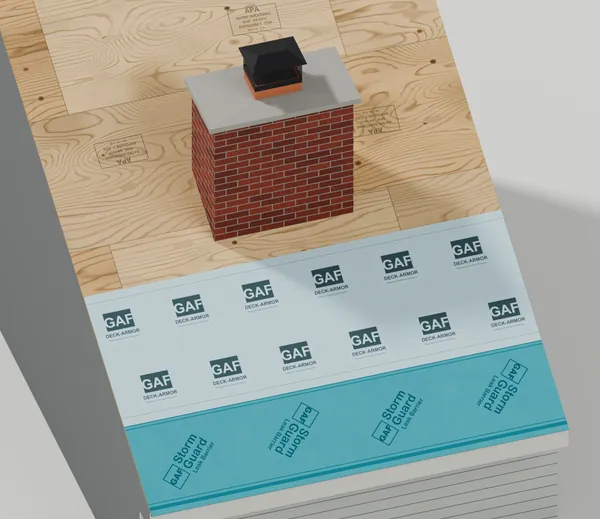
We start with a solid plywood roof deck tight to the brick, with drip edge, leak barrier and underlayment already on at the eave. 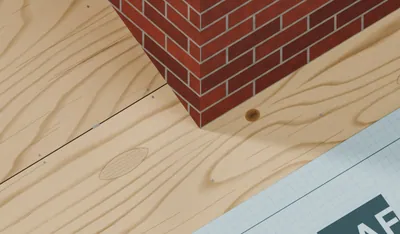
Plywood meets the brick with no gap 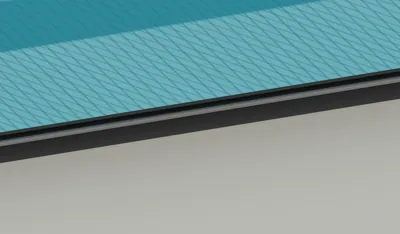
Drip edge on the fascia, leak barrier over it 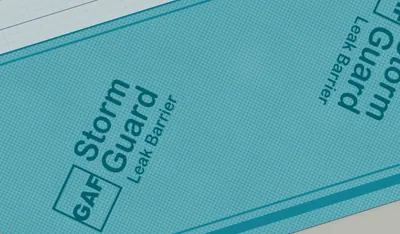
Underlayment laps over the leak barrier - Plywood (CDX) thickness
- 5/8 in
- Underlayment lap over the eave leak barrier
- 3 in
- Step 2
Ridge behind the chimney (cricket)
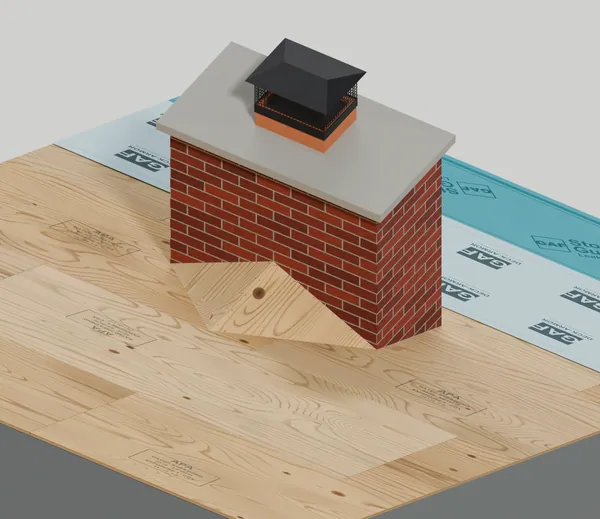
We build a plywood cricket behind the chimney, two slopes meeting at a level ridge, so water runs around the chimney. 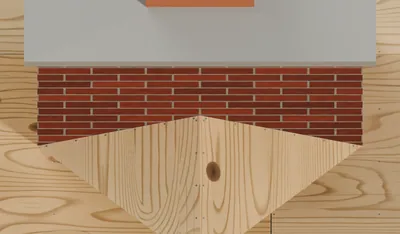
Two sloped sides meet at one level ridge 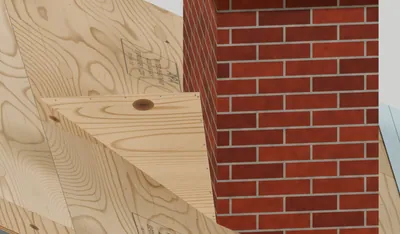
12 in high at the brick 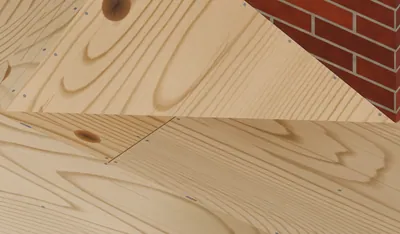
Nailed to the roof deck - Cricket height at the brick
- 12 in
- Cricket added when the chimney back is wider than
- 12 in
- Step 3
Leak barrier, bottom
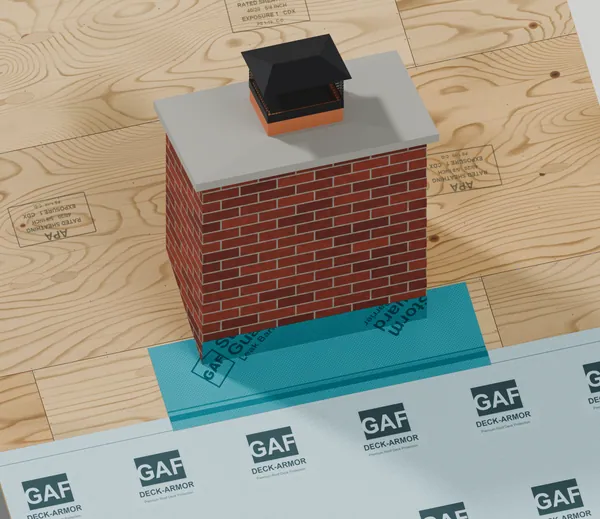
We stick the first leak barrier piece across the front of the chimney, turned 6 in up the brick and lapped over the underlayment below. 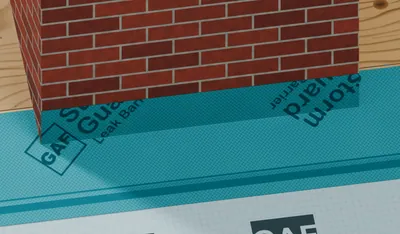
6 in up the front of the brick 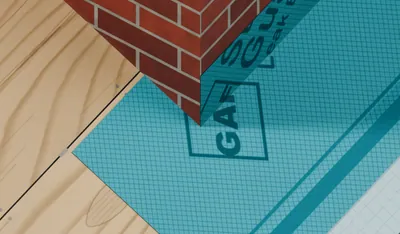
Slit at the corner, the tail lies flat 
Laps over the underlayment below - Leak barrier up the brick
- 6 in
- GAF minimum rise up the brick
- 5 in
- Step 4
Leak barrier, sides
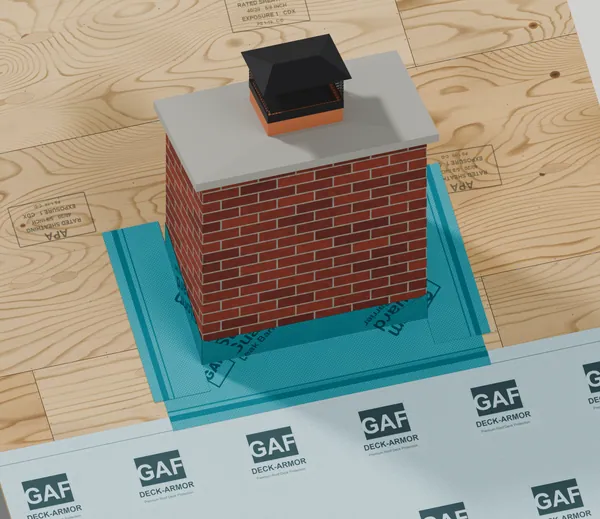
We add a leak barrier piece up each side, lapped over the bottom piece and wrapped around the front corners with no gaps. 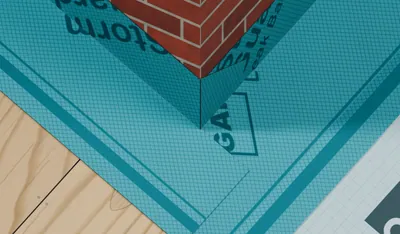
Side piece laps over the bottom piece 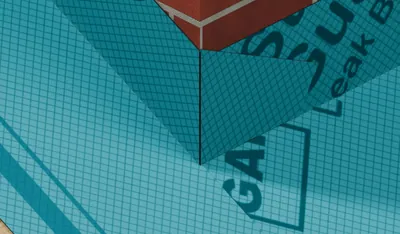
Wrapped around the front corner 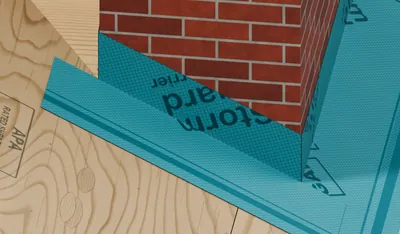
6 in up the side - Leak barrier up the brick
- 6 in
- Step 5
Leak barrier, top
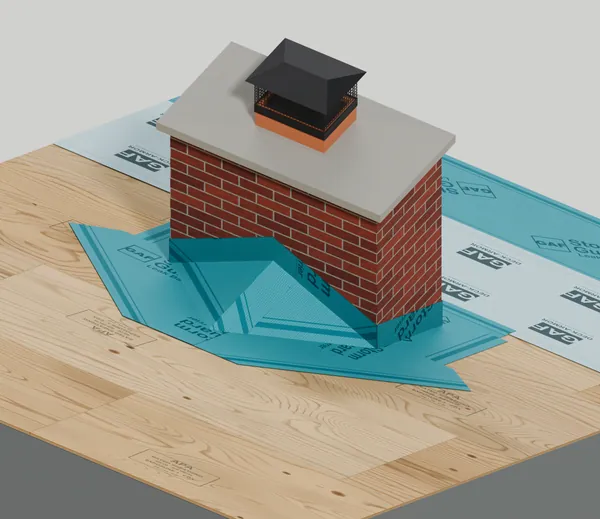
We cover the cricket with leak barrier, one piece centered in each valley, turned up the back of the chimney and lapped at the ridge. 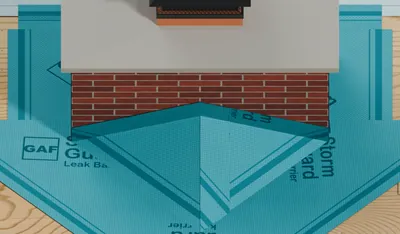
36 in piece centered in each valley 
Second piece laps 6 in over the ridge 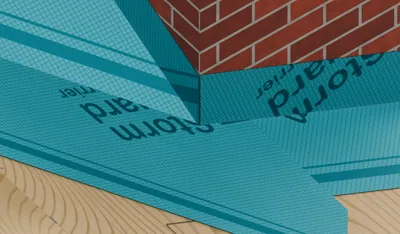
Laps over the side piece - Leak barrier width
- 36 in
- Lap at the cricket ridge
- 6 in
- Leak barrier up the brick
- 6 in
- Step 6
Underlayment
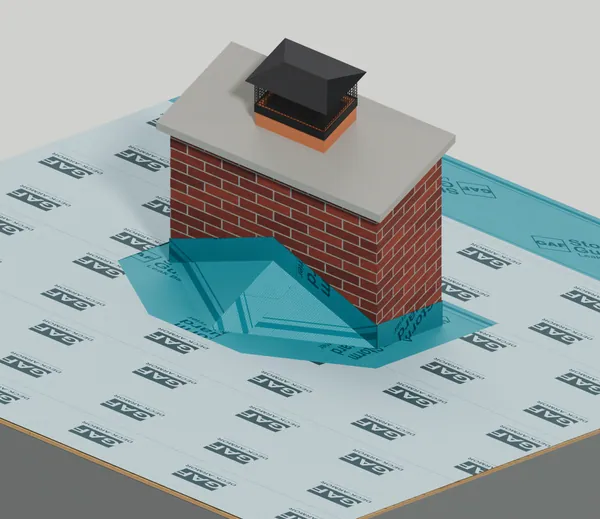
We roll underlayment up the roof, cut around the chimney and lapped 6 in onto the leak barrier. 
Underlayment laps over the top of the leak barrier 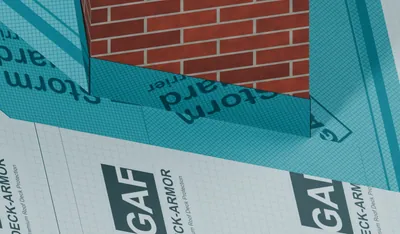
6 in onto the side piece 
The bottom leak barrier piece stays on top - Underlayment lap onto the leak barrier
- 6 in
- Step 7
Shingles up to the chimney
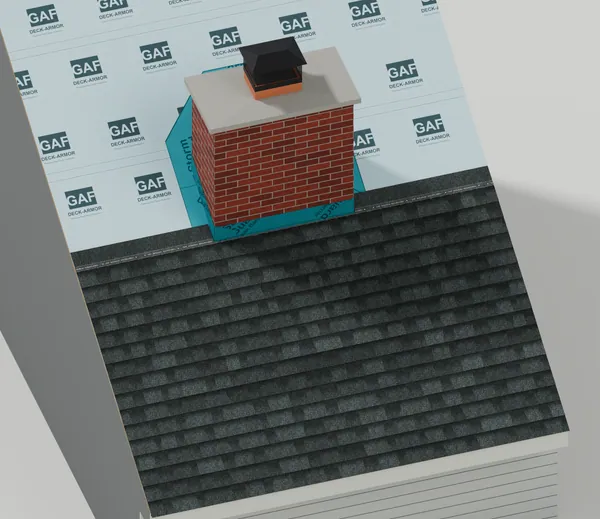
We shingle from the eave up to the chimney, starting with a starter strip, until the last course runs across the front of the brick. 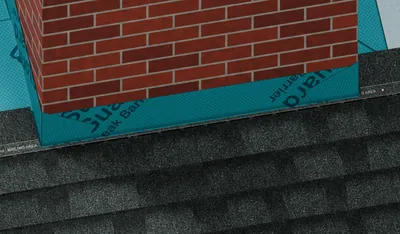
Last course runs across the front 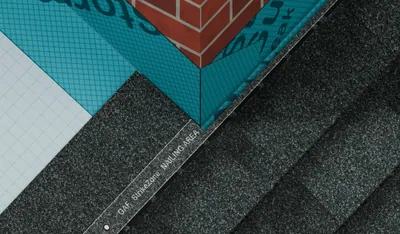
Cut close at the corner 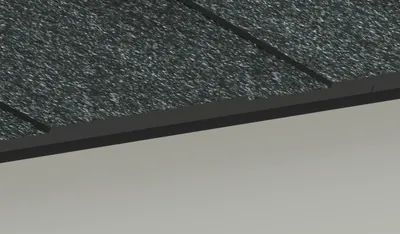
Starter and first course over the drip edge - Shingle exposure
- 5 5/8 in
- Nails per shingle
- 4
- Step 8
Metal apron across the front (apron flashing)
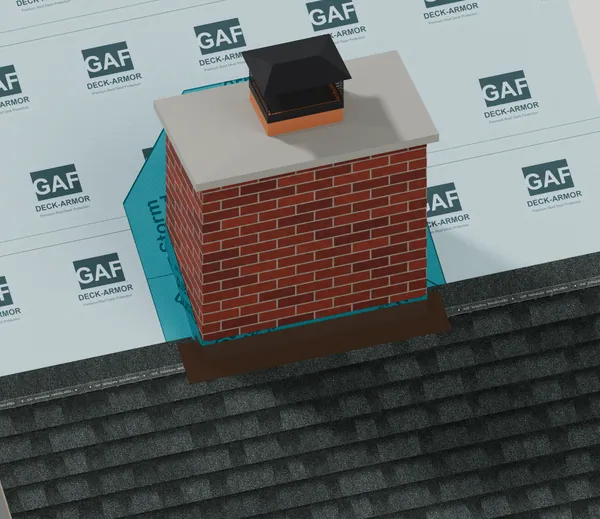
We bend one metal apron across the chimney front, 5 in up the brick and 4 in over the shingles, folded around both corners. 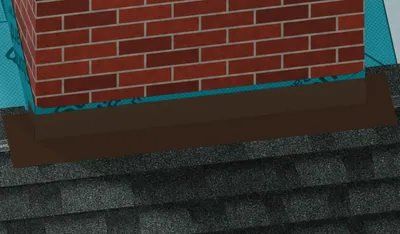
5 in up the brick, 4 in over the shingles 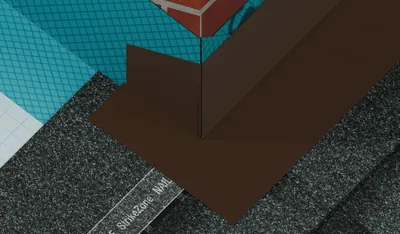
Corner folded onto the side 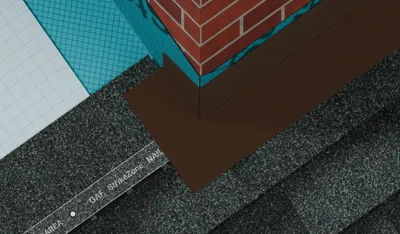
The end (ear) runs past the corner - Apron up the brick
- 5 in
- Apron over the shingles
- 4 in
- Apron ear past the corner
- 4 in
- Step 9
Metal pieces woven up the sides (step flashing)
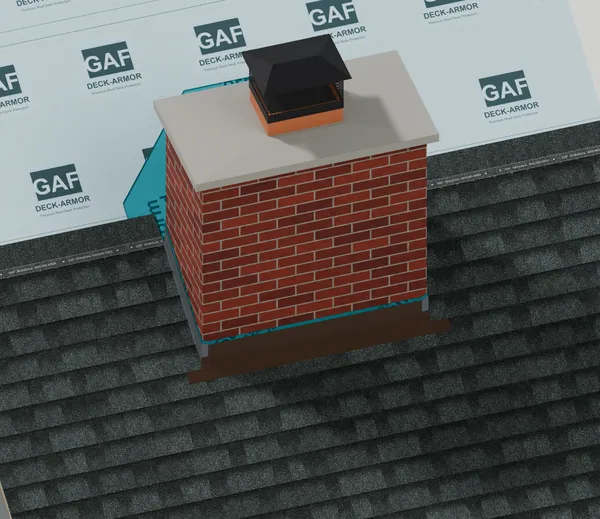
We weave a bent metal piece (step flashing) into every shingle course up each side, each one covered by the next shingle. 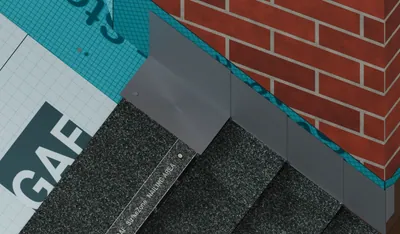
Part way up, a piece on its course before the next shingle covers it 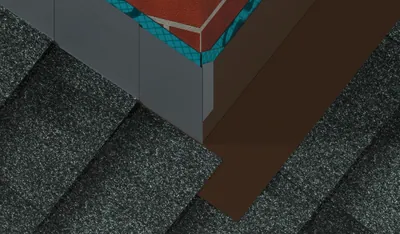
First piece laps over the apron corner 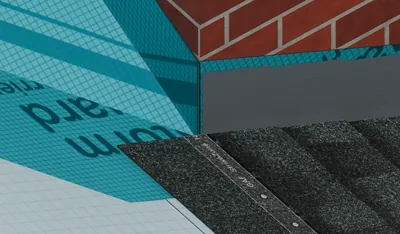
Top piece ends at the back corner - Step flashing legs
- 5 in
- Step flashing length
- 8 in
- Nails per piece
- 1
- Step 10
Metal valleys in the cricket (W valley)
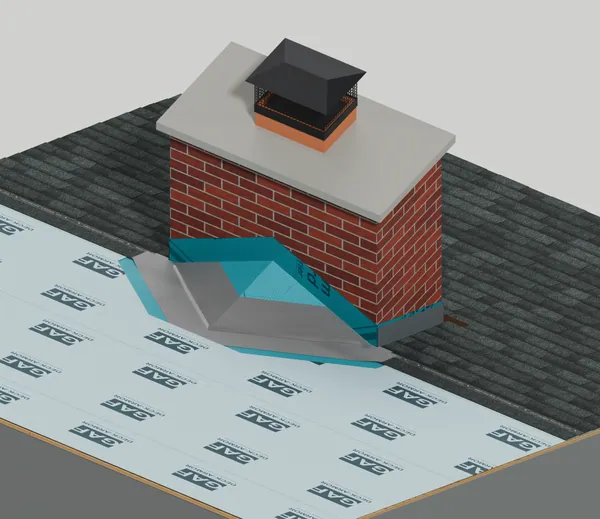
We lay a metal W valley in each cricket valley, a bent sheet with a raised center rib that keeps water in the channel. 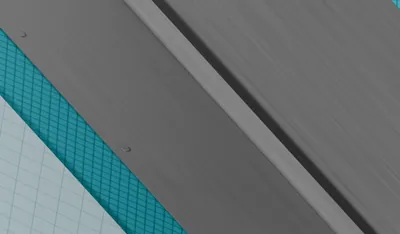
W valley metal with a raised center rib 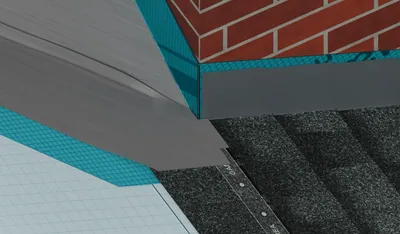
The low end is cut level at the back corner 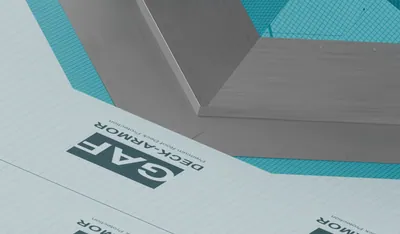
Ribs mitered where the valleys meet, the east valley lapped 2 in - Valley sheet width
- 18 in
- Flat each side of the rib
- 8 in
- Rib height
- 1 in
- Lap where the valleys meet
- 2 in
- Step 11
Leak barrier strips over the valley edges
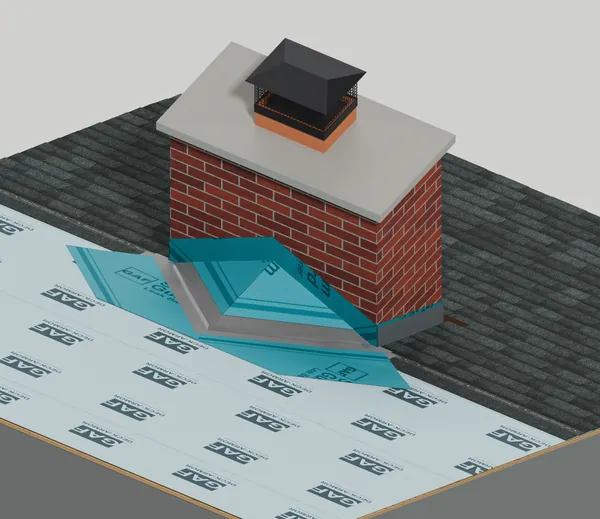
We seal leak barrier strips over the valley metal edges, covering the nails and leaving 3 in open each side of the rib. 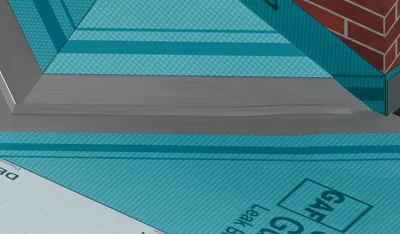
The strip covers the nails and 5 in of metal 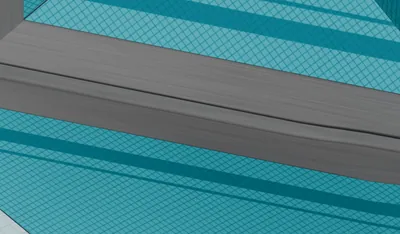
3 in of open metal each side of the rib 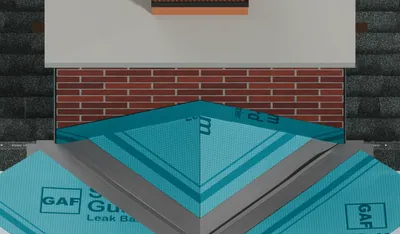
Strips on both cricket slopes and both valleys - Metal covered by the strip
- 5 in
- Open metal each side of the rib
- 3 in
- Step 12
Cricket shingles and step flashing
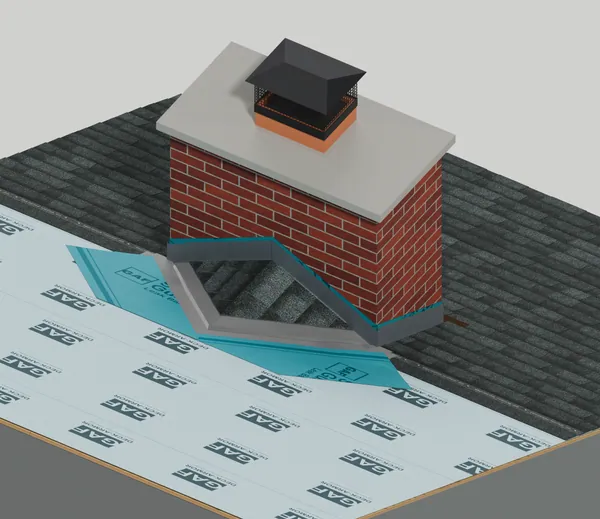
We shingle the cricket like the roof, with one metal step flashing piece at the brick on every course, each covered by the next shingle. 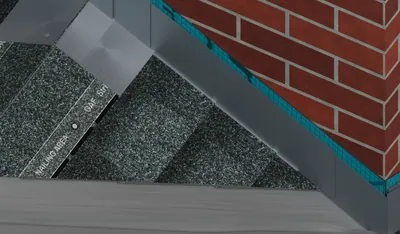
One step flashing piece per course, shown with the top shingle left off 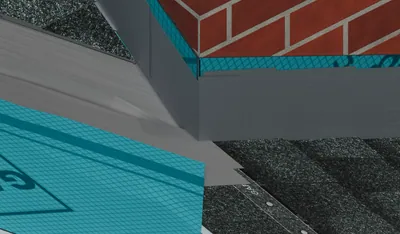
The corner piece wraps the back corner of the chimney 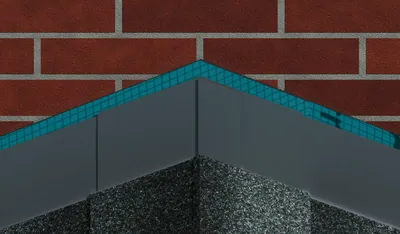
The two top pieces lap at the cricket ridge - Step flashing legs
- 5 in
- Step flashing length
- 8 in
- Step 13
Ridge caps and roof shingles
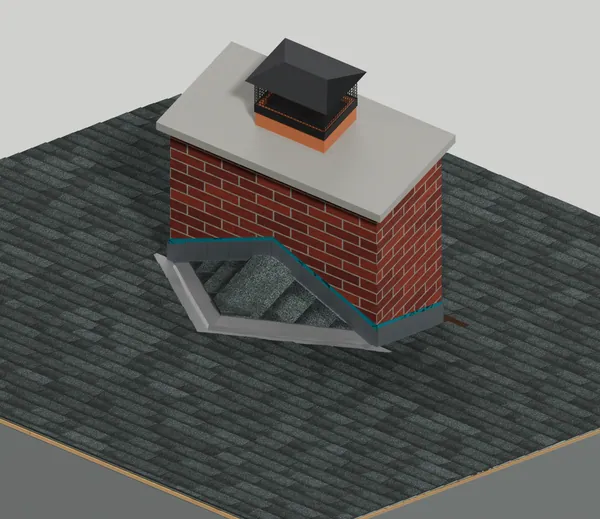
We cap the cricket ridge and finish the roof, cutting shingles 3 in back from each valley rib so the valleys stay open. 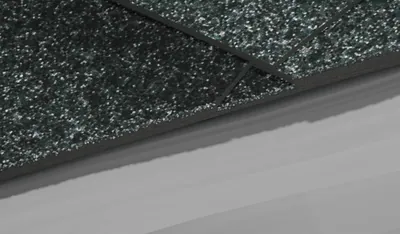
Shingles lap over the valley metal 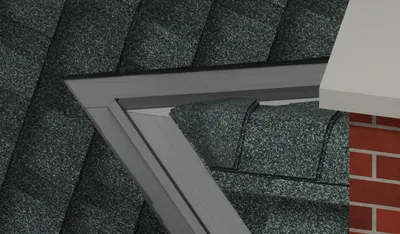
Ridge caps on the cricket ridge 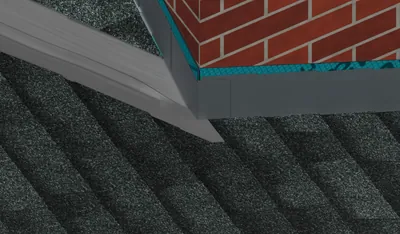
The valley empties onto the shingles at the back corner - Cut back from the valley rib
- 3 in
- Nails per cap
- 2
- Step 14
Groove cut in the brick (reglet)
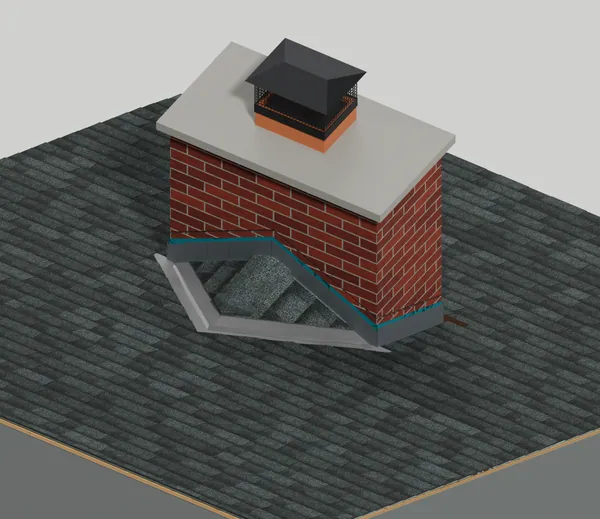
We saw one straight groove 1 in deep into the brick on every face, about 6 in above the roof and along each cricket slope. 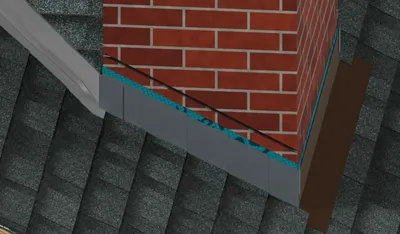
One straight groove per side, parallel to the roof 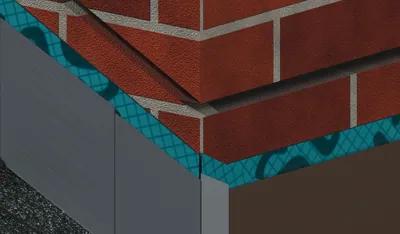
1 in deep, seen where the cuts cross at the corner 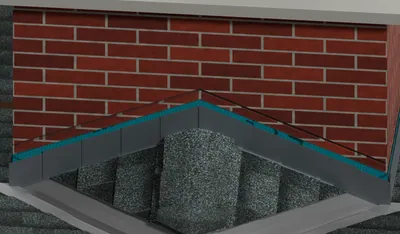
At the back the groove follows each cricket slope - Groove depth
- 1 in
- Groove height above the roof
- 6 in
- Step 15
Metal cover over the step flashing (counterflashing)
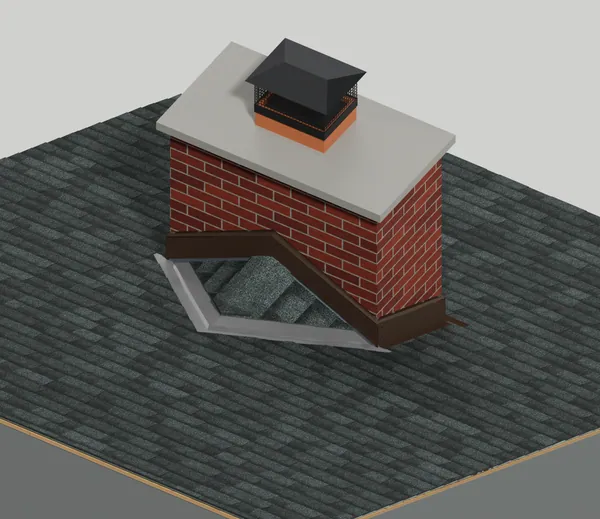
We fit one solid metal cover (counterflashing) per face, its top edge bent into the groove and wedged, with riveted corners. 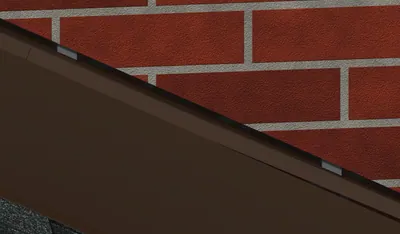
Top edge bent into the groove and held with lead wedges 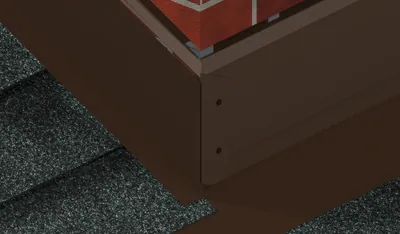
Corner folded around and riveted 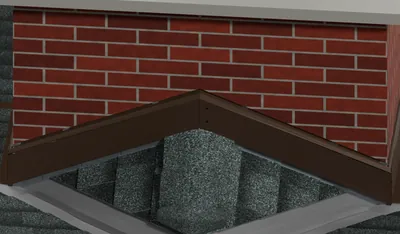
Back pieces angle along each cricket slope - Bend into the groove
- 1 in
- Side foot on the shingles
- 1 1/2 in
- Hidden hem under the foot
- 3/4 in
- Step 16
Sealant
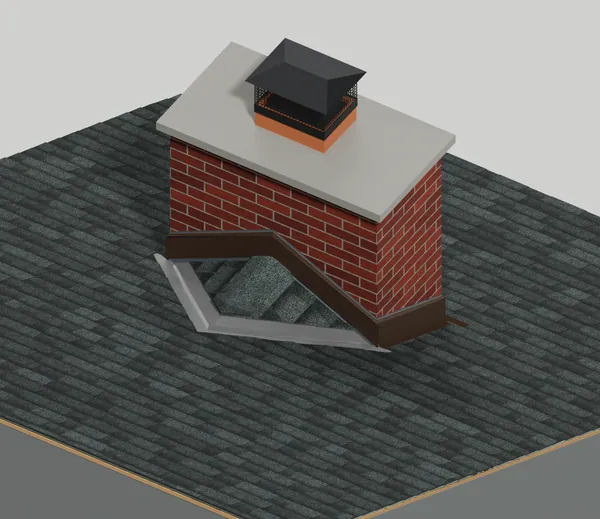
We fill the groove above the metal with polyurethane sealant, tooled smooth and continuous around all four sides of the chimney. 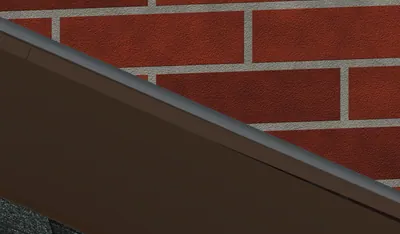
Sealant tooled into the groove above the metal 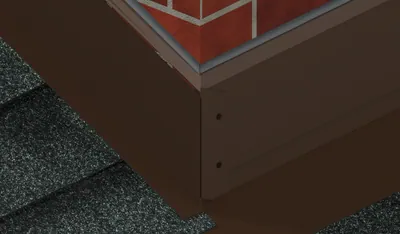
Continuous around the corner 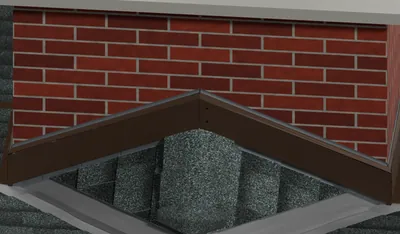
Sealed along both cricket slopes at the back


